

AMD Radeon RX 6600 XT Review: A Powerful Gaming Graphics Card
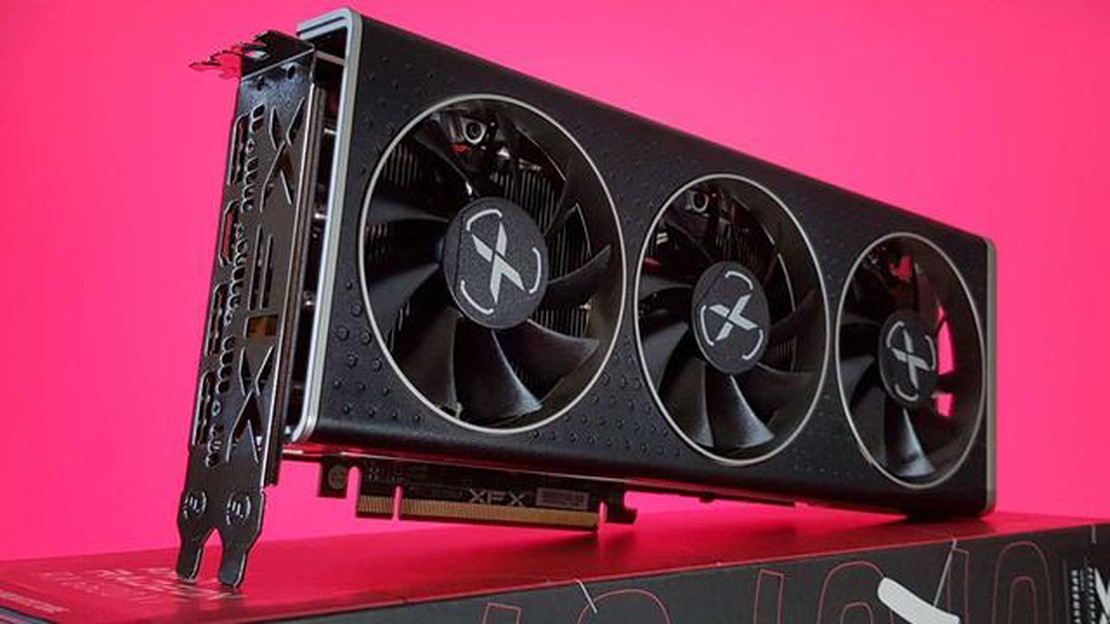
AMD Radeon RX 6600 XT review The AMD Radeon RX 6600 XT is the latest addition to AMD’s lineup of gaming graphics cards. Featuring the latest RDNA 2 …
Read Article
Overclocking your graphics card can be a great way to boost its performance and squeeze out some extra speed for gaming or other intensive tasks. With the right knowledge and tools, you can push your graphics card to its limits and unlock its full potential.
Before you begin, it’s important to note that overclocking your graphics card can void its warranty and may potentially cause damage if not done correctly. Proceed at your own risk and make sure you understand the risks involved.
To start, you’ll need some software that can help you overclock your graphics card. There are several popular options available, such as MSI Afterburner, EVGA Precision X, and ASUS GPU Tweak. These tools allow you to adjust the clock speeds, voltage, and fan settings of your graphics card.
Once you’ve installed the overclocking software, it’s time to start tweaking your graphics card’s settings. Start by increasing the clock speed gradually and running a stress test to check for stability. If your system crashes or becomes unstable, you may need to reduce the clock speed until it becomes stable again. It’s a game of trial and error, so be patient and take your time.
In addition to adjusting the clock speed, you can also increase the memory speed and adjust the voltage to further boost your graphics card’s performance. However, be cautious when increasing the voltage, as it can significantly increase the heat generated by your graphics card. Make sure you have a good cooling solution in place to prevent overheating.
Note: It’s essential to monitor the temperatures of your graphics card while overclocking. High temperatures can cause thermal throttling, which can reduce performance and potentially damage your graphics card. Keep an eye on the temperatures and adjust your overclocking settings accordingly.
Once you’ve found the optimal settings for your graphics card, be sure to run some benchmarks or play some demanding games to see the improvement in performance. Keep in mind that not all graphics cards will overclock the same, and you may not see significant gains in every case. However, with some patience and experimentation, you can push your graphics card beyond its factory limits and get the most out of your hardware.
Overclocking your graphics card can help you achieve higher performance and improve your gaming experience. However, it is important to note that overclocking may void your warranty and can cause damage if not done correctly. Here is a step-by-step guide on how to safely overclock your graphics card:
Remember that every graphics card is unique, and the overclocking potential may vary. Take your time, be patient, and always prioritize the safety of your hardware when overclocking your graphics card.
Overclocking your graphics card can provide several benefits, including:
Keep in mind that overclocking carries some risks, such as potential instability, increased power consumption, and the possibility of voiding warranties. It’s important to proceed with caution and ensure you have adequate cooling in place before attempting any overclocking. Additionally, each graphics card model may have specific overclocking considerations and limitations, so it’s always recommended to consult the manufacturer’s guidelines and forums for the best practices and tips.
1. Prepare your computer:
Read Also: How To Use VPN for Mobile Legends: Step-by-Step Guide
2. Install overclocking software:
3. Backup your current settings:
4. Understand the settings:
5. Start with small increments:
6. Monitor the temperature:
7. Test for stability:
Read Also: What Is Electric Weak To In Pokemon? Discover the Electric Type's Weaknesses
8. Gradually increase settings:
9. Benchmark and compare:
10. Keep an eye on your card:
11. Enjoy improved performance:
Overclocking is the process of increasing the clock speed of your graphics card, which results in higher performance. People overclock their graphics cards to squeeze out more power and improve gaming and rendering performance.
Overclocking can be safe as long as you do it correctly and take necessary precautions. However, it may void your warranty and there is a risk of damaging your graphics card if you push the overclock too far.
Most modern graphics cards can be overclocked to some extent. You can check the specifications of your graphics card online or consult the manufacturer’s website to determine if it supports overclocking.
There are several software options available for overclocking your graphics card, such as MSI Afterburner, EVGA Precision, and ASUS GPU Tweak. These software tools allow you to adjust the clock speed, voltage, and fan speed of your graphics card.
Yes, overclocking your graphics card can improve gaming performance by increasing the clock speed and thus allowing for smoother gameplay and higher frame rates. However, the extent of the improvement will depend on the specific card and its capabilities.
Yes, there are risks associated with overclocking your graphics card. If you push the overclock too far, you may encounter stability issues, crashes, or even damage the card. It is important to monitor temperatures and voltage levels while overclocking and take necessary precautions.
AMD Radeon RX 6600 XT review The AMD Radeon RX 6600 XT is the latest addition to AMD’s lineup of gaming graphics cards. Featuring the latest RDNA 2 …
Read Article
Clash Royale How To Go Back To Training Camp? Are you a fan of Clash Royale and looking to improve your skills? Returning to the Training Camp can be …
Read Article
How Old Is Paimon Genshin Impact? Genshin Impact, the popular action role-playing game developed by miHoYo, features a wide range of characters with …
Read Article
How To Get Better At Call Of Duty Zombies? Call of Duty Zombies is a popular game mode that challenges players to survive waves of undead enemies. It …
Read Article
Where to find the winter jacket in Sons of the Forest In the thrilling survival game Sons of the Forest, players must navigate a treacherous winter …
Read Article
Where Are The Golden Artifacts In Fortnite? Fortnite, the wildly popular online multiplayer game, has a new challenge for its players: finding the …
Read Article


