
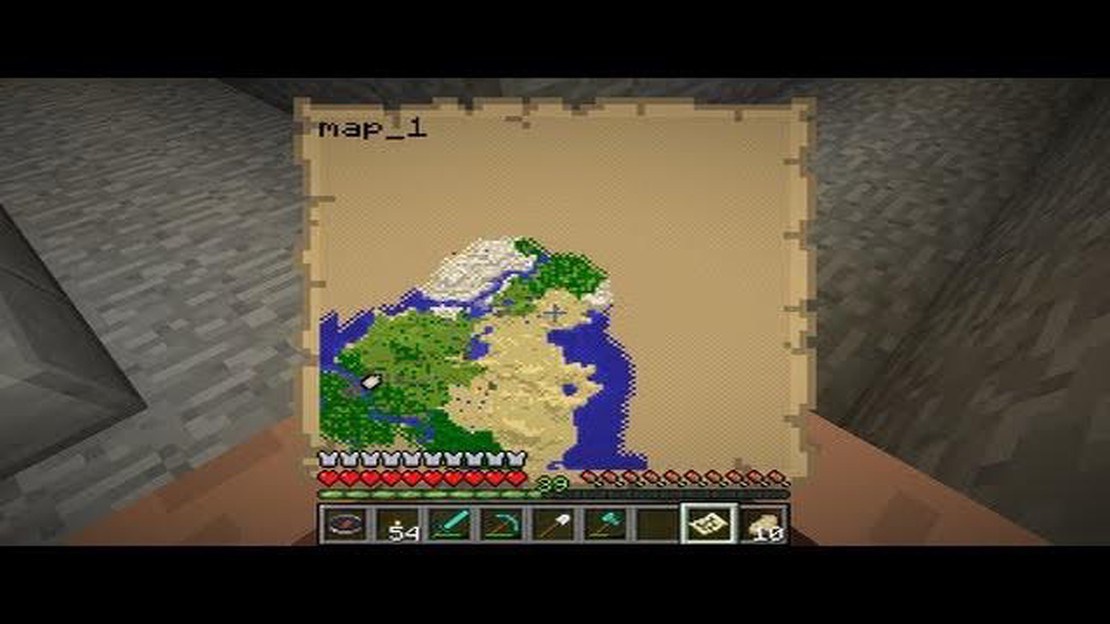

Step-by-Step Guide: How to Make a Map in Minecraft
How To Make A Map In Minecraft? Are you an avid Minecraft player looking to explore new territories and navigate through the vast virtual world more …
Read Article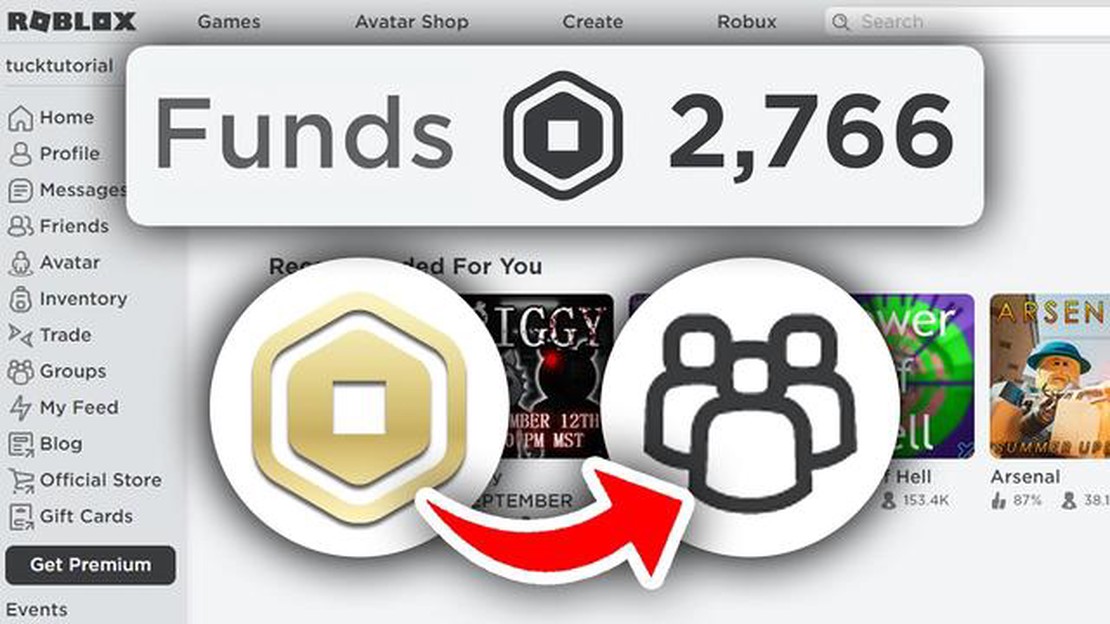
Welcome to the step-by-step guide on how to add funds to your Roblox group! Whether you are managing a game development team or organizing a virtual event, having enough funds in your group is essential to ensure a smooth experience for your members.
Here are the basic steps to add funds to your Roblox group:
Remember, managing your group’s funds responsibly is crucial. Make sure to utilize the funds wisely and keep track of the transactions to ensure transparency and accountability within your group.
That’s it for our step-by-step guide on adding funds to your Roblox group! We hope this guide has been helpful and wish you success in managing your group effectively. If you have any further questions, feel free to reach out to the Roblox support team for assistance.
Are you a Roblox group owner looking to add funds to your group? Follow our step-by-step guide to make the process quick and easy!
Adding funds to your Roblox group is essential for hosting events, distributing rewards, and growing your group’s virtual economy. Follow these steps and start managing your group’s funds today!
To add funds to your Roblox group, you’ll need to access the Group Admin page. Follow these steps to open the Group Admin page:
Once you have successfully accessed the Group Admin page, you can proceed to the next steps to add funds to your group.
Once you have logged in to your Roblox account and navigated to your group page, you will see a navigation bar at the top of the screen. On this navigation bar, click on the “Store” tab.
The “Store” tab is where you can manage all the virtual items that you want to sell in your group’s store. This is also where you can add funds to your group’s account in order to purchase items for resale.
When you click on the “Store” tab, you will be taken to the store page. Here, you will find various options for managing your group’s store, such as creating new items, updating existing items, and setting sale prices.
To add funds to your group’s account, you will need to click on the “Manage” button, which is located under the “Group Admin” section on the left-hand side of the store page.
Once you click on the “Manage” button, a dropdown menu will appear. From this dropdown menu, select the “Group Revenue” option.
This will take you to the group revenue page, where you can view the current balance of your group’s account and add funds by clicking on the “Add Funds” button.
Read Also: Mastering PVP in Call of Duty Mobile: Tips and Strategies
After clicking on the “Add Funds” button, you will be prompted to enter the amount of funds you wish to add to your group’s account. Enter the desired amount and follow the on-screen instructions to complete the transaction.
Once the transaction is complete, the funds will be added to your group’s account and you can use them to purchase items for resale in your group’s store.
After you have selected the group you want to add funds to, the next step is to click on the “Configure” button. This button can be found on the right-hand side of the group page, next to the “Members” and “Roles” tabs.
When you click on the “Configure” button, a new page will load with a variety of options for your group. This is where you can manage various settings for your group, such as changing the group name, description, and logo.
However, in order to add funds to your group, you need to scroll down the page until you see the “Group Revenue” section. This is where you can view and manage the funds that your group has earned.
Under the “Group Revenue” section, you will see a table that lists the “Sales” and “Payouts” for your group. This is where you can track the income and expenses associated with your group.
Read Also: Best Naming Ideas for Clash of Clans Clans - Find Unique and Creative Clan Names
In order to add funds to your group, you need to click on the “Payout” button. This will allow you to transfer the funds from your Roblox account to your group. Keep in mind that there may be a minimum payout amount and a waiting period before the funds are available for use.
Once you have clicked on the “Payout” button and completed the necessary steps, the funds will be added to your group and can be used to purchase items, pay developers, or for any other group expenses.
Remember to regularly check the “Group Revenue” section to keep track of your group’s funds and manage them accordingly.
That’s it! You have now successfully added funds to your Roblox group by clicking on the “Configure” button.
Once you have accessed your Roblox group page, locate the tab at the top of the screen labeled “Funds”. Click on this tab to continue with the process of adding funds to your group.
This tab allows you to manage and track the funds associated with your group. It is an essential part of maintaining your group’s financial stability and ensuring the availability of funds for various group activities.
By selecting the “Funds” tab, you will be redirected to a page where you can view detailed information about your group’s funds, including the current balance and transaction history. This page also provides options for adding funds and making withdrawals.
Before proceeding, make sure you have a clear understanding of how much money you want to add to your group and your preferred method of payment. Having this information ready will help streamline the process and ensure a seamless experience.
Now, let’s move on to the next step to learn how to add funds to your Roblox group in a few simple steps.
The purpose of the “Step-by-Step Guide: Adding Funds to Your Roblox Group” is to provide a detailed instruction on how to add funds to your Roblox group.
You may need to add funds to your Roblox group in order to purchase items for the group, promote it, or pay for any other expenses related to the group.
To add funds to your Roblox group, you can follow the step-by-step guide provided. It will walk you through the process of purchasing Robux and transferring them to your group.
Yes, adding funds to your Roblox group will require you to purchase Robux, which is the virtual currency used in Roblox. The cost will depend on the amount of Robux you wish to purchase.
How To Make A Map In Minecraft? Are you an avid Minecraft player looking to explore new territories and navigate through the vast virtual world more …
Read Article
How To Play Clash Royale On Pc Without Bluestacks? If you’re a fan of Clash Royale, but prefer playing on a larger screen, you may be wondering if …
Read Article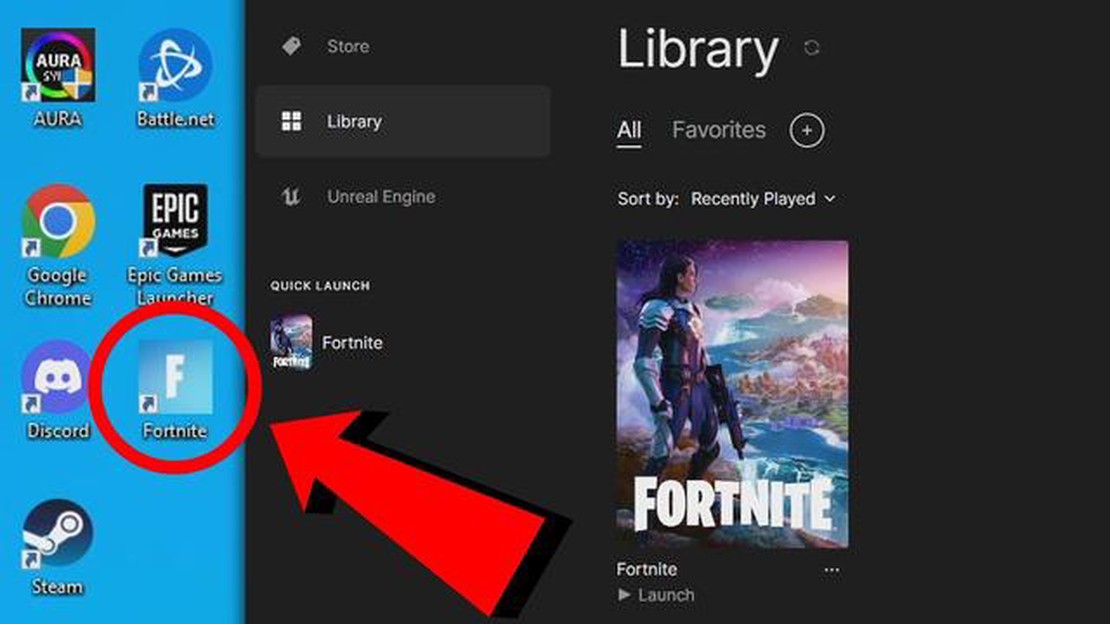
How Big Is Fortnite On Pc? Fortnite, developed by Epic Games, has taken the gaming world by storm, becoming one of the most popular games of all time. …
Read Article
How to make a pickaxe in Valheim In the popular video game Valheim, crafting tools is essential for survival. One of the most important tools you can …
Read Article
Animal Crossing How To Play? Welcome to the wonderful world of Animal Crossing! Whether you’re a seasoned gamer or new to the world of video games, …
Read Article
Who Is The Best Minecraft Player? Minecraft, an immensely popular sandbox video game created by Markus Persson and released in 2011, has captivated …
Read Article

