
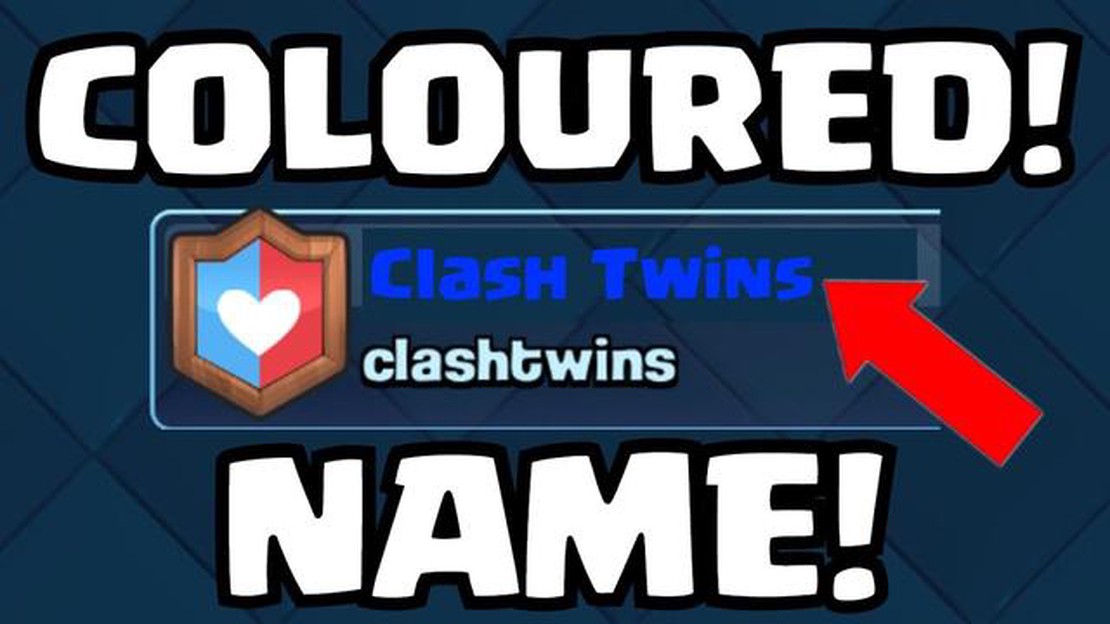

How to Obtain a Green Name in Clash Royale: A Comprehensive Guide
How To Get A Green Name In Clash Royale? If you’re an avid player of Clash Royale, you’ve probably noticed some players with green names. These green …
Read Article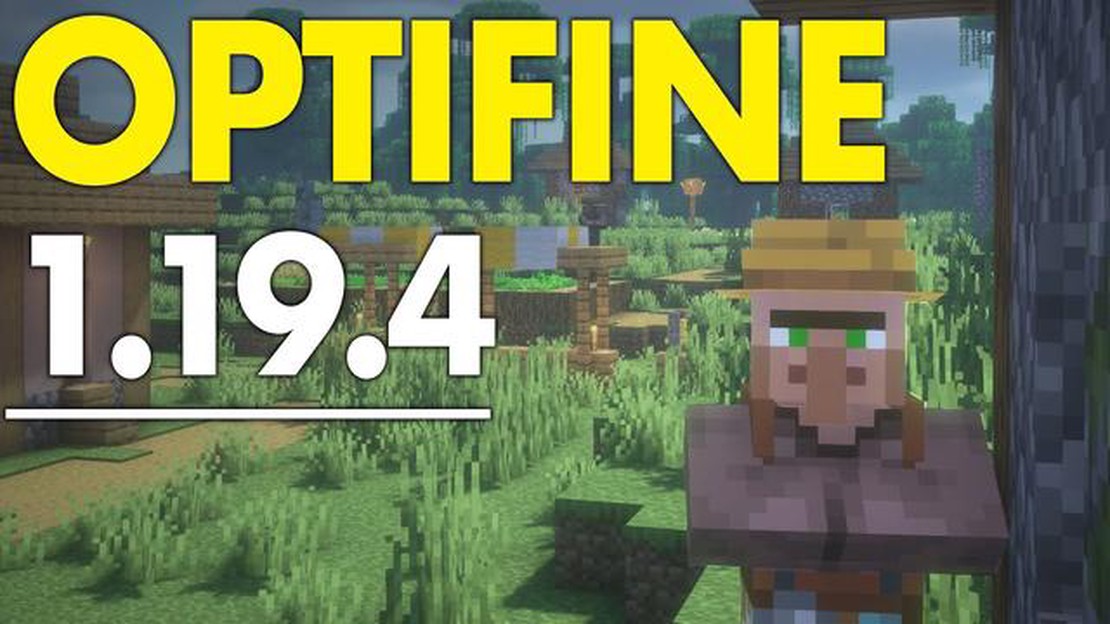
Minecraft is a popular sandbox game that allows players to build and explore virtual worlds. One way to enhance your Minecraft experience is by adding Optifine, a mod that improves the game’s graphics and performance. Whether you’re a seasoned Minecraft player or new to the game, this guide will walk you through the steps of adding Optifine to Minecraft.
Step 1: Download Optifine
The first step in adding Optifine to Minecraft is to download the mod. Optifine is available for free on the official Optifine website. Make sure to download the version of Optifine that matches the version of Minecraft that you’re using. Once you’ve downloaded the Optifine file, locate it in your computer’s downloads folder.
Step 2: Install Optifine
After you’ve downloaded the Optifine file, you’ll need to install it in your Minecraft game directory. To do this, open your Minecraft launcher, click on “Installations”, and then click on “New” to create a new installation profile. In the “Version” dropdown menu, select the version of Minecraft that you want to use Optifine with. In the “Game Directory” field, enter the path to your Minecraft game directory.
Step 3: Launch Minecraft with Optifine
Once you’ve installed Optifine, you can launch Minecraft with the mod. In your Minecraft launcher, select the installation profile that you created in Step 2, and then click on the “Play” button. Minecraft will launch with Optifine enabled, and you’ll be able to enjoy improved graphics and performance in the game.
By following these simple steps, you can easily add Optifine to Minecraft and enhance your gaming experience. Whether you’re looking for better graphics or smoother gameplay, Optifine is a great addition to any Minecraft player’s arsenal.
Note: Modding Minecraft can have risks and may not be supported by Mojang, the creators of Minecraft. Make sure to backup your game files before installing any mods, and use them at your own risk.
In this step-by-step guide, we will walk you through the process of adding Optifine to Minecraft. Optifine is a Minecraft mod that improves performance and adds various graphical enhancements to the game. Follow these steps to install Optifine:
-Dfml.ignoreInvalidMinecraftCertificates=true. This will enable Optifine to load correctly.Congratulations! You have successfully added Optifine to Minecraft. Enjoy improved performance and enhanced graphics in your Minecraft gameplay!
Read Also: Where To Get Archaic Petra Genshin Impact: A Comprehensive Guide
Optifine is a mod for Minecraft that improves performance and adds new graphical features. Follow these steps to download and install Optifine:
Congratulations! You have successfully downloaded and installed Optifine for Minecraft. Enjoy improved performance and new graphical features in your Minecraft gameplay.
Read Also: Thrustmaster T248 Racing Wheel Review: The Ultimate Gaming Experience
Before you can add Optifine to your Minecraft, you’ll need to locate your Minecraft installation directory. This is where all of your game files are stored, including the Optifine mod.
To find your Minecraft installation directory, follow these steps:
Once you have located your Minecraft installation directory, you can proceed to the next step of adding Optifine to your game.
Optifine is a popular Minecraft mod that enhances the game’s graphics and performance. It allows you to customize various visual and performance settings to optimize your Minecraft experience. Here’s a step-by-step guide on how to install Optifine in Minecraft:
Congratulations! You have successfully installed Optifine in Minecraft. You can now enjoy improved graphics and smoother gameplay. Remember to keep Optifine updated to the latest version for the best experience.
Optifine is a Minecraft mod that enhances the game’s performance and graphics. It improves FPS, adds new features, and allows for the use of HD resource packs. Adding Optifine can greatly enhance your Minecraft experience by making it run smoother and look better.
To download Optifine, you need to go to the official Optifine website (optifine.net). From there, you can choose the version of Optifine that is compatible with your Minecraft version, and click on the download link. Make sure to download from the official website to avoid malware or viruses.
After downloading Optifine, you need to locate the downloaded .jar file and double-click on it. This will start the Optifine installer, where you can choose the installation options. Once you have selected the desired options, click “Install.” After the installation is complete, open the Minecraft launcher and select the Optifine profile to start the game with Optifine.
Optifine adds several features to Minecraft, including improved graphics, customizable animations, dynamic lighting, better shaders, and performance optimization. It also allows for the use of HD resource packs and the adjustment of various visual settings to suit your preferences. These features can greatly enhance your gameplay and make your Minecraft worlds look more stunning.
How To Get A Green Name In Clash Royale? If you’re an avid player of Clash Royale, you’ve probably noticed some players with green names. These green …
Read Article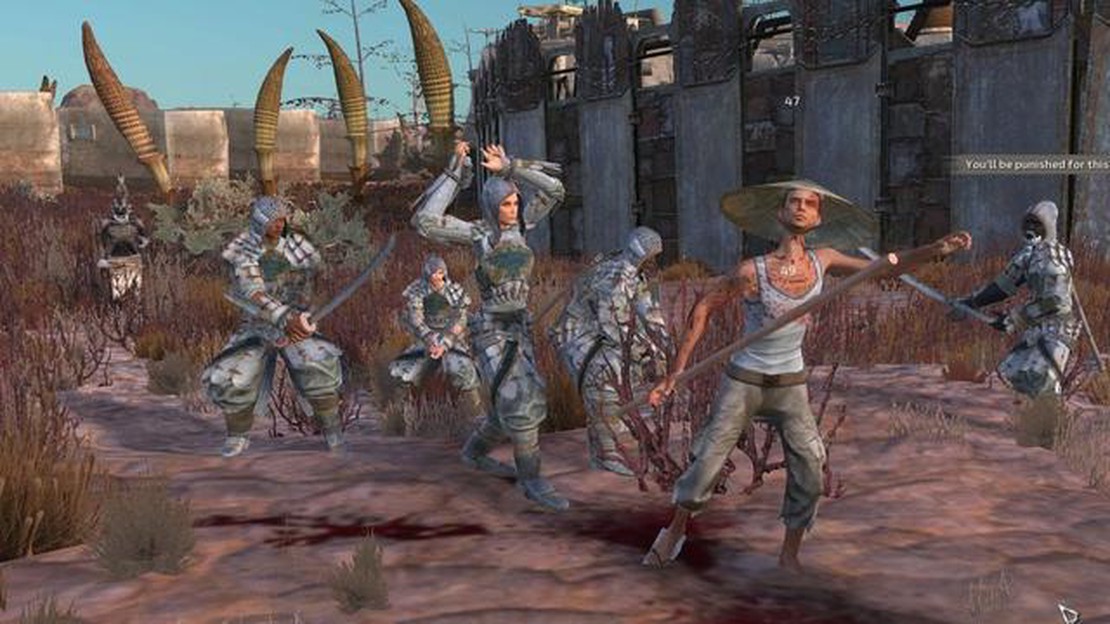
Kenshi review Kenshi is a sandbox RPG developed and published by Lo-fi Games. This game stands out from the crowd due to its unique features and …
Read Article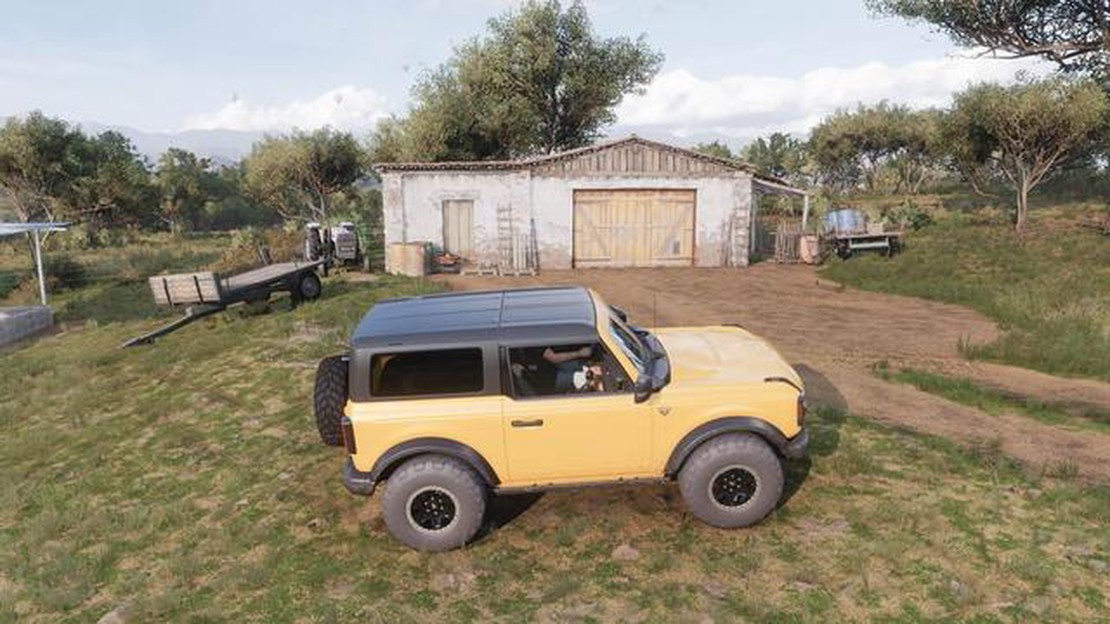
All Forza Horizon 5 Barn Find locations Welcome to Forza Horizon 5, the highly anticipated racing game that takes players on an unforgettable journey …
Read Article
2022 game releases: everything that launched on PC last year Welcome to our comprehensive overview of PC game releases in 2022! In this article, we …
Read Article
How To Get Battle Points Fast In Mobile Legends? If you’re an avid Mobile Legends player, you probably know how important Battle Points (BP) are for …
Read Article
What Are Visual Tasks In Among Us? Among Us is a popular online multiplayer game that has gained immense popularity among gamers worldwide. The game …
Read Article


