


Hogwarts Legacy Review: Magical Adventures Await in the Wizarding World
Hogwarts Legacy review Get ready to immerse yourself in the enchanting world of Hogwarts with Hogwarts Legacy, the latest RPG set in J.K. Rowling’s …
Read Article
Minecraft is an immensely popular sandbox game that allows players to build and explore virtual worlds. However, the game can require a significant amount of system resources, especially when running mods or playing on large servers. One way to improve Minecraft’s performance is to allocate more RAM to the game.
RAM, or Random Access Memory, is the temporary storage that your computer uses to run programs. By allocating more RAM to Minecraft, you can ensure that the game has enough memory to run smoothly and avoid lag or crashes.
In this step-by-step guide, we will walk you through the process of allocating more RAM to Minecraft. Whether you are playing on a Windows, Mac, or Linux operating system, the instructions provided will help you optimize your Minecraft experience.
Before we begin, it is important to note that allocating more RAM to Minecraft may not always result in a noticeable improvement in performance. Factors such as the specifications of your computer and the complexity of the game world can also impact the game’s performance. However, if you are experiencing lag or crashes while playing Minecraft, allocating more RAM is worth a try.
If you’re experiencing performance issues with Minecraft, one potential solution is to allocate more RAM to the game. By increasing the amount of RAM dedicated to Minecraft, you can improve its overall performance and reduce lag. Follow these step-by-step instructions to allocate more RAM to Minecraft:
By following these steps, you should be able to allocate more RAM to Minecraft and potentially improve its performance. Remember to consider your system’s capabilities and only allocate as much RAM as your computer can handle. Happy gaming!
Before allocating more RAM to Minecraft, it is important to check if your system meets the minimum requirements for the game. The system requirements for Minecraft can vary depending on the version and mods being used, but generally, the following are the minimum recommended specifications:
It is important to note that these are the minimum recommended specifications and allocating more RAM may improve performance on systems that meet or exceed these requirements.
To check your system’s specifications, you can follow these steps:
Read Also: Brawl Stars: What Do Question Marks Above The Name Mean? | Explained7. macOS: 8. Click on the Apple menu and select “About This Mac”. 9. The processor, RAM, and graphics card information will be displayed under the respective sections. 10. To check your available storage space, open “Finder”, click on “Applications”, and then “Utilities”. Open “Disk Utility” and select your main drive. The available space will be listed under the “Available” column.
11. Linux: 12. Open a terminal window by pressing Ctrl + Alt + T. 13. Enter the command “lscpu” to display information about your processor. 14. Enter the command “free -h” to display information about your installed RAM. 15. To check your graphics card, you can use the command “lspci | grep -i vga” to list the available VGA devices. 16. To check your available storage space, use the command “df -h” to display information about your file systems and their respective sizes and usage.
Once you have checked your system specifications and ensured that it meets the minimum requirements for Minecraft, you can proceed with allocating more RAM to enhance your gaming experience.
Read Also: How to Disable Safe Chat on Roblox: A Step-by-Step Guide
Minecraft is a popular sandbox game that can sometimes require a lot of memory to run smoothly. If you’re experiencing lag or performance issues while playing Minecraft, allocating more RAM to the game can help improve its performance. Here’s a step-by-step guide on how to do it:
Allocating more RAM to Minecraft can help improve the game’s performance and reduce lag. However, it’s important to allocate an appropriate amount of RAM based on your computer’s resources. It’s also a good idea to periodically check the performance and adjust the allocated RAM if needed.
Allocating more RAM to Minecraft can improve its performance by allowing it to run more smoothly and handle larger worlds with more entities.
You can check how much RAM is allocated to Minecraft by pressing F3 while in the game. The allocated RAM will be displayed in the top right corner of the screen.
Allocating too much RAM to Minecraft can actually have a negative effect on performance. It is recommended to allocate a moderate amount of RAM that is suitable for your system’s capabilities.
The recommended amount of RAM to allocate to Minecraft can vary depending on your system’s specifications. However, a common recommendation is to allocate 4-8GB of RAM for a smoother gameplay experience.
To allocate more RAM to Minecraft, you can modify the JVM arguments in the Minecraft launcher. This involves adding a command line argument to increase the maximum amount of RAM that the game can use.
Yes, you can allocate more RAM to Minecraft on a laptop as long as your system meets the minimum requirements. However, keep in mind that laptops may have limited RAM capacity compared to desktop computers.
Yes, it is possible to allocate more RAM to Minecraft on a Mac. The process is similar to allocating RAM on a Windows computer, but you may need to navigate to the Minecraft launcher’s profile settings in a different way.
Hogwarts Legacy review Get ready to immerse yourself in the enchanting world of Hogwarts with Hogwarts Legacy, the latest RPG set in J.K. Rowling’s …
Read Article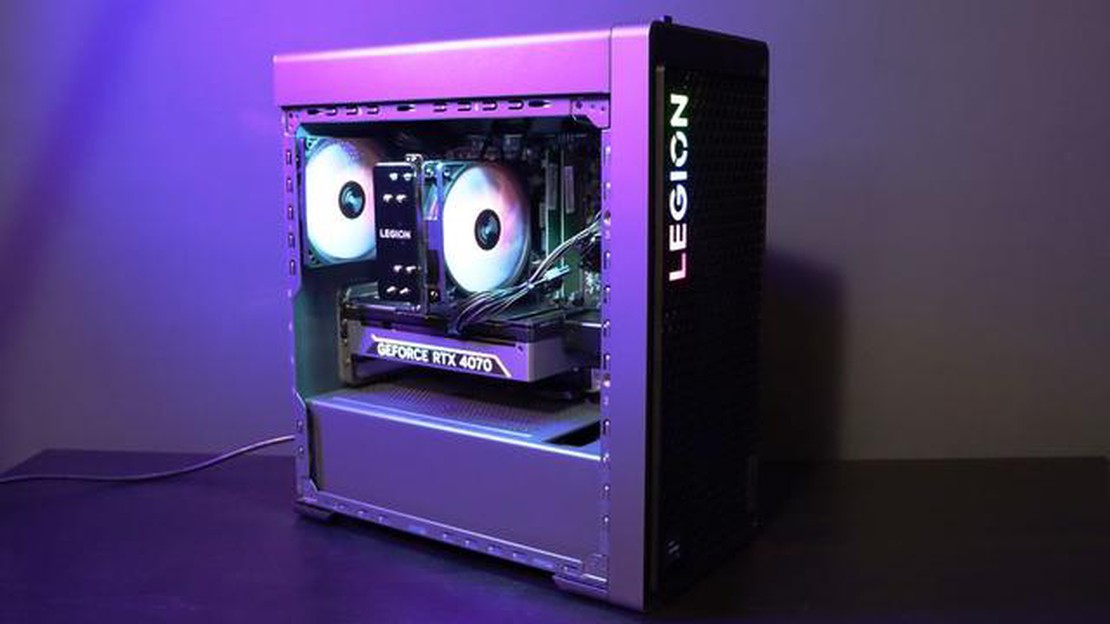
Lenovo Legion Tower 5i The Lenovo Legion Tower 5i is a gaming desktop that provides gamers with the power and performance they need to take their …
Read Article
Destiny 2 is finally getting in-game LFG and loadout systems with Lightfall Destiny 2 players have long awaited the arrival of the Lightfall …
Read Article
How To Get Flimsy Shovel In Animal Crossing? If you’re an avid player of Animal Crossing, you know just how important tools are for your island …
Read Article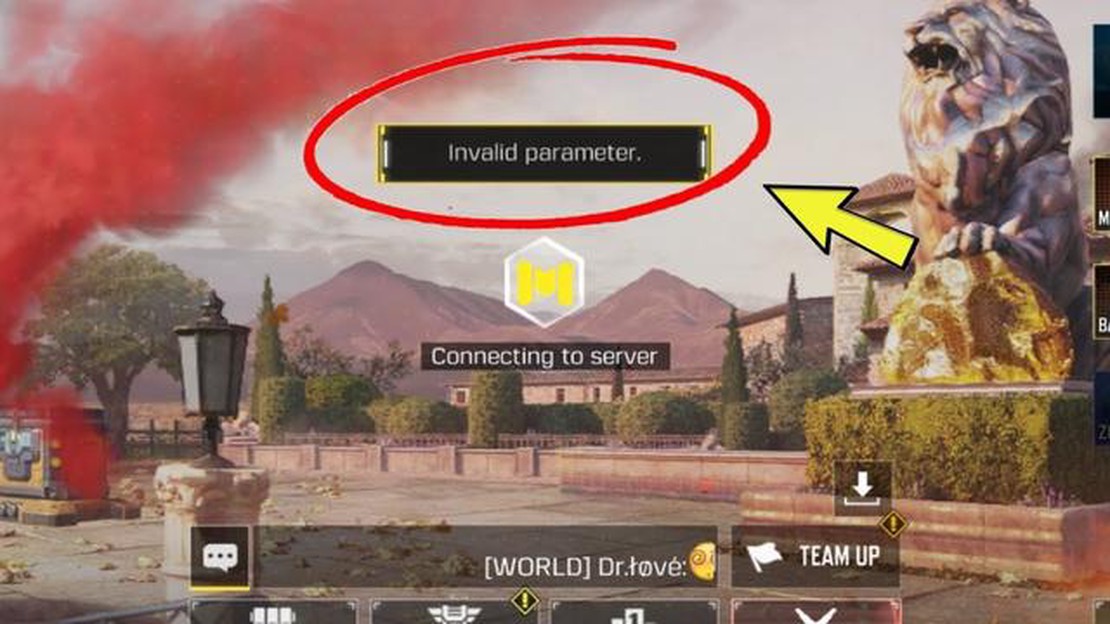
What Does Invalid Parameter Mean On Call Of Duty Mobile? Call of Duty Mobile is a popular mobile game that has attracted millions of players …
Read Article
How Much Is The New Call Of Duty Game? Looking to get your hands on the latest installment of Call of Duty? We’ve got you covered with all the …
Read Article


