


How Does Roblox Generate Revenue? A Deep Dive into Roblox's Business Model
How Does Roblox Make Money? Roblox is a popular online platform that allows users to create and play games. But how does Roblox make money? In this …
Read Article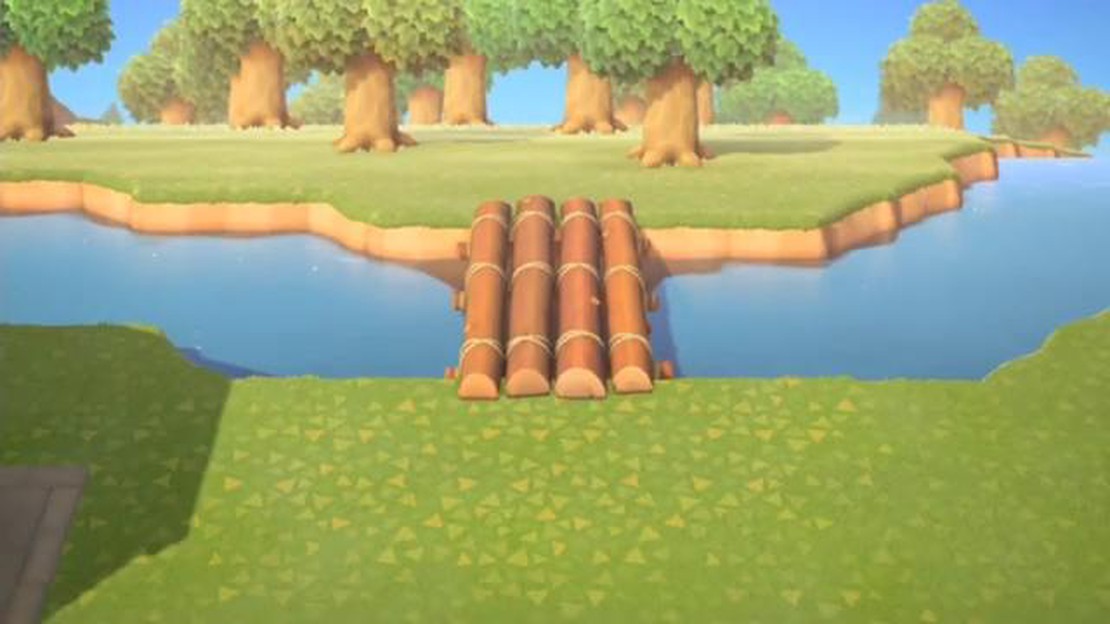
Building bridges in Animal Crossing can be a great way to add charm and functionality to your island. Whether you want to connect different parts of your island or simply enhance its aesthetic appeal, bridges are an essential feature. In this step-by-step guide, we’ll walk you through the process of building bridges in Animal Crossing, so you can create the perfect island getaway.
Step 1: Select a Suitable Location
The first step in building a bridge is to select a suitable location. Look for a spot that allows for easy access and connects different areas of your island. You’ll also want to consider the surrounding landscape and the overall design of your island.
Pro tip: Use the island designer app to visualize different bridge placements and see how they fit into your overall design.
Step 2: Gather Materials
Once you’ve chosen a location, it’s time to gather the materials needed to build the bridge. You’ll need a combination of wood, clay, and stone. These resources can be obtained by shaking trees, hitting rocks, or purchasing them from the Nook’s Cranny shop.
Pro tip: Make sure to have enough materials on hand before starting the construction process to avoid any delays.
Step 3: Craft the Bridge
With the materials in hand, head over to the DIY workbench to craft the bridge. Select the “Bridge Construction Kit” recipe, and then follow the instructions to create the bridge. Depending on the size and style of the bridge, it can take anywhere from 4 to 8 log stakes, 4 to 8 clay, and 4 to 8 stone to complete.
Pro tip: Customize your bridge by choosing different styles, such as stone, wooden, or brick, to match the aesthetic of your island.
Animal crossing how-to-build-bridges-in-animal-crossing
Step 4: Place and Pay for the Bridge
Once you’ve crafted the bridge, it’s time to place it in your desired location. Simply select the bridge from your inventory, find the perfect spot, and confirm the placement. After placing the bridge, you’ll need to pay for the construction costs, which can range from 98,000 to 228,000 Bells, depending on the size and style of the bridge.
Pro tip: Paying off the construction costs in full will allow the bridge to be completed overnight, so you can start using it and enjoying its benefits sooner.
By following these steps, you’ll be able to build bridges in Animal Crossing and create the perfect island paradise. So grab your tools, gather your materials, and start constructing your dream bridge today!
If you’ve been playing Animal Crossing, you know how important bridges can be for connecting different parts of your island. Bridges not only make it easier to navigate your island, but they also add a decorative touch to the overall aesthetic. In this step-by-step guide, we’ll walk you through the process of building bridges in Animal Crossing.
Read Also: How Much Is a Mewtwo Pokemon Card Worth: Exploring the Value
2. Choosing a Location Once you have the Bridge Building Permit, you can start choosing a location for your bridge. Take a stroll around your island and look for a place where you want the bridge to be. Keep in mind that bridges can only be built over rivers, so look for a suitable spot.
Read Also: Mobile Legends Advanced Server 2022: Step-by-Step Guide to Unlocking3. Gathering Materials Now that you have a location in mind, you’ll need to gather the necessary materials to build the bridge. The exact materials required will depend on the type of bridge you want to build, but common materials include wood, stone, and iron nuggets. You can find these materials by hitting rocks, chopping trees, and collecting from island resources. 4. Using the DIY Workbench Once you have the materials, head to a DIY workbench to start building the bridge. Interact with the workbench and select the “Bridge” option. Depending on the type of bridge you want to build, you’ll need to choose the corresponding DIY recipe. If you don’t have the recipe yet, you can purchase it from the Nook’s Cranny shop or find it from floating presents using a slingshot. 5. Placing the Bridge After selecting the DIY recipe, you’ll be able to place the bridge on your chosen location. Use the cursor to position the bridge where you want it to be. Make sure it aligns with the river and fits the aesthetic of your island. Once you’re satisfied with the placement, confirm your selection. The bridge will be added to your island. 6. Paying for the Bridge Building a bridge is not free. Once you’ve placed the bridge, you’ll need to pay the required amount of Bells to Tom Nook in order to complete the construction. The price varies depending on the bridge type, so make sure you have enough Bells saved up.
And that’s it! Now you know how to build bridges in Animal Crossing. Use this guide to add more connectivity and charm to your island. Happy building!
When building a bridge in Animal Crossing, it’s crucial to choose the perfect spot. Here are a few things to consider:
Once you’ve considered these factors, you can start constructing your bridge. Speak with Tom Nook or Isabelle to discuss bridge placement options and choose the perfect spot for your bridge.
Before you can start building a bridge in Animal Crossing, you will need to gather the necessary materials. Here is a list of the materials you will need:
Once you have gathered all the required materials, you are ready to start building your bridge. Make sure to have them in your inventory before you begin the construction process.
Constructing a bridge in Animal Crossing is a great way to connect different parts of your island and make it more accessible to your villagers. Here is a step-by-step guide on how to construct and customize your bridge:
Remember, constructing a bridge in Animal Crossing requires careful planning and resource management. It’s a great opportunity to exercise your creativity and make your island more beautiful and accessible to your villagers.
Animal Crossing is a popular video game series developed by Nintendo. It is a life simulation game where players can create and customize their own virtual world. The game is known for its relaxing and laid-back gameplay.
To build a bridge in Animal Crossing, you first need to unlock the option to build bridges. This can be done by progressing through the game and reaching a certain point in the storyline. Once you have unlocked the ability to build bridges, you can go to the construction site on your island and talk to Tom Nook. He will give you the option to build a bridge, and you can choose the location and design. After selecting the location and design, you will need to gather the necessary materials and pay a fee to complete the construction of the bridge.
The materials you need to build a bridge in Animal Crossing vary depending on the type of bridge you want to build. Generally, you will need a combination of wood, stone, and iron nuggets. The exact amount of materials required will depend on the size and design of the bridge. You can gather these materials by chopping trees, hitting rocks, and purchasing them from Nook’s Cranny or other players.
Unfortunately, it is not possible to move a bridge once it has been built in Animal Crossing. Choosing the right location for your bridge is important, as you will not be able to change its position later. Make sure to carefully consider the placement of your bridge before you start construction to ensure it fits well with the overall design of your island.
How Does Roblox Make Money? Roblox is a popular online platform that allows users to create and play games. But how does Roblox make money? In this …
Read Article
How To Become A Pro At Brawl Stars? Do you dream of becoming a pro at Brawl Stars? Are you tired of constantly losing battles and want to improve your …
Read Article
What Are Archive Skins In Brawl Stars? In the popular mobile game Brawl Stars, players have the opportunity to unlock and collect a variety of skins …
Read Article
Why did I crash the Fortnite Fortnite, the wildly popular online multiplayer game, has taken the gaming world by storm. With its immersive graphics, …
Read Article
How Long Do Turnips Last In Animal Crossing? Animal Crossing: New Horizons is a popular video game where players can build and customize their own …
Read Article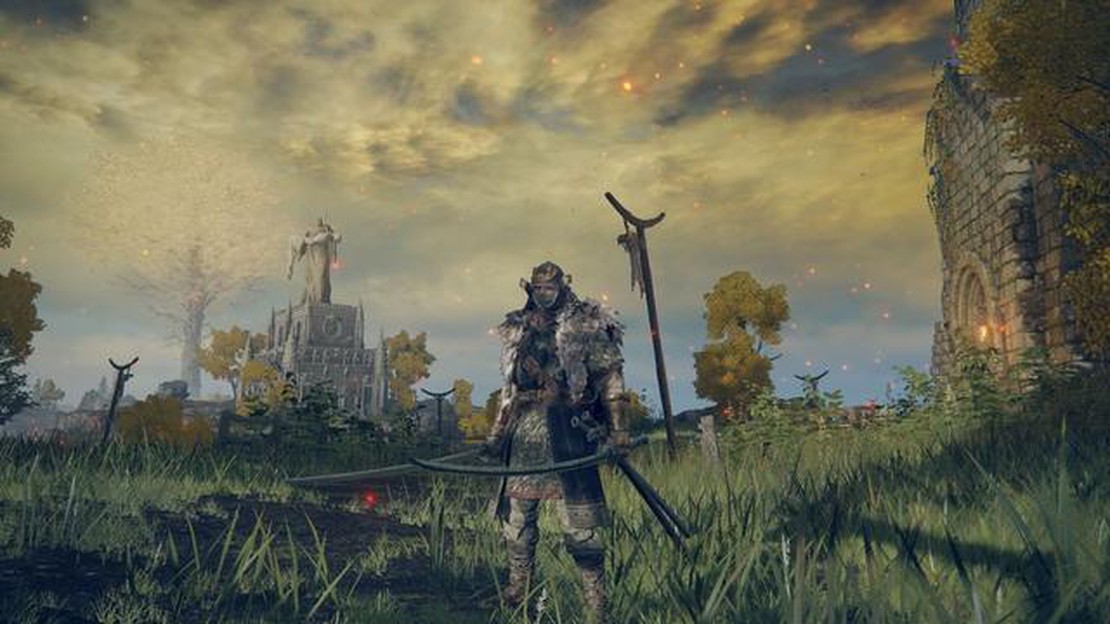
The best Elden Ring dexterity builds When it comes to Elden Ring, mastering the art of agility can be a game-changer. The open-world action RPG from …
Read Article


