

How to Get XP in Clash Royale: Expert Guide
How To Get Xp Clash Royale? Clash Royale, one of the most popular mobile games in the world, keeps players engaged with its intense multiplayer …
Read Article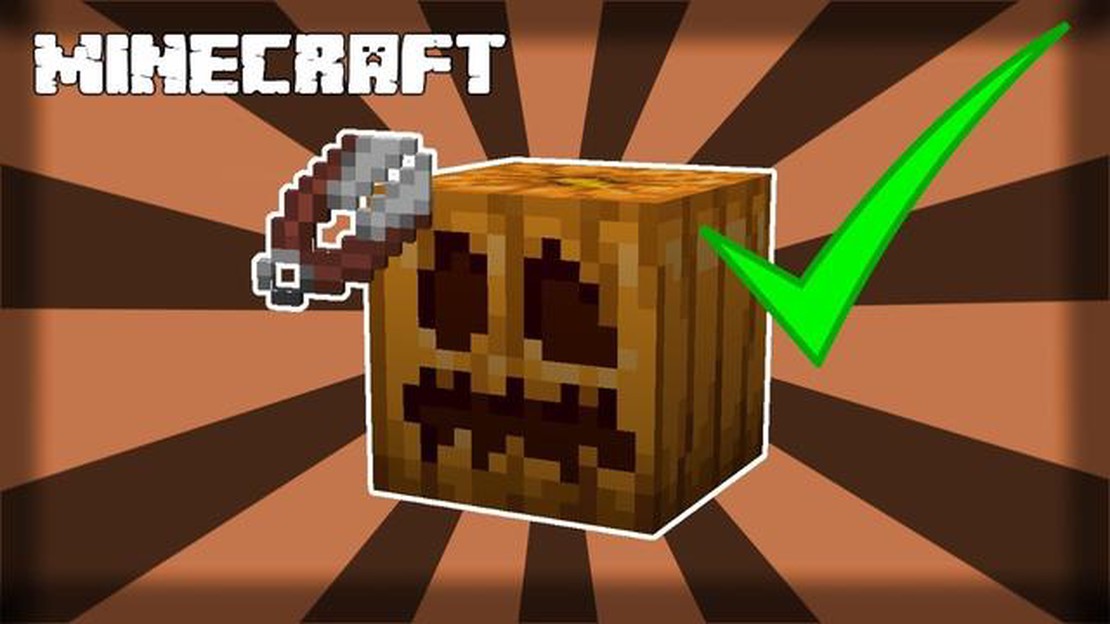
Minecraft is a popular sandbox game that allows players to build and explore virtual worlds made up of blocks. One of the many things you can do in Minecraft is carving pumpkins to create unique and customized decorations for your world. Whether you want to create a spooky Jack-o’-lantern for Halloween or simply add some personalized flair to your creations, carving pumpkins in Minecraft is a fun and creative activity.
To carve a pumpkin in Minecraft, you will need a few items. First, you will need a pumpkin, which can be found naturally spawning in the game or grown from pumpkin seeds. You will also need a tool to carve the pumpkin, such as a sword or an axe. Once you have these items, you can start the carving process.
To begin, select the tool you want to use for carving and stand in front of the pumpkin. Right-click on the pumpkin to start carving. You will see a grid-like interface with different patterns that can be applied to the pumpkin. Use your mouse to select the pattern you want to carve into the pumpkin.
Once you have selected a pattern, simply click on the individual blocks of the pumpkin to remove them and create your desired design. You can carve out eyes, a nose, a mouth, or any other shapes or patterns that you like. Experiment with different patterns and designs to create your own unique creations.
Once you have finished carving your pumpkin, you can place it anywhere in your Minecraft world as a decoration. It can be placed on the ground, on walls, or even on top of other blocks. You can also wear the carved pumpkin as a helmet, which will give you some protection and allow you to see in the dark.
So, whether you want to create a spooky pumpkin for Halloween or show off your creativity by customizing your Minecraft world, carving pumpkins in Minecraft is a simple and enjoyable activity. Have fun experimenting with different designs and patterns to create your own unique carved pumpkins!
If you’re new to pumpkin carving in Minecraft, it’s important to understand the basics before diving into more advanced techniques. Here are some essential tips to get you started:
Remember, pumpkin carving in Minecraft is a creative and fun activity. Don’t be afraid to experiment with different designs and techniques. With practice, you’ll become a master at carving pumpkins and creating unique decorations for your Minecraft world.
When it comes to Minecraft, one of the most exciting aspects is the ability to personalize and customize your creations. Whether you’re building a house, a farm, or even an entire city, there are numerous ways to add your own personal touch to make it stand out from the rest. In this guide, we will explore some of the ways you can unleash your creativity and take your Minecraft builds to the next level.
1. Choose the Right Materials:
One of the easiest ways to customize your creations is by carefully selecting the materials you use. Minecraft offers a wide range of blocks and items that can add a unique flair to your builds. Experiment with different combinations and textures to create the desired effect. Whether you want a rustic wooden cabin or a futuristic glass skyscraper, the possibilities are endless.
2. Add Color and Detail:
Don’t be afraid to add color and detail to your creations. Use colorful wool, stained glass, or even vibrant flowers to make your builds pop. By incorporating intricate designs and patterns, you can make your creations visually appealing and captivating. Whether it’s a mosaic floor or a stained glass window, these small details can make a big difference in the overall look of your build.
3. Landscaping:
Landscaping plays a crucial role in customizing your Minecraft creations. Add trees, plants, and flowers to create a lush garden or surround your build with mountains and water bodies for a natural feel. Use blocks like grass, dirt, and stone to sculpt the terrain and give it a realistic touch. By paying attention to the surrounding environment, you can enhance the overall aesthetic and make your build feel more immersive.
4. Redstone Contraptions:
If you want to take your builds to the next level, try incorporating redstone contraptions. Redstone is a virtual material in Minecraft that mimics electrical circuits, allowing you to create functional machines and traps. From automatic doors and elevators to hidden passages and elaborate traps, redstone contraptions can add an interactive element to your builds and showcase your technical skills.
Read Also: Discover the Best Ways to Acquire Carrots in Minecraft
5. Collaborate and Seek Inspiration:
Minecraft is a community-driven game, and there is a vast network of players who share their creations and ideas. Collaborate with other players, join creative servers, or explore online forums to seek inspiration and get feedback on your builds. Learning from others can help you discover new techniques, designs, and styles that you can incorporate into your own creations.
Read Also: How to Make an Iron Golem in Minecraft: Step-by-Step Guide
By mastering the art of customization, you can transform your simple Minecraft builds into masterpieces. So, unleash your creativity, experiment with different techniques, and have fun designing your unique creations in the vast world of Minecraft!
Carving pumpkins in Minecraft is a fun way to customize your world and add a festive touch to your creations. Follow these steps to learn how to carve a pumpkin in Minecraft:
Now you know how to carve a pumpkin in Minecraft! Get creative and have fun customizing your world with these festive decorations.
In order to carve a pumpkin in Minecraft and customize your creations, you will need to gather some materials. Here is a list of the necessary items:
Make sure you have all these materials before you begin carving your pumpkin in Minecraft. Once you have them, you’ll be ready to start creating your customized pumpkin designs!
Carving a pumpkin in Minecraft is a fun way to customize your creations and add some Halloween vibes to your virtual world. To get started, you’ll need to choose a design for your pumpkin and prepare it for carving.
Here are the steps to choose your design and prepare the pumpkin:
Now that you have chosen your design and prepared the pumpkin, you’ll be ready to start carving. In the next section, we will cover the steps to carve the pumpkin and bring your design to life in Minecraft.
Carving a pumpkin in Minecraft allows players to customize their creations and add a spooky or decorative touch to their builds.
To carve a pumpkin in Minecraft, you will need a pumpkin and shears. Right-click on the pumpkin with the shears in your hand to start carving. You can then use the shears to remove sections of the pumpkin and create different designs.
Yes, you can use any type of pumpkin to carve in Minecraft. Whether you find a naturally generated pumpkin in the game or grow your own, you can carve all types of pumpkins.
When carving a pumpkin in Minecraft, you can create various designs, such as faces, patterns, or even a specific image. The limit is your creativity and imagination!
Yes, you can light up a carved pumpkin in Minecraft by placing a torch or a Jack o’Lantern inside the pumpkin. This will give off a spooky, flickering light.
To carve a pumpkin in Minecraft, you will need a pair of shears. Shears can be crafted using two iron ingots. Alternatively, you can find them in some loot chests in the game.
Yes, there are special events and holidays in Minecraft where carving pumpkins is encouraged. One such event is Halloween, where players can carve pumpkins to decorate their builds and participate in spooky activities. Additionally, some servers or communities may host pumpkin carving contests or events during other seasons or celebrations.
How To Get Xp Clash Royale? Clash Royale, one of the most popular mobile games in the world, keeps players engaged with its intense multiplayer …
Read Article
How to Get Toys in Fortnite Fortnite has become one of the most popular video games of all time. With its exciting gameplay, stunning graphics, and …
Read Article
When Will Roblox Be Back Up In America? Roblox, the popular online gaming platform, experienced temporary downtime recently, leaving millions of …
Read Article
How To Show Win Rate In Mobile Legends? If you are a Mobile Legends player, you probably know how important win rate is in determining your skill …
Read Article
What Is The Rarest Obstacle In Clash Of Clans? If you’re a fan of the popular mobile game Clash of Clans, you may have noticed that obstacles can …
Read Article
How To Play Apex Legends Mobile Beta? Welcome to our comprehensive guide on how to play Apex Legends Mobile Beta! Apex Legends, the popular battle …
Read Article


