

How to Enable Roblox Voice Chat | Step-by-Step Guide
How To Enable Roblox Voice Chat? If you’re a fan of Roblox, you may have heard about the new voice chat feature that allows you to communicate with …
Read Article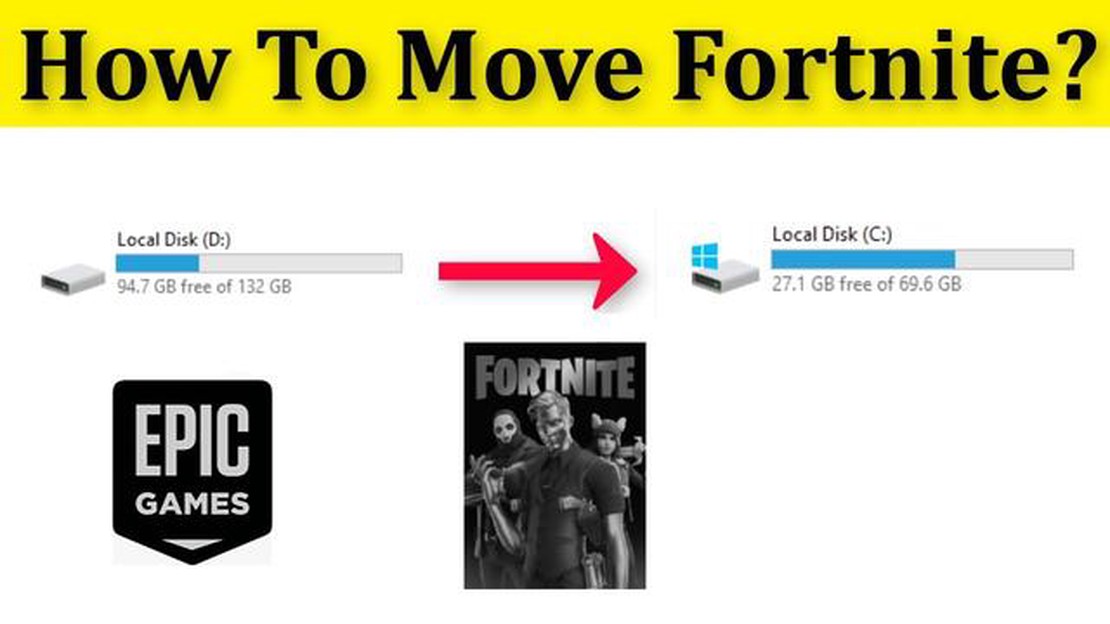
If you’re a fan of Fortnite and find yourself running out of storage space on your current hard disk, don’t worry! Changing your Fortnite hard disk is a relatively simple process that can be done by following a few easy steps. In this guide, we will walk you through the process, providing detailed instructions to ensure a smooth transition.
Step 1: Backup Your Game Files
Before you begin the process of changing your Fortnite hard disk, it is important to backup your game files. This is a precautionary measure to ensure that no data is lost during the transfer. You can backup your files by simply copying the Fortnite folder to an external storage device or creating a backup using a cloud storage service.
Note: It is recommended to have a backup of your game files before making any changes to your hard disk.
Step 2: Choose a New Hard Disk
Once you have backed up your game files, it’s time to choose a new hard disk for your Fortnite installation. When selecting a new hard disk, consider factors such as storage capacity, speed, and compatibility with your system. It is also important to ensure that the new hard disk has enough space to accommodate the entire Fortnite installation.
Tip: Consider opting for an SSD (Solid State Drive) for faster loading times and improved performance.
Step 3: Install the New Hard Disk
After selecting a new hard disk, it’s time to physically install it into your system. Follow the manufacturer’s instructions to open your computer case and connect the new hard disk to the appropriate slots. Ensure that the new hard disk is securely connected to the power and data cables.
Caution: Handle the new hard disk with care to avoid any physical damage.
Step 4: Transfer Your Game Files
With the new hard disk installed, it’s time to transfer your Fortnite game files from the backup to the new hard disk. Simply copy the Fortnite folder from the backup location to the new hard disk. Ensure that you place the Fortnite folder in the correct directory to ensure proper functionality of the game.
Important: Make sure to delete the Fortnite folder from the old hard disk to free up space.
Step 5: Test and Enjoy
Once you have transferred your game files successfully, it’s time to test your new Fortnite installation. Launch the game and ensure that all your progress, settings, and purchased items are intact. If everything is functioning as expected, you can now enjoy Fortnite on your new hard disk with plenty of storage space!
Final Thoughts: Changing your Fortnite hard disk can be a straightforward process if you follow the steps outlined above. Remember to always backup your game files and handle the new hard disk with care. With a new hard disk, you can continue your Fortnite gaming adventures without any storage limitations!
Changing the hard disk on which Fortnite is installed can be necessary if you need more storage space or if you want to upgrade to a faster disk. Follow these steps to change the Fortnite hard disk:
Read Also: Original Modern Warfare 2 servers shut down due to self-replicating malware threat: Report2. Prepare the new hard disk Get a new hard disk that meets the minimum system requirements for Fortnite. Make sure to also check the capacity and speed of the hard disk to ensure a smooth gaming experience. Install the new hard disk into your computer or connect it as an external drive. 3. Format the new hard disk If the new hard disk is not pre-formatted, you will need to format it before you can install Fortnite on it. This can be done using the disk management tool in your operating system. Follow the instructions provided by your operating system’s disk management tool to format the new hard disk.
4. Install Fortnite on the new hard disk If you have a physical copy of the game, insert the installation disc into your computer’s disc drive and follow the on-screen instructions to install Fortnite on the new hard disk. If you have a digital copy of the game, download the installation files from the official Fortnite website and run the installer. During the installation process, choose the new hard disk as the installation location. 5. Restore your Fortnite game files After you have successfully installed Fortnite on the new hard disk, copy your backed-up game files back to the Fortnite installation folder. This will restore your game progress and settings.
Read Also: Political streamer Destiny receives indefinite ban from Twitch6. Verify the game files To ensure that the game files were copied correctly and that there are no missing or corrupted files, verify the game files using the built-in verification tool provided by Fortnite. This tool will compare the game files on your new hard disk with the original files and fix any discrepancies. 7. Launch Fortnite Once the game files have been verified, you can launch Fortnite and start playing. Make sure to check your game settings and customize them according to your preferences.
By following these step-by-step instructions, you should be able to successfully change the Fortnite hard disk and continue enjoying the game on your new storage device.
Before you start changing your Fortnite hard disk, it’s important to back up your game data to ensure that you don’t lose any progress or valuable items. Follow these steps to back up your Fortnite data:
It’s a good practice to create multiple backups and store them in different locations, such as an external hard drive or cloud storage, to ensure the safety of your Fortnite data.
Before you can install a new hard disk, you need to remove the old one from your computer. Here are the steps to do so:
Once the old hard disk has been removed, you can move on to the next step: installing the new hard disk.
After you have successfully removed the old hard disk from your computer, it’s time to install the new one:
Now that the new hard disk is installed, you will need to reinstall Fortnite:
Congratulations! You have successfully installed the new hard disk and reinstalled Fortnite. You can now enjoy the game without any storage issues.
Fortnite Hard Disk refers to the storage device on the computer where the game files of Fortnite are stored.
Yes, you can change the hard disk for Fortnite if you want to move the game files to a different storage device.
There could be several reasons why you would want to change the hard disk for Fortnite. Some possible reasons include wanting to upgrade to a larger storage capacity, replacing a faulty hard disk, or simply wanting to move the game files to a different drive.
You might need to change the hard disk for Fortnite if you are running out of storage space on your current drive or if your existing hard disk is experiencing issues such as frequent crashes or slow performance.
The steps to change the hard disk for Fortnite include backing up your game files, installing the new hard disk, formatting the new hard disk, and then transferring the game files from the backup to the new drive. Detailed instructions can be found on the website mentioned in the article.
You may not need any special tools, but you would require a screwdriver to physically install the new hard disk. As for software, you might need disk cloning software or a file transfer utility to move the game files from the backup to the new drive.
The difficulty level of changing the hard disk for Fortnite would depend on your technical skills and experience with computer hardware. If you are comfortable working with computer components and following instructions, it should not be too difficult. However, if you are unsure, it might be a good idea to seek help from a professional or a knowledgeable friend.
How To Enable Roblox Voice Chat? If you’re a fan of Roblox, you may have heard about the new voice chat feature that allows you to communicate with …
Read Article
Where Is Rick In Fortnite? Fortnite players are always on the lookout for new and exciting characters to add to their collection. And one of the most …
Read Article
What Does The Smite Enchantment Do In Minecraft? When it comes to battling the undead in Minecraft, having the right weapons and enchantments can make …
Read Article
As Twitter and Reddit wrestle with their own users, the future of the web feels up in the air In recent months, popular social media platforms Twitter …
Read Article
What Is Roblox Studio? Roblox Studio is a powerful tool that allows users to create, design, and develop their own games on the popular online gaming …
Read Article
How To Send A Kof Skin Mobile Legends? Mobile Legends: Bang Bang is a popular mobile game that offers a wide range of character skins to enhance the …
Read Article


