

Discover How To Get Raymond In Animal Crossing: Step-By-Step Guide!
How To Get Raymond Animal Crossing? Animal Crossing: New Horizons has quickly become a beloved game for many players around the world. With its …
Read Article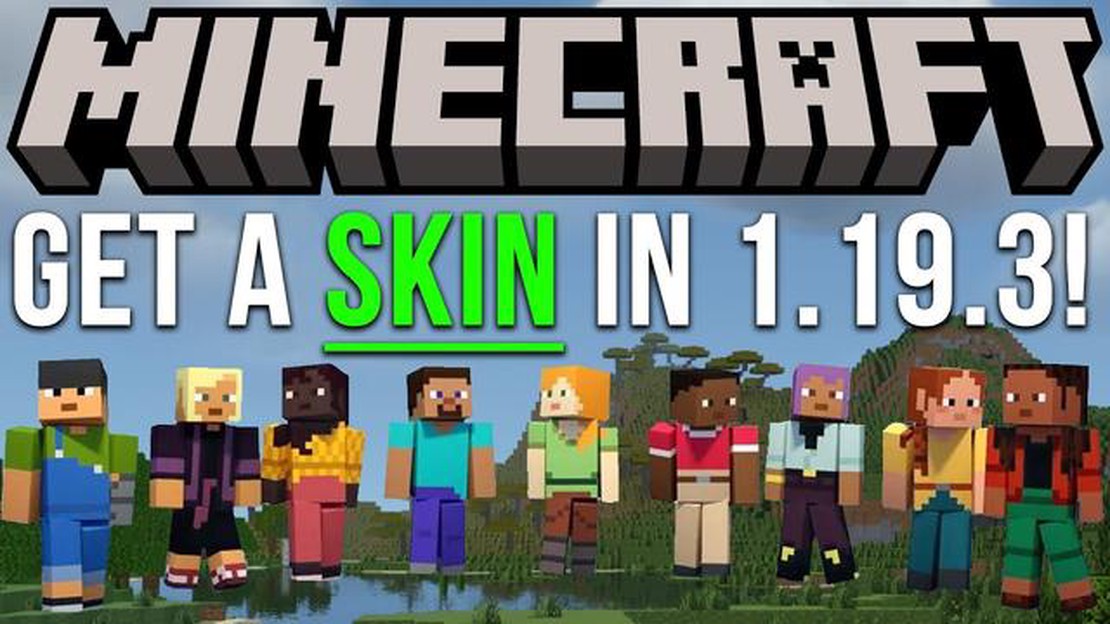
Changing your Minecraft skin is a fun and creative way to personalize your character and make it stand out from the crowd. Whether you want to look like your favorite character from a movie or show, or you simply want to express your own unique style, changing your Minecraft skin is a simple process that anyone can do. In this step-by-step guide, we will walk you through the process of changing your Minecraft skin, so you can start showing off your new look in no time.
Step 1: Find a Minecraft skin that you like. There are plenty of websites and forums where you can find a wide variety of Minecraft skins to choose from. You can try searching for skins based on your favorite characters, themes, or even create your own custom skin.
Step 2: Download the Minecraft skin. Once you have found a skin that you like, simply click on the download button or link to save the skin to your computer. Make sure to remember where you saved the skin so you can easily find it later.
Step 3: Open the Minecraft launcher. Before you can change your skin, you will need to open the Minecraft launcher on your computer. If you don’t have the Minecraft launcher installed, you can download it for free from the official Minecraft website.
Step 4: Click on “Skins”. Once the Minecraft launcher is open, click on the “Skins” tab located at the top of the launcher. This will take you to the skin selection screen where you can choose a new skin for your character.
Step 5: Choose your new skin. On the skin selection screen, click on the “Browse” button to locate the downloaded skin on your computer. Select the skin file and click “Open” to apply the new skin to your character.
Step 6: Start Minecraft. After you have selected your new skin, click on the “Play” button in the launcher to start the game. Once Minecraft has loaded, you will see your character wearing the new skin.
Changing your Minecraft skin is a quick and easy way to customize your character and make it truly your own. By following these simple steps, you can change your Minecraft skin and show off your unique style to other players. So go ahead and give your character a makeover with a new skin!
Changing your Minecraft skin allows you to personalize your in-game character and express your individuality. It adds a unique touch to your gameplay experience and can make you stand out among other players. Here are a few reasons why you might want to change your Minecraft skin:
Overall, changing your Minecraft skin is a simple way to add a personal touch to your gameplay and connect with the Minecraft community. Whether you create your own skin or choose from the vast selection available online, it’s an enjoyable process that allows you to make the game truly your own.
Read Also: Assassin's Creed Valhalla Ciara choice guide: Make the Right Decision!
Changing your Minecraft skin allows you to customize your in-game character’s appearance. Whether you want to look like your favorite character from a movie, TV show, or game, or you simply want to express your creativity, choosing a new skin is the first step.
Here are a few ways you can choose a new skin:
Remember that when choosing a new skin, you should consider the style and theme that you want to represent in the game. Whether you prefer a realistic look, a whimsical design, or something in between, there’s a Minecraft skin out there that’s perfect for you!
Once you’ve found the perfect Minecraft skin you want to use, the next step is to download it onto your computer. You can find a variety of Minecraft skins on websites like minecraftskins.net, mcskinsearch.com, or various user forums.
To download the skin, follow these steps:
Make sure to remember the location where you saved the skin, as you will need to access it in the next step.
Read Also: Step-by-Step Guide: How to Gift a Skin in Mobile Legends
Alternatively, some websites may offer a direct download button for the skin. In this case, simply click on the download button and the skin will be saved to your computer.
Note: It’s important to only download Minecraft skins from trusted sources to ensure your computer’s safety.
Once you have downloaded or created a new Minecraft skin, follow these steps to install it:
That’s it! You have successfully installed a new skin in Minecraft. Enjoy playing with your customized character!
Minecraft skin is the appearance or texture that is applied to the player character in the game Minecraft. It can be customized to give a unique look to the player’s avatar.
Yes, you can create your own Minecraft skin. You can use various skin editors or pixel art software to design and create a unique skin for your Minecraft character. There are also many tutorials available online that can help you in the process of creating your own skin.
Yes, there are some restrictions and guidelines for Minecraft skins. The skin must fit within a specific template and should not have any offensive or inappropriate content. Minecraft skins should also not provide any unfair advantage in the game. It’s always recommended to follow the guidelines provided by Mojang, the creators of Minecraft, to ensure that your skin is within the acceptable limits.
Yes, you can change your Minecraft skin in the console edition of the game. The process may slightly vary depending on the console you are using. Generally, you can change your skin by accessing the skin options in the game settings or by using the official Minecraft website or skin websites.
Yes, other players in the Minecraft multiplayer will see your skin. When you join a multiplayer server, your character’s skin will be visible to other players. This allows you to showcase your unique skin and stand out in the game.
How To Get Raymond Animal Crossing? Animal Crossing: New Horizons has quickly become a beloved game for many players around the world. With its …
Read Article
Where to get Fluxweed Stem in Hogwarts Legacy If you’re playing Hogwarts Legacy, you may have come across a quest that requires you to find Fluxweed …
Read Article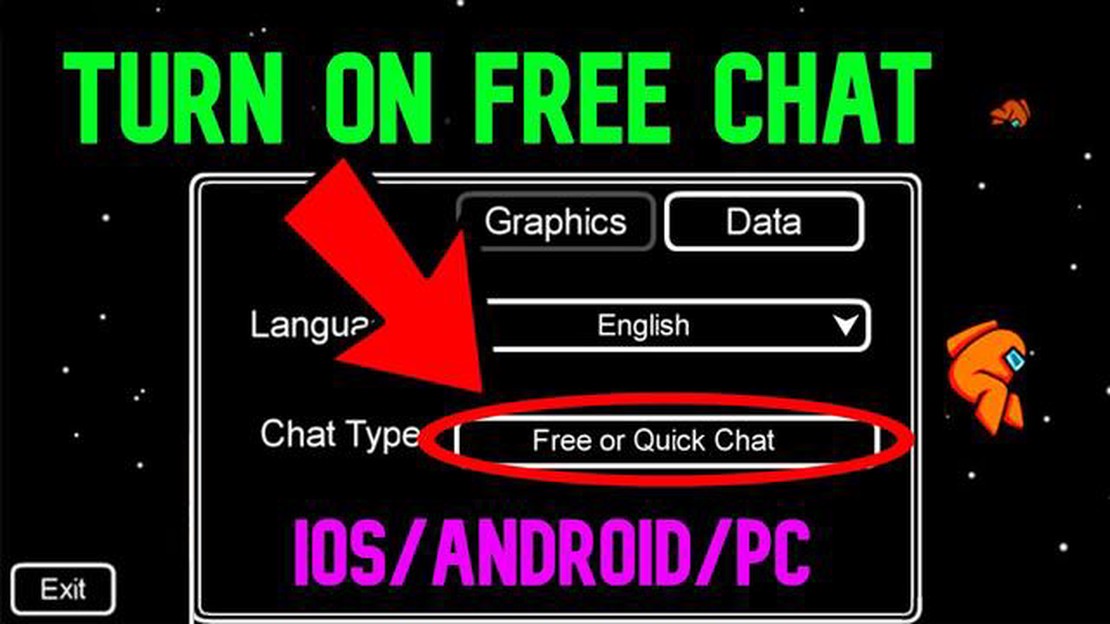
Why Can�t I Talk In Among Us Chat? Among Us, the popular multiplayer game that has taken the gaming world by storm, allows players to communicate with …
Read Article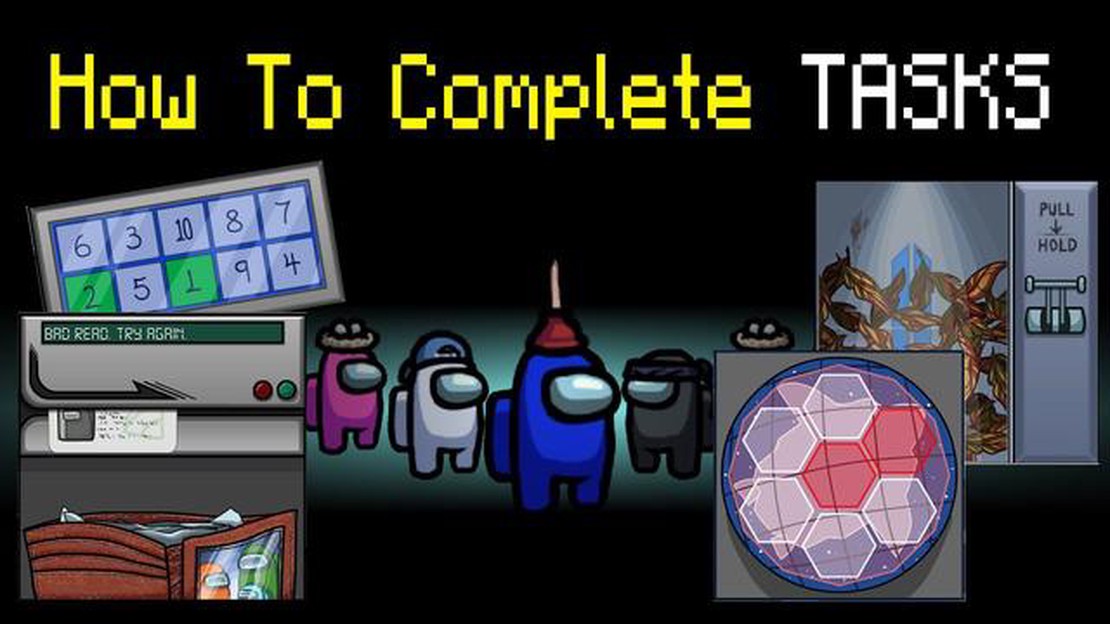
How To Complete Tasks Among Us? Among Us is a popular online multiplayer game that requires players to work together to complete various tasks while …
Read Article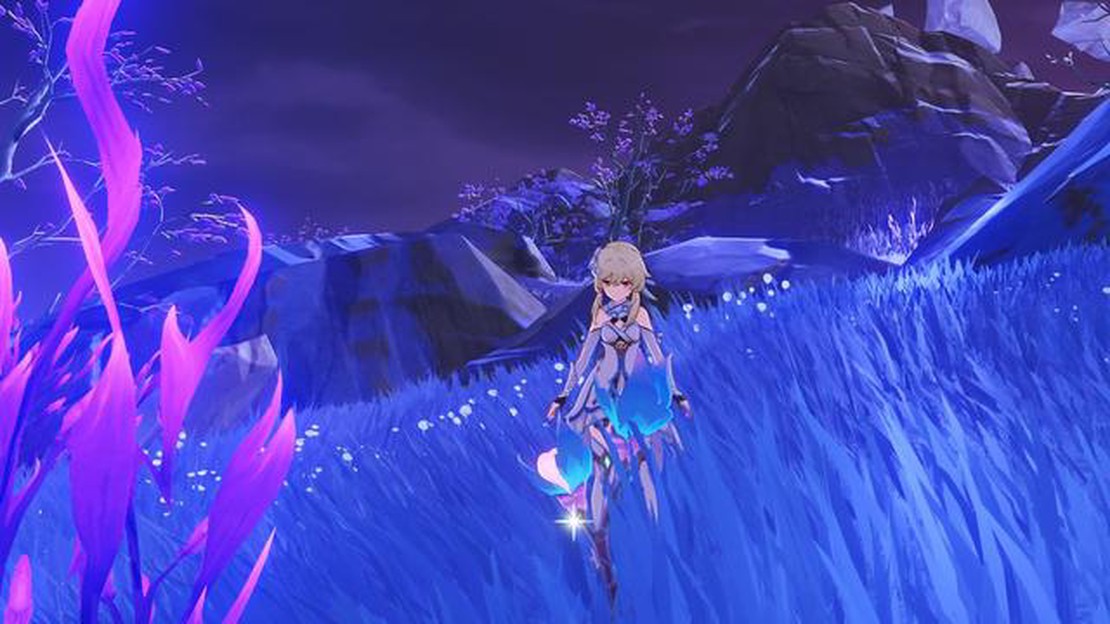
Genshin Impact Amakumo Fruit locations guide Amakumo Fruit is a rare resource in Genshin Impact that players can use for various purposes, such as …
Read Article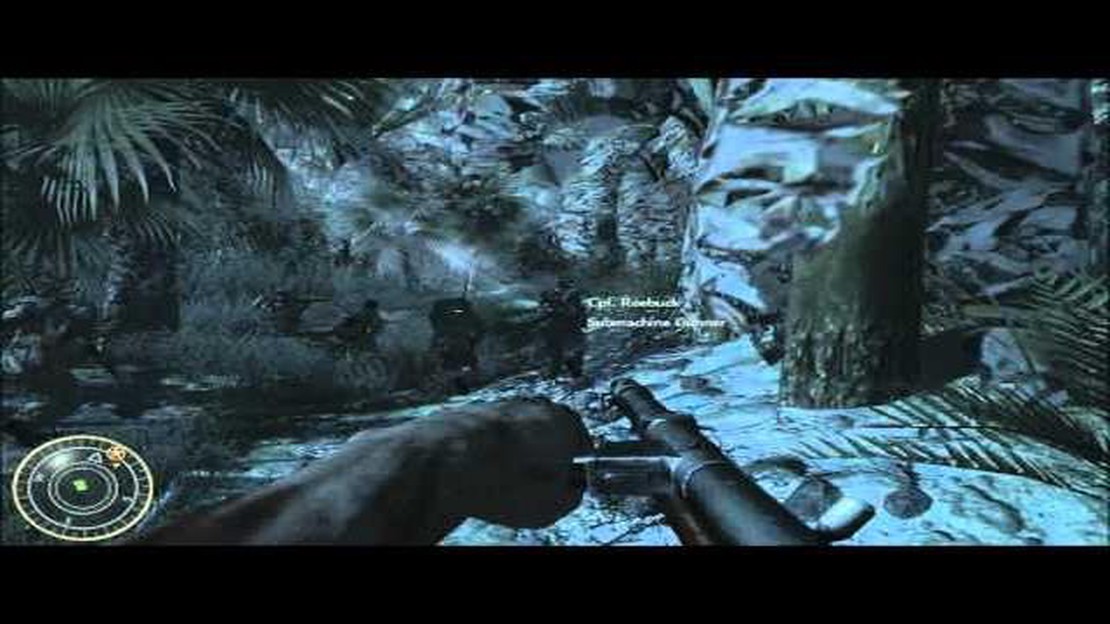
How Many Missions Are In Call Of Duty: World At War? Call Of Duty: World At War is a first-person shooter video game developed by Treyarch and …
Read Article


