

Simple Steps to Download Brawl Stars on Android | Easy Guide
How Todownload Brawl Stars On Android? Are you a fan of action-packed games? Look no further than Brawl Stars! This thrilling mobile game has captured …
Read Article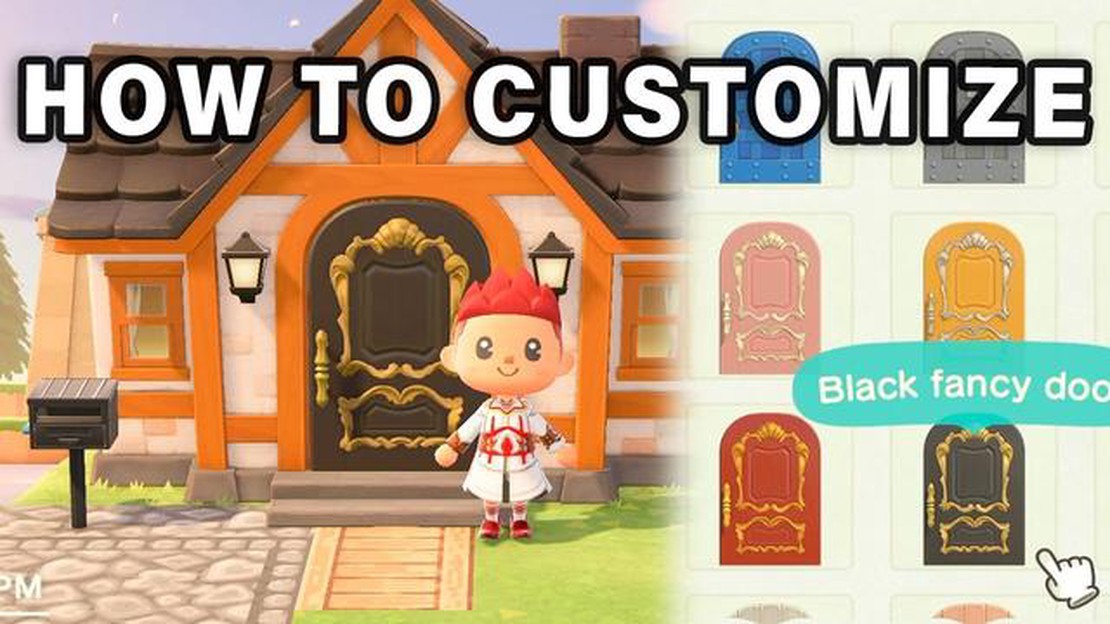
Animal Crossing: New Horizons has taken the gaming world by storm, providing a relaxing and immersive escape for players. One of the most exciting features of the game is the ability to completely customize and personalize your own island, including your own house. If you’ve been playing for a while and are looking to change the location of your house, this step-by-step guide is here to help.
Firstly, it’s important to note that you cannot change the layout or terrain of your island, so choose your new house location carefully. Once you have a spot in mind, head to the Resident Services building and speak to Tom Nook. He will give you the option to relocate your house.
Next, you’ll need to pay off your current house loan, as well as the relocation fees. The cost will vary depending on the size and location of your new house. Once the payment is made, Tom Nook will inform you that your house will be moved overnight. This means that you will need to wait until the following day to see your house in its new location.
On the day of the move, head outside to find your house in its new spot. You can now start customizing and decorating it to your heart’s content. Feel free to move furniture, change wallpaper and flooring, and add your personal touch to make it truly feel like home.
Tip: Before moving your house, it’s a good idea to take a screenshot of your current house’s interior. This will make it easier to recreate the layout and design in your new house.
Changing the location of your house in Animal Crossing: New Horizons gives you the opportunity to refresh your island and create a new living space that reflects your style. By following this step-by-step guide, you’ll be well on your way to enjoying your newly relocated house in no time.
Animal Crossing New Horizons allows players to customize their in-game house to their liking. From changing the exterior design to rearranging the interior, there are various ways to personalize your virtual home. Follow this step-by-step guide to learn how to change your house in Animal Crossing New Horizons.
To start customizing your house, you first need to unlock the House Customization app on your in-game smartphone. To do this, you must progress through the initial stages of the game until you have paid off your initial loan and upgraded your tent to a house.
Once you have a house, talk to Tom Nook, the resident representative of the island, and let him know that you want to customize your house. He will provide you with the House Customization app, which will be added to your in-game smartphone. Access the app by pressing the “-” button on your Nintendo Switch controller.
Open the House Customization app and select “Customize the outside.” Here, you can choose from a variety of exterior designs for your house, including different colors, patterns, and roof styles. Browse through the options and pick the one that best suits your preferences.
After selecting the exterior design, you can also change the layout of your house. Choose the “Reconfigure rooms” option in the House Customization app. This will allow you to move rooms, expand or shrink their size, and even add or remove rooms. Experiment with different layouts until you are satisfied with the arrangement.
Once you are happy with the exterior design and layout, it’s time to customize the interior of your house. Use the House Customization app to access the interior options. Here, you can change the wallpaper, flooring, and furniture of each room. Explore different themes, colors, and styles to create your ideal living space.
Read Also: Find out how to complete Rocket League Challenges in Fortnite
After making all the desired changes to your house, make sure to save your progress. Press the “-” button to exit the House Customization app and enjoy your newly customized home in Animal Crossing New Horizons.
Remember that you can always revisit the House Customization app to make further changes whenever you feel like it. Have fun experimenting with different designs and creating your dream virtual house!
Before you begin changing the placement of your house in Animal Crossing: New Horizons, it’s important to gather the necessary resources and materials to ensure a smooth transition.
Here is a list of items you will need:
Read Also: Discover the Best Team in Mobile Legends for Epic Gameplay
By gathering these necessary resources and materials, you will be well-prepared to change the placement of your house in Animal Crossing: New Horizons.
Once you’ve decided to change the location of your house in Animal Crossing: New Horizons, the first step is to find a suitable spot for it. Take some time to explore your island and consider the following factors:
It’s a good idea to mark the desired location with a temporary item or pattern on the ground to help you visualize how your house will fit into the space. You can also consult with other players or seek inspiration from online forums and social media platforms for popular house locations.
Remember, choosing a suitable location for your new house is an important decision as it will affect the overall layout and flow of your island. Take your time and consider all the factors to make the best choice!
Once you have chosen the perfect spot for your new house in Animal Crossing New Horizons, it’s time to start the relocation process and make it your own. Here is a step-by-step guide on how to do it:
By following these steps, you can easily relocate your house in Animal Crossing New Horizons and create a new dream home for your character. Have fun customizing and decorating!
The cost to change your house in Animal Crossing New Horizons depends on the size of the upgrade you choose. The first upgrade costs 98,000 Bells, and each subsequent upgrade increases in price.
Yes, you can customize the exterior of your house in Animal Crossing New Horizons. Once your house has been upgraded at least once, you can speak to Tom Nook to select different colors and styles for your roof, front door, and mailbox. You can also choose to add a chimney or a fence to your house.
There are a few restrictions on changing your house in Animal Crossing New Horizons. You can only upgrade your house once per day, and you cannot move your house to a different location on your island without using an Amiibo card. Additionally, you cannot change the overall shape or layout of your house, only the exterior colors and additions.
Yes, you can change the interior of your house in Animal Crossing New Horizons. You can buy new furniture, wallpapers, and flooring from Nook’s Cranny or from other players. You can also customize furniture using DIY recipes and materials. Additionally, you can move and rearrange furniture in your house to create different layouts.
How Todownload Brawl Stars On Android? Are you a fan of action-packed games? Look no further than Brawl Stars! This thrilling mobile game has captured …
Read Article
Logitech promo codes for August 2023 Looking for a great deal on the newest technology from Logitech? Look no further! We have rounded up the best …
Read Article
Welcome to microtransaction hell: Buy a BMW, pay monthly for the car’s features In recent years, the automotive industry has been exploring new ways …
Read Article
In Resident Evil Village, Chris Redfield is finally a person Resident Evil Village, the latest installment in the popular survival horror video game …
Read Article
Where Can You Buy Pokemon Cards? If you’re a Pokemon collector, you know how thrilling it is to find that rare card you’ve been searching for. But …
Read Article
How To Make Your Own Skin In Fortnite? Fortnite is a popular online multiplayer game that allows players to battle it out in a virtual world. One of …
Read Article


