
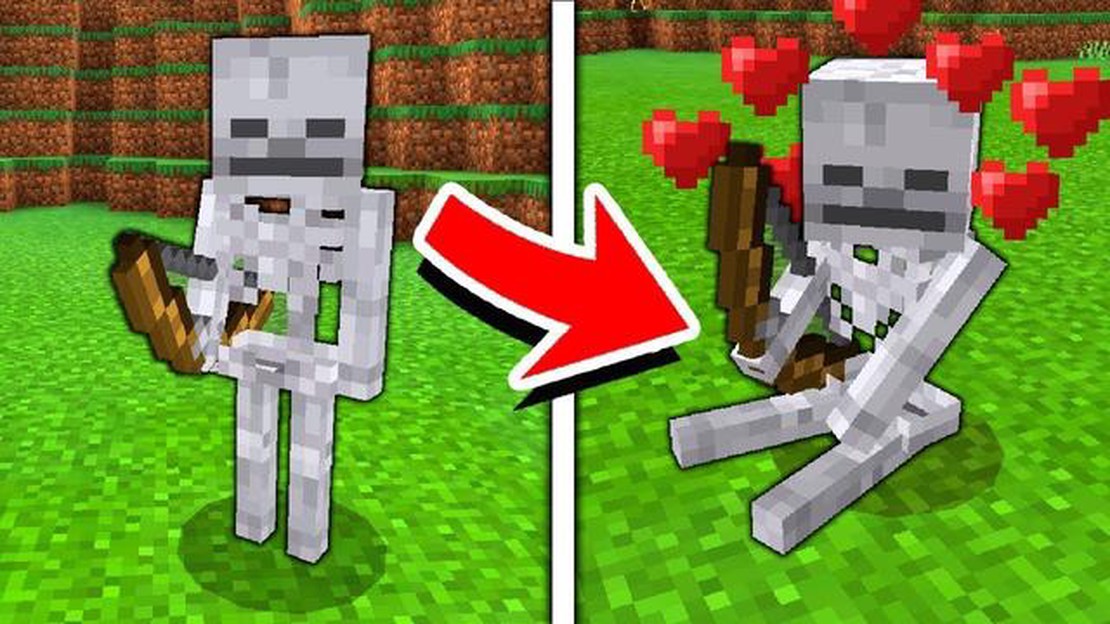

Learn How to Tame a Skeleton in Minecraft | Expert Guide
How to Tame a Skeleton in Minecraft Minecraft, the popular sandbox game, offers a wide range of fun and exciting activities for players to enjoy. One …
Read Article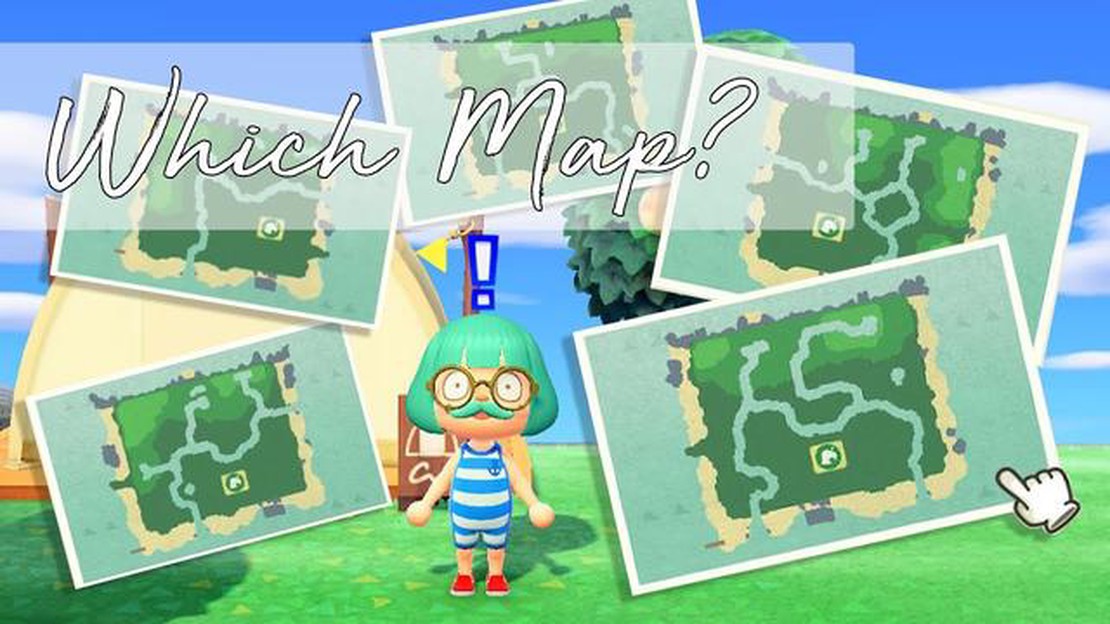
Are you tired of the same old island layout in Animal Crossing? Do you want to give your island a fresh new look? Well, you’re in luck! In this step-by-step guide, we will show you how to change your island layout and transform your deserted island into a bustling paradise.
First, it’s important to note that changing your island layout requires some careful planning and organization. You’ll need to think about the overall design and layout you want for your island before you start making any changes. Consider factors such as where you want your resident services building to be, the location of your river, cliffs, and beaches, and any specific landmarks or features you want to include.
Once you have a clear vision of how you want your island to look, it’s time to start making changes. The first step is to unlock the Island Designer app on your NookPhone. To do this, you’ll need to have upgraded your resident services building and invited at least 3 new villagers to live on your island.
Once you have the Island Designer app, you can start terraforming your island. Use the app to build and demolish cliffs, rivers, and paths to create your desired layout. You can also add bridges and inclines to make it easier for your villagers to navigate your island.
Remember, changing your island layout is a long and time-consuming process, so be patient and take your time. Experiment with different designs and layouts until you find the perfect one. And most importantly, have fun! Animal Crossing is all about creating your own unique island paradise, so let your creativity run wild and enjoy the process of transforming your island into the ultimate getaway.
Animal Crossing: New Horizons allows players to completely customize and change their island layout. If you’re looking to overhaul your island or just switch things up, follow these steps to change your island layout:
Remember that changing your island layout is a big undertaking, so take your time and enjoy the process. Experiment with different designs and don’t be afraid to make changes along the way. With a bit of creativity and patience, you can create the island of your dreams in Animal Crossing: New Horizons!
Before you start changing your island layout in Animal Crossing, make sure you have the following tools:
Having these tools on hand before you start changing your island layout will make the process smoother and more efficient. It’s always better to be prepared!
Read Also: Step-by-Step Guide on How to Reset Pokemon Y | Quick and Easy Tutorial
Before you can start changing your island layout, make sure that your game is updated to the latest version. Updating your game will ensure that you have access to all the features and improvements that have been released.
To update your game, follow these steps:
It’s important to keep your game updated to ensure that you have the best gaming experience possible. Additionally, some new features and improvements may be required for certain island layout changes, so it’s always a good idea to stay up to date with the latest updates.
| Tip: | Make sure to check for updates regularly to stay current with any new features or bug fixes that are released. |
Read Also: Understanding Elemental Burst in Genshin Impact - Exploring the Power of Ultimate Abilities
Once you have completed the preliminary preparations and obtained the necessary tools, it’s time to start landscaping your island in Animal Crossing. Here are some steps to guide you through the process:
Remember, landscaping your island in Animal Crossing is an ongoing process. Don’t be afraid to experiment, make changes, and continuously improve your island over time. With patience and creativity, you can create a beautiful and unique island that reflects your personal style.
Yes, you can change the layout of your island in Animal Crossing by using the Island Designer app.
You can unlock the Island Designer app by achieving a 3-star rating on your island and then talking to Isabelle to get a 3-star rating evaluation.
With the Island Designer app, you can change the terrain of your island, create paths, rivers, and cliffs, and place or remove bridges and inclines.
While you have a lot of freedom to change your island layout, there are some limitations. You can’t move existing buildings, move the Resident Services building, or change the location of the airport or the pier.
No, you don’t need any special items or resources to change your island layout. The Island Designer app provides you with everything you need to make changes to your island.
How to Tame a Skeleton in Minecraft Minecraft, the popular sandbox game, offers a wide range of fun and exciting activities for players to enjoy. One …
Read Article
Top Players of Fortnite Fortnite, the popular online video game developed by Epic Games, has taken the gaming world by storm with its exciting Battle …
Read Article
How To Make Compass In Minecraft? Playing Minecraft can be a lot of fun, especially when you have the right tools to navigate and explore the vast and …
Read Article
Animal Crossing How To Play? Welcome to the wonderful world of Animal Crossing! Whether you’re a seasoned gamer or new to the world of video games, …
Read Article
How To Make Excellent Throws In Pokemon Go? If you’re a Pokemon Go player, you know that catching Pokemon is a big part of the game. And one of the …
Read Article
How Many Levels In Call Of Duty Advanced Warfare? If you are a fan of first-person shooter games, then you have probably played or heard of the Call …
Read Article


