

Learn How to Create a Poison Potion in Minecraft
How To Make Poison Potion In Minecraft? Minecraft, the massively popular sandbox game, offers players the ability to explore, discover, and create in …
Read Article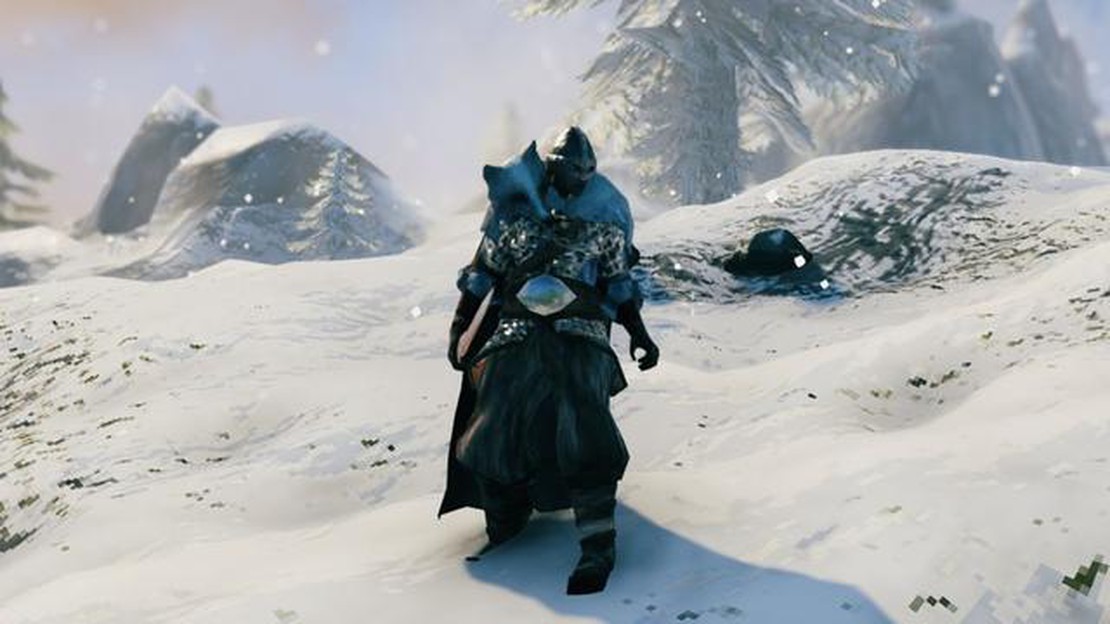
Valheim is a popular survival game that challenges players to explore a vast open world filled with dangerous creatures and ancient mysteries. As you progress through the game, you’ll encounter more and more powerful enemies, making it essential to craft the best armor to protect yourself.
There are several different types of armor in Valheim, each offering different levels of protection and bonuses. In this step-by-step guide, we’ll walk you through the process of crafting the best armor in the game, ensuring that you’re well-equipped to face any threat that comes your way.
To start, you’ll need to gather the necessary resources to craft the best armor. This may include mining ore, chopping down trees, and hunting animals for their hides. Once you have the required resources, head to a workbench or forge to begin the crafting process.
One of the first armor sets you’ll want to craft is the Bronze set. This set offers decent protection and can be made using bronze bars, which are crafted by smelting copper and tin ores together. Once you have enough bronze bars, head to the forge and craft the bronze helmet, chestplate, and leggings.
As you progress further in the game, you’ll unlock new biomes and encounter more challenging enemies. It’s important to upgrade your armor to keep up with the increasing difficulty. This may include crafting the Iron set, which requires iron bars made from smelting iron scraps. The Iron set offers increased protection and bonuses compared to the Bronze set.
By following this step-by-step guide, you’ll be able to craft the best armor in Valheim and face even the toughest enemies with confidence. Remember to continue exploring, gathering resources, and upgrading your gear to stay ahead of the game’s challenges!
Armor is crucial in Valheim as it provides protection against the dangerous enemies and environmental hazards that you will encounter in the game. Crafting the best armor will significantly increase your chances of surviving and progressing through the game. Here is a step-by-step guide on how to craft the best armor in Valheim.
Read Also: How Many Fortnite Skins Are There? Exploring the Extensive Collection
Remember, crafting and upgrading the best armor in Valheim requires time, effort, and exploration. Make sure to gather the necessary resources, defeat bosses, and unlock the crafting recipes to create the most powerful armor sets. With the best armor on your side, you will be better equipped to face the challenges that await you in Valheim.
When playing Valheim, crafting armor is crucial for survival. Armor provides protection against enemy attacks and improves your chances of survival in dangerous situations. Follow this step-by-step guide to craft the best armor in Valheim:
By following this step-by-step guide, you’ll be able to craft and equip the best armor in Valheim, improving your chances of survival in the harsh world. Remember to continuously upgrade your armor as you progress and face stronger enemies.
When it comes to surviving in Valheim, having the best armor is essential. The right armor can provide you with protection against dangerous creatures and allow you to explore the world with confidence. Here are some key features to look for in the best armor in Valheim:
Read Also: Mastering the Art of Using Elytra in Minecraft: Step-by-Step Guide
By considering these features, you can make an informed decision when choosing the best armor in Valheim. Remember, the best armor is not just about protection, but also about enhancing your gameplay experience and helping you survive in the harsh world of Valheim.
To craft armor in Valheim, you will need various materials such as leather scraps, deer hide, boar hide, bronze ingots, iron ingots, and silver ingots.
Leather scraps can be obtained by killing boars or by finding them in abandoned chests or barrels scattered throughout the world. Deer hide can be obtained by killing deer.
To obtain bronze ingots, you will need to find copper and tin ores. You can mine copper by using a pickaxe on copper deposits found in the Black Forest biome. Tin can be found in the Swamp biome. Once you have both copper and tin ores, you can smelt them in a smelter to create bronze ingots.
There are several armor sets in Valheim that are considered to be the best. The Wolf Armor set provides good protection and can be crafted using silver ingots. The Padded Armor set is also highly regarded for its protection and can be crafted using iron ingots. Additionally, the Bronze Armor set is a solid choice for mid-game and can be crafted using bronze ingots.
How To Make Poison Potion In Minecraft? Minecraft, the massively popular sandbox game, offers players the ability to explore, discover, and create in …
Read Article
Brawl Stars Which Brawler To Upgrade? When it comes to playing Brawl Stars, choosing which Brawler to upgrade can be a difficult decision. With over …
Read Article
How To Get Lucario In Pokemon Go? If you’re a fan of Pokemon Go, then you’re probably always on the lookout for rare and powerful Pokemon to add to …
Read Article
What Do Lucky Pokemon Do? Have you ever heard of Lucky Pokémon? These special, rare creatures possess incredible powers and can be a valuable asset in …
Read Article
How To Unlock Edgar In Brawl Stars? Brawl Stars is a popular mobile game developed by Supercell that features a diverse cast of characters, each with …
Read Article
How To Catch Legendery Pokemon? Legendary Pokemon are some of the rarest and most powerful creatures you can encounter in the world of Pokemon. …
Read Article


