
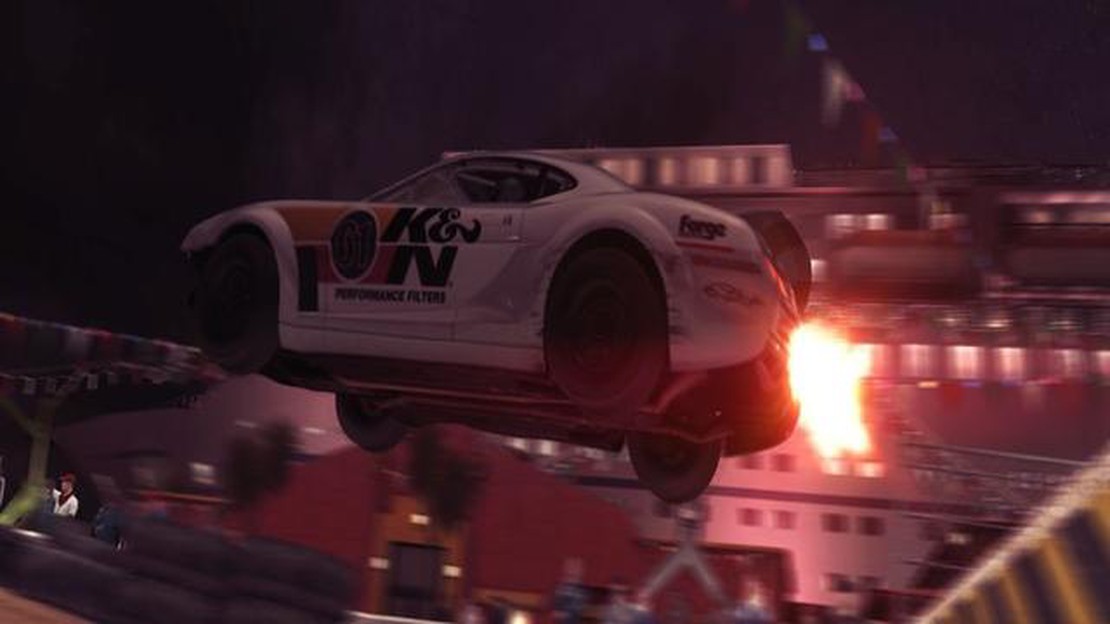

Dirt Showdown review: A thrilling racing experience
Dirt Showdown review Dirt Showdown is an adrenaline-fueled racing game that delivers a thrilling experience for both casual players and hardcore …
Read Article
Are you ready to take your fashion game to the next level? With Roblox, the popular online gaming platform, you can design and create your own clothing for your avatar. Whether you want to show off your unique style or start your own virtual fashion empire, this step-by-step guide will teach you everything you need to know about creating clothing on Roblox.
Step 1: Get Inspired
Before diving into the world of clothing design, it’s important to gather inspiration. Look at the latest fashion trends, explore different styles, and think about what you want your clothing to express. Whether you’re into streetwear, formal wear, or funky accessories, having a clear vision will help you create clothing that stands out.
Step 2: Choose a Design Software
To create your clothing, you’ll need a design software. There are many options available, ranging from beginner-friendly programs to professional-grade software. Some popular choices include Adobe Illustrator, Photoshop, and GIMP, which is a free and open-source alternative. Choose the software that best suits your needs and skill level.
Step 3: Create your Design
Now it’s time to bring your vision to life! Use your chosen design software to sketch out your clothing design. Experiment with colors, patterns, and textures to make your clothing truly unique. Don’t forget to consider how your design will look from different angles, as Roblox avatars can move in 3D space.
Step 4: Upload your Design to Roblox
Once you’re satisfied with your design, it’s time to upload it to Roblox. Log in to your Roblox account and navigate to the Create section. Select the “Shirts,” “Pants,” or “T-Shirts” tab, depending on the type of clothing you’re creating. Click on the “Choose File” button, locate your design file on your computer, and upload it.
Step 5: Customize and Publish your Clothing
After uploading your design, you can customize your clothing further by adding decals, logos, or other decorative elements. Once you’re happy with the final result, give your clothing a catchy name and hit the “Publish” button. Congratulations! Your clothing is now available for other Roblox users to purchase and wear.
With these simple steps, you’re well on your way to becoming a fashion designer on Roblox. Experiment, get creative, and have fun bringing your clothing designs to life!
Creating clothing on Roblox allows you to customize your avatar and express your personal style. Whether you want to design a new shirt, pants, or accessories, follow these steps to start creating your own unique clothing items:
If you haven’t already, download and install Roblox Studio, the official development tool for Roblox. This software allows you to design and create your own 3D models, including clothing items.
Before diving into creating your clothing, it’s a good idea to plan your design first. Decide on the style, theme, and colors you want to use. Consider creating sketches or finding inspiration to help you visualize your clothing item.
Read Also: Diablo 4 Beta Dates and Preloading Times for the 'Server Slam' Weekend
In Roblox Studio, open a new Baseplate and go to the “Model” tab. Click on “Part” and insert a new part. This will serve as the template for your clothing item. Resize and shape the part to match the dimensions and style of your design.
To add texture to your clothing item, go to the “Model” tab and click on “Surface.” Choose a material for your clothing, such as fabric or leather. Adjust the texture scale and rotation to match your design.
To create the pattern for your clothing item, go to the “Model” tab and click on “Texture.” Import your own custom image or choose from the pre-existing textures available on Roblox. Adjust the texture scale, offset, and transparency to achieve the desired effect.
Once you’re satisfied with your clothing design, click on the “Play” button in Roblox Studio to test it out. Make any necessary adjustments to the sizing, positioning, or textures until you’re happy with the final result.
To make your clothing item available for others to use, go to the Roblox website and log in to your account. Navigate to the “Create” section and select “Shirts,” “Pants,” or “T-Shirts” depending on the type of clothing you created. Click on the “Choose File” button to upload the clothing template you created in Roblox Studio.
Fill in the necessary details for your clothing item, such as the name, description, and price. Choose whether you want your clothing item to be for sale or free. Once everything is set, click on the “Create” or “Publish” button to finalize the upload.
Read Also: Find Out How Much A Beetle Coin Master Node Earns Per Day Currently
After publishing your clothing item, it will become available in the Roblox catalog. You can share the link to your clothing item with others or wear it yourself to show off your design skills and unique style.
Remember to familiarize yourself with Roblox’s guidelines and policies regarding the creation and uploading of clothing items. Ensuring that your designs comply with these guidelines will help prevent any issues with moderation or copyright infringement.
To create clothing on Roblox, you first need to have a Roblox account. Here is a step-by-step guide on how to set up your Roblox account:
Congratulations! You have successfully set up your Roblox account and are ready to start creating clothing on Roblox.
When creating clothing on Roblox, you have the option to start from scratch or use a pre-made template. Using a template can save you time and effort, especially if you’re new to clothing design. Here’s how to choose the right clothing template for your project:
After importing the template, you can customize it further by adding your own designs, colors, and textures. Remember to save your project regularly to avoid losing your progress.
Using a clothing template is a great way to get started quickly and can help you learn the basics of clothing design on Roblox. Once you become more familiar with the process, you can experiment with creating your own unique designs from scratch.
Once you have created your basic clothing item on Roblox, you can customize it to make it unique and personalized. Here are some steps you can follow to customize your clothing:
By following these steps, you can customize your clothing item on Roblox to make it truly unique and reflect your personal style. Experiment with different colors, textures, patterns, decals, and accessories to create the perfect look for your avatar.
| Options | Description |
|---|---|
| Color | Change the color of your clothing item |
| Texture | Add textures to your clothing item |
| Pattern | Add patterns to your clothing item |
| Decals | Apply images to your clothing item |
| Accessories | Add accessories such as hats, glasses, and jewelry |
| Fit | Adjust the fit of your clothing item |
| Animations | Add special animations to your clothing item |
Roblox is a platform that allows users to create and play games. It also has a built-in marketplace where users can buy and sell virtual items, including clothing.
Yes, you can create your own clothing on Roblox. The platform provides tools and templates that you can use to design and customize your clothing items.
To start creating clothing on Roblox, you first need to have a Roblox account. Once you have an account, you can open the Roblox Studio, which is a tool for creating and editing games and items. From there, you can access the Clothing Designer and start designing your own clothing.
To create clothing on Roblox, you will need the Roblox Studio, which is available for download on the Roblox website. You will also need basic image editing software, such as Photoshop or GIMP, to create and edit the textures for your clothing items.
Dirt Showdown review Dirt Showdown is an adrenaline-fueled racing game that delivers a thrilling experience for both casual players and hardcore …
Read Article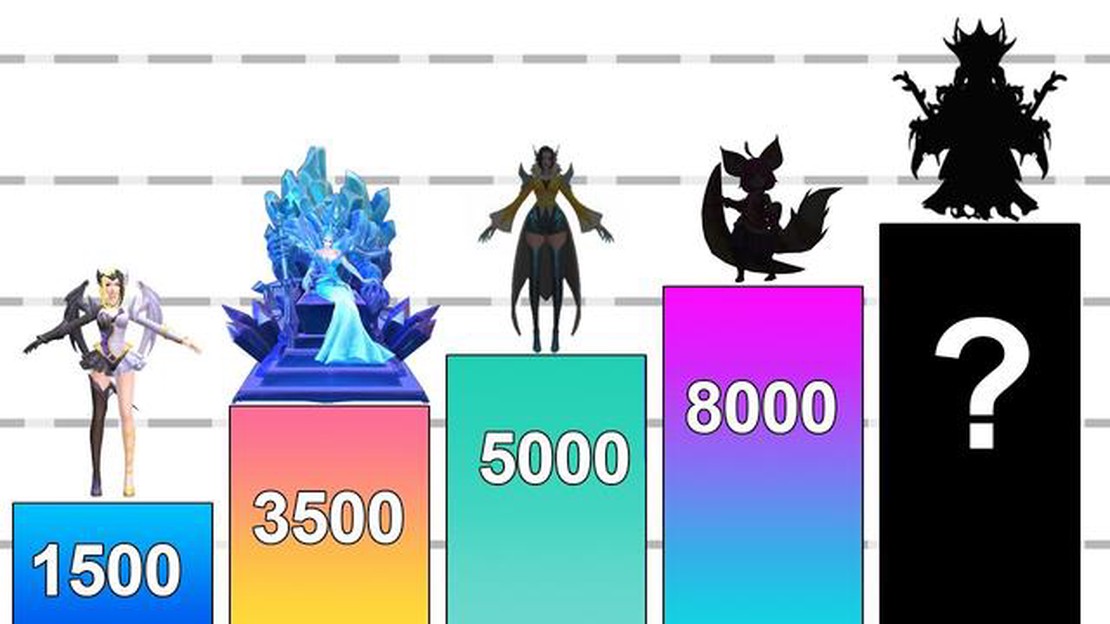
Who Is The Most Powerful Mage In Mobile Legends? Mobile Legends is a popular mobile game that features a variety of heroes with unique abilities. …
Read Article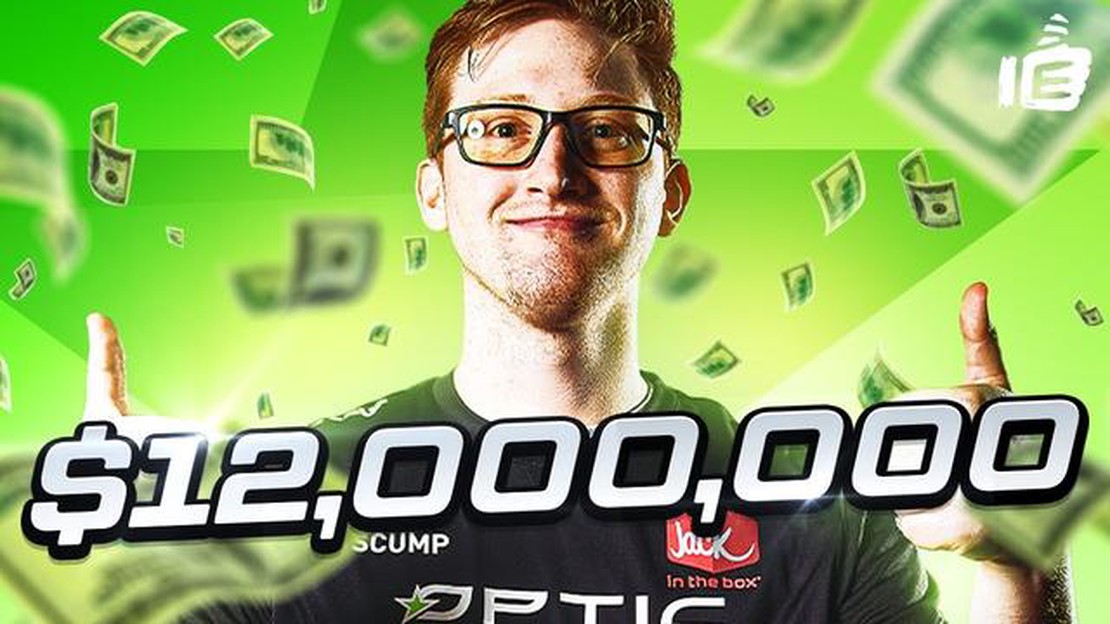
How Much Do Pro Call Of Duty Players Make? Call of Duty is one of the most popular video game franchises in the world, and its competitive scene has …
Read Article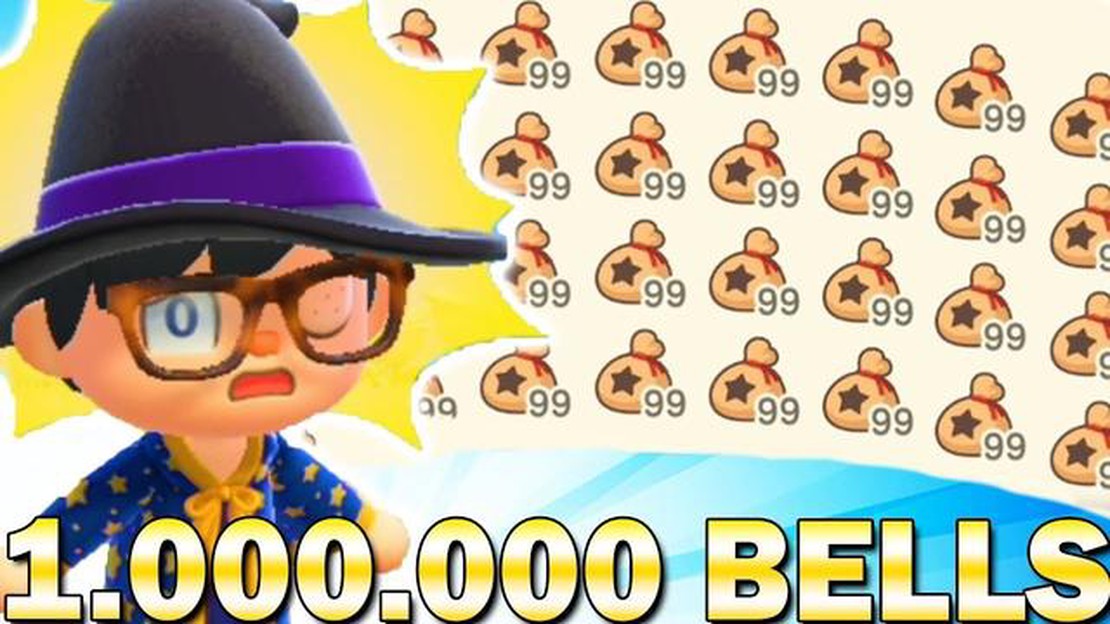
How To Get More Bells In Animal Crossing? Animal Crossing: New Horizons is a popular simulation game that allows players to create their own virtual …
Read Article
How To Make A Jack O Lantern In Minecraft? Halloween is just around the corner, and what better way to celebrate than by creating your very own Jack O …
Read Article
How To Make Macarons In Toca Boca? Macarons are a delightful French treat that can be a bit challenging to make in real life. However, with the Toca …
Read Article


