

AMD Radeon RX 6600 XT Review: A Powerful Gaming Graphics Card
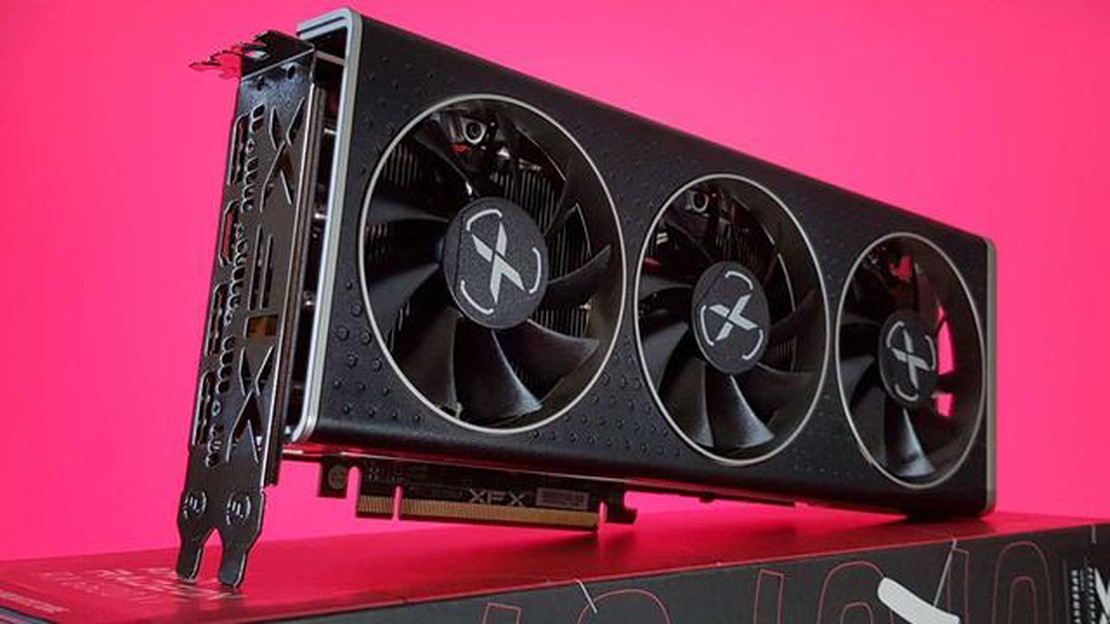
AMD Radeon RX 6600 XT review The AMD Radeon RX 6600 XT is the latest addition to AMD’s lineup of gaming graphics cards. Featuring the latest RDNA 2 …
Read Article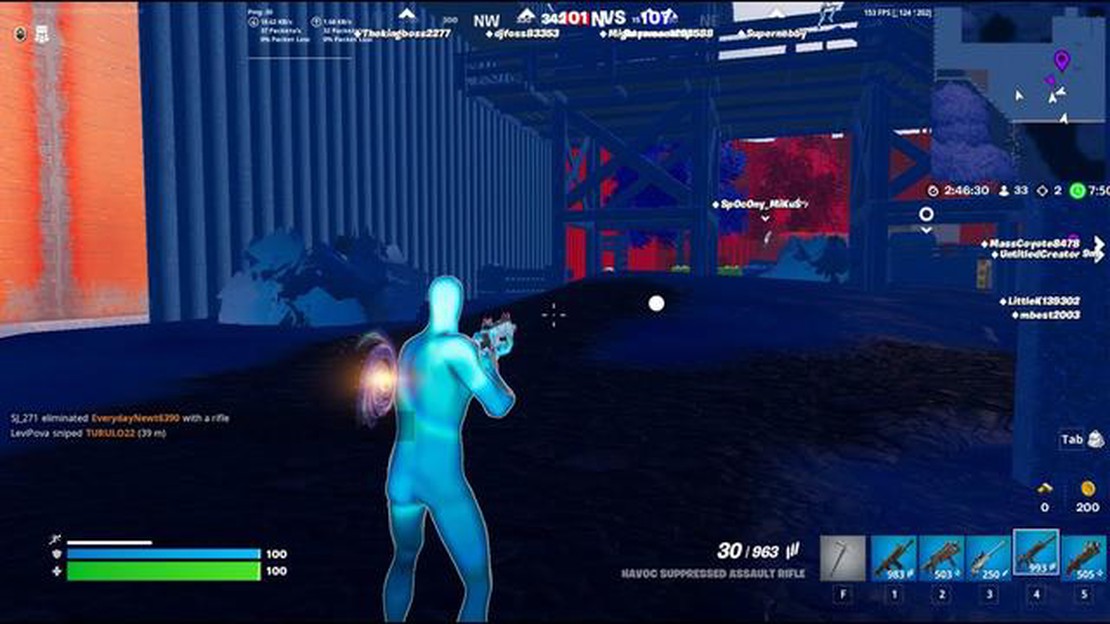
A private server in Fortnite allows players to have more control over their gameplay experience. It offers a unique and customized environment where players can enjoy exclusive features and gameplay modes. Downloading a private server in Fortnite is a straightforward process that can enhance your gaming experience. In this guide, we will walk you through the step-by-step process of how to download and install a private server in Fortnite.
Step 1: Research and Choose a Private Server
Before you can download a private server in Fortnite, you need to do some research and find a server that suits your preferences. There are various private servers available, each offering different features and gameplay options. Take your time to explore different servers, read reviews, and see which one aligns with what you’re looking for.
Step 2: Download the Private Server Client
Once you’ve chosen a private server, visit their website and look for the download section. Most private servers have a dedicated client that you need to download and install on your computer. Click on the download link and follow the on-screen instructions to start the download process.
Step 3: Install the Private Server Client
After the download is complete, locate the downloaded file on your computer and open it. This will initiate the installation process of the private server client. Follow the installation wizard and accept any prompts or agreements that appear. Once the installation is complete, you’re ready to launch the private server.
Step 4: Launch the Private Server
With the private server client installed, you can now launch the private server. Look for the server’s executable file on your computer, usually located in the installation directory. Double-click on the file to start the server. Once it’s running, you can start playing on the private server by launching Fortnite and connecting to the server’s IP address or domain name.
By following these simple steps, you can easily download and install a private server in Fortnite. Remember to always check the server’s compatibility with your version of Fortnite and ensure that you’re using a legitimate and reputable private server. Enjoy the new and exciting gameplay experience that a private server brings!
In order to download a private server in Fortnite, follow the steps below:
Congratulations! You have successfully downloaded and joined a private server in Fortnite. Enjoy playing with your friends in a customized game environment.
To download and play on a private server in Fortnite, you will need to create an Epic Games account. Follow the steps below to create your account:
It is recommended to keep your Epic Games account details secure and avoid sharing them with anyone to prevent unauthorized access to your account. Additionally, make sure to choose a strong, unique password to protect your account.
Once you have found a reputable website or provider that offers private servers for Fortnite, follow these steps to download the private server:
Congratulations! You have successfully downloaded and installed the private server for Fortnite. You can now enjoy playing on a custom server with your friends or the community.
Read Also: When Was Pokemon Invented? Discover the Origins of this Iconic Franchise
After successfully downloading and installing the private server in Fortnite, you are now ready to set it up and access it. Follow the steps below to get started:
Step 1: Launch Fortnite on your device and log in to your account.
Read Also: How to Get Champions in Clash Royale: Proven Tips and Strategies
Step 2: Navigate to the settings menu by clicking on the three horizontal lines at the top-right corner of the screen.
Step 3: In the settings menu, select the “Game” tab.
Step 4: Scroll down and locate the “Private Server” section. Click on it to access the private server settings.
Step 5: In the private server settings, you will find options to create and join private servers. Click on the “Create” button to start setting up your own private server.
Step 6: Customize the settings of your private server according to your preferences. You can choose the game mode, map, and other parameters to create a unique gaming experience.
Step 7: Once you have finished customizing the settings, click on the “Save” button to save your changes.
Step 8: To invite friends to join your private server, share the server access code with them. They can enter the code in the private server settings to join your server.
Step 9: To join an existing private server, enter the server access code provided by the host in the private server settings.
Step 10: Once you have entered the server access code, click on the “Join” button to join the private server.
Congratulations! You have now successfully set up and accessed the private server in Fortnite. Enjoy playing with your friends in a private and customized gaming environment.
A private server in Fortnite is a separate game server that allows players to create their own custom games with specific rules and settings.
Downloading a private server in Fortnite gives you the ability to create custom games and play with your friends using your own rules and settings.
No, downloading a private server in Fortnite is currently only possible on PC. The private server feature is not available on consoles.
To download a private server in Fortnite, you need to go to the official Fortnite website, download the server software, install it on your PC, and follow the instructions to set up your own private server.
There are no inherent risks in downloading a private server in Fortnite, but it is important to note that private servers are not supported or endorsed by Epic Games. Additionally, some features may be limited or unavailable in private servers compared to the official Fortnite servers.
AMD Radeon RX 6600 XT review The AMD Radeon RX 6600 XT is the latest addition to AMD’s lineup of gaming graphics cards. Featuring the latest RDNA 2 …
Read Article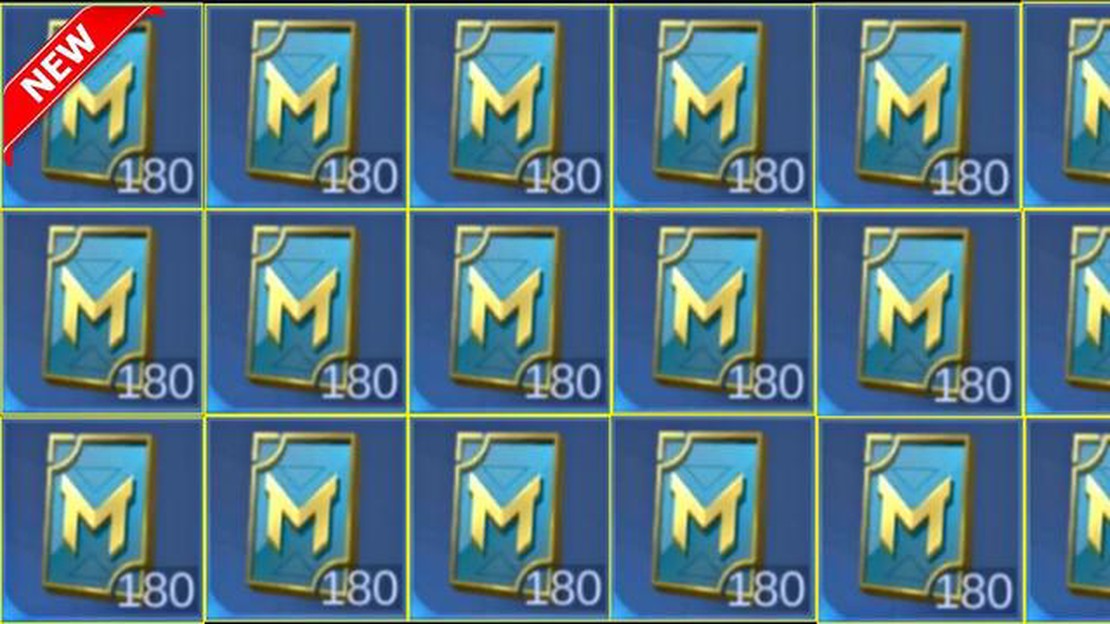
How To Get Many Tickets In Mobile Legends? Mobile Legends is a highly popular multiplayer online battle arena (MOBA) game played by millions of people …
Read Article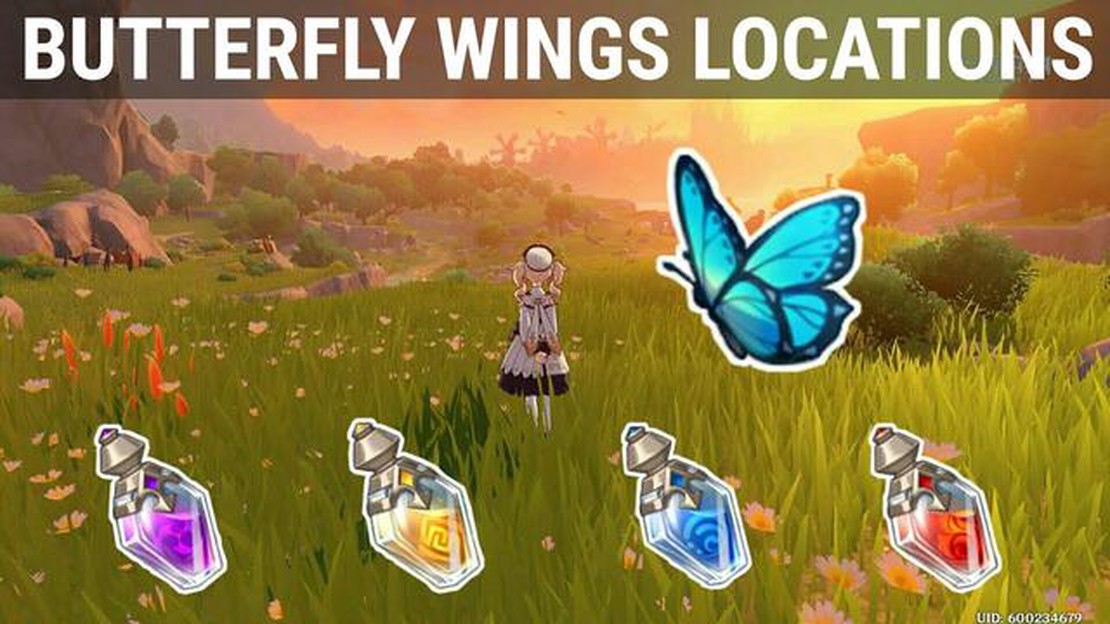
Where To Find Butterflies Genshin Impact? Butterflies are beautiful and delicate creatures that can bring joy and a sense of tranquility to any …
Read Article
Kat VR C2+ Are you ready for the ultimate gaming experience? Look no further than the Kat VR C2+. This cutting-edge virtual reality system takes …
Read Article
Why did I crash the Fortnite Fortnite, the wildly popular online multiplayer game, has taken the gaming world by storm. With its immersive graphics, …
Read Article
How To Get Texture Packs For Minecraft? Minecraft is a popular sandbox game that allows players to create and explore virtual worlds. One of the ways …
Read Article


