

How To Customize Fences in Animal Crossing: A Complete Guide
How To Customize Fences Animal Crossing? Animal Crossing is a popular video game that allows players to create their own virtual world filled with …
Read Article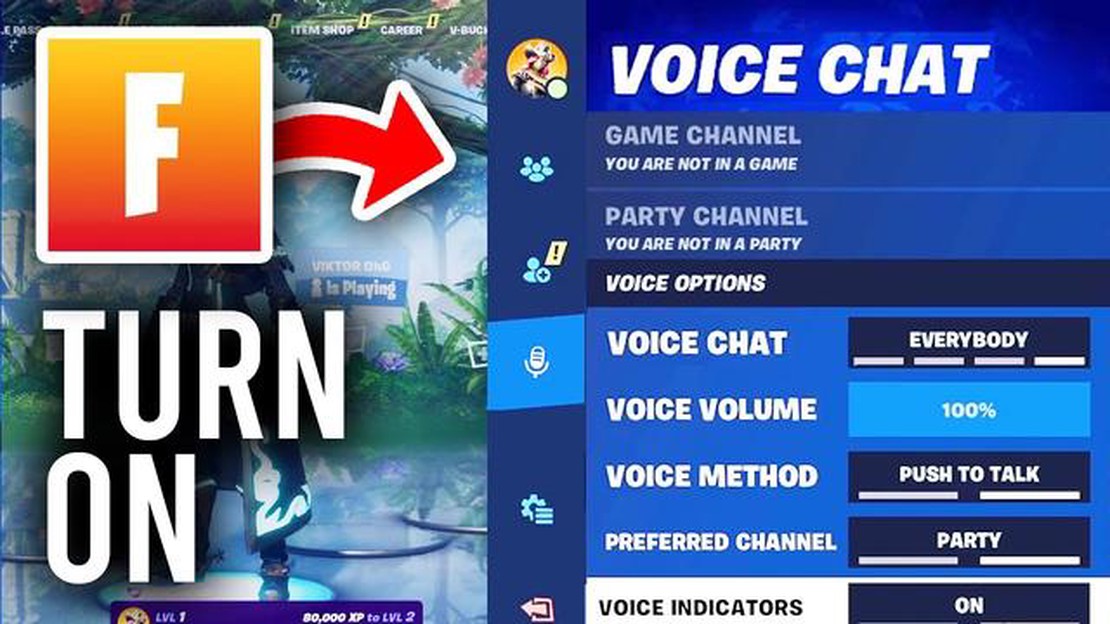
Fortnite is one of the most popular online multiplayer games right now, and communication is key to success in this fast-paced battle royale. By enabling voice chat, you can strategize with your friends, coordinate your moves, and stay one step ahead of the competition. In this step-by-step guide, we’ll show you how to enable voice chat in Fortnite so you can start communicating with your teammates.
Step 1: Open the Fortnite game and sign in
To enable voice chat in Fortnite, you first need to open the game on your preferred device and sign in to your account. Whether you’re playing on a PC, console, or mobile device, the process is the same. Make sure you have a stable internet connection before proceeding.
Step 2: Go to the Settings menu
Once you’re signed in, navigate to the Settings menu. This can usually be found by clicking on the three horizontal lines in the top right corner of the screen or by pressing the Options button on your controller. Look for a gear icon or a microphone symbol to indicate the Settings menu.
Step 3: Find the Audio tab
Within the Settings menu, locate the Audio tab. This is where you’ll find all the audio settings for Fortnite, including the voice chat options. Click on the Audio tab to proceed.
Step 4: Enable voice chat
Once you’re in the Audio tab, you should see an option for enabling voice chat. It may be labeled as “Enable Voice Chat” or something similar. Make sure this option is turned on by sliding the toggle switch to the “On” position.
Step 5: Adjust your voice chat settings
Now that you’ve enabled voice chat, you can further customize your settings to fit your preferences. These options may include adjusting the volume of your microphone or selecting the input/output devices. Explore the different settings available and make the necessary adjustments.
Tip: If you encounter any issues with voice chat, make sure your microphone is properly connected and recognized by your device. Check your device’s settings to ensure the microphone is enabled and selected as the default input device.
Once you’ve gone through these steps, you should have successfully enabled voice chat in Fortnite. You can now communicate with your squadmates, strategize together, and have a better chance at achieving victory in this thrilling battle royale game.
Read Also: How to Play Animal Crossing with Friends - Easy Guide
Fortnite is a popular multiplayer game where communication with teammates is crucial for success. Enabling voice chat in Fortnite allows players to communicate with each other in real-time, improving teamwork and coordination. Here is a step-by-step guide on how to enable voice chat in Fortnite:
By following these steps, you will be able to enable voice chat in Fortnite and enhance your gaming experience. Remember to have a functioning microphone or headset connected to your device to participate in voice chat effectively.
Read Also: Contact Call Of Duty: Mobile - Here's How! | SiteName
In order to enable voice chat in Fortnite, you’ll need to access the settings menu. Here’s how:
Now that you’ve accessed the settings menu and found the audio tab, you can proceed to the next steps to enable voice chat in Fortnite.
After launching Fortnite and entering the main menu, you will need to navigate to the audio settings to enable voice chat. Follow these steps:
Once you have reached the audio settings, you can proceed to the next step to enable voice chat in Fortnite.
Once you have connected your microphone and headset to your gaming device, you need to enable voice chat in Fortnite. Follow these steps to enable voice chat:
Once you have enabled voice chat, you will be able to communicate with your teammates during matches. Make sure to test your microphone and headset to ensure they are working properly before entering a game.
To enable voice chat in Fortnite, first, open the game and go to the settings menu. Then, navigate to the audio settings tab and make sure the voice chat option is turned on. You can also adjust the microphone and speaker volume to your preference.
The voice chat option can be found in the settings menu of Fortnite. Open the game, go to the settings tab, and scroll down until you see the audio settings. From there, you can enable the voice chat option and adjust the microphone and speaker volume.
Yes, voice chat is available in Fortnite on all platforms, including PC, Mac, Xbox One, PlayStation 4, Nintendo Switch, and mobile devices. However, keep in mind that not all platforms support cross-platform voice chat.
No, voice chat is not enabled by default in Fortnite. You need to manually enable it in the settings menu. However, some platforms may have voice chat enabled by default, so it’s always best to check the settings to make sure.
If voice chat is not working in Fortnite, there are a few things you can try. First, make sure the voice chat option is enabled in the settings menu. Then, check your microphone and speaker settings to ensure they are working properly. If the issue persists, you can try restarting the game or your device.
While it is possible to use voice chat in Fortnite without a headset, it is not recommended. A headset provides better audio quality and allows for clearer communication with other players. Without a headset, you may experience audio feedback or have difficulty hearing other players.
How To Customize Fences Animal Crossing? Animal Crossing is a popular video game that allows players to create their own virtual world filled with …
Read Article
Names for Clans of Fortnite Are you looking for the perfect name for your Fortnite clan? Building a strong and unique clan identity is crucial for …
Read Article
How To Get Free Cod Points In Call Of Duty Mobile Without Human Verification? Are you tired of spending your hard-earned money on Call of Duty …
Read Article
How Do You Get Call Of Duty 4 Remastered? Call of Duty 4 Remastered is a popular video game that brings back the classic first-person shooter …
Read Article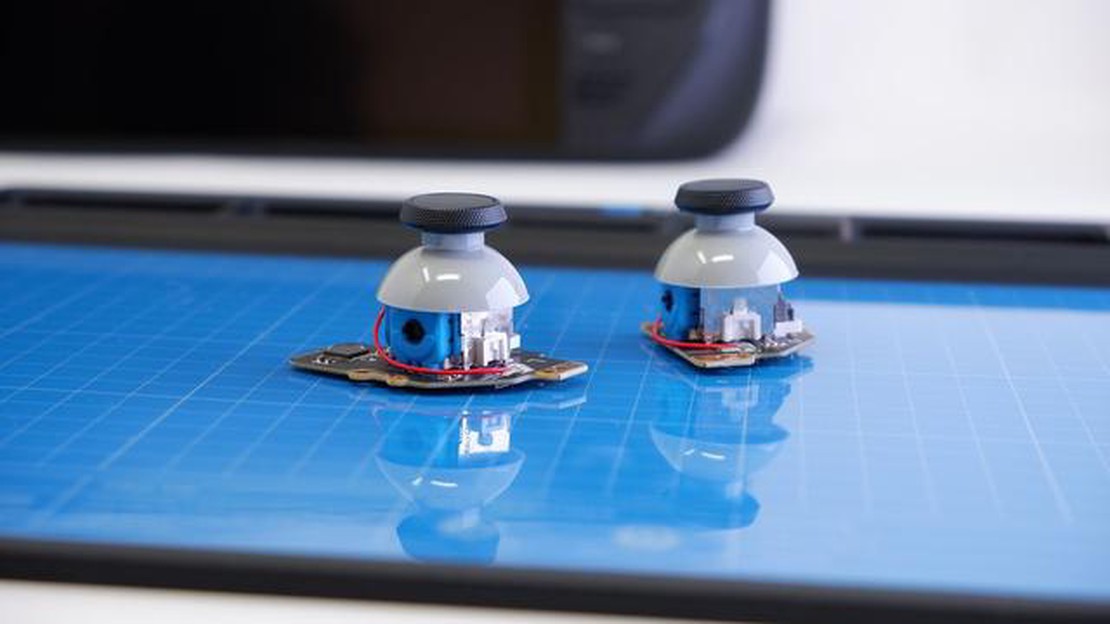
GuliKit Electromagnetic Joystick Module If you’re an avid gamer, you know how important it is to have a controller that offers precise and responsive …
Read Article
How To Make Candles In Minecraft? If you’re a fan of Minecraft and want to add a cozy touch to your virtual home, why not learn how to make candles? …
Read Article


