


How To Get Victini in Pokemon Sword: Step-by-Step Guide
How To Get Victini In Pokemon Sword? Victini is a legendary Fire/Psychic-type Pokémon that was first introduced in Generation V. It is known as the …
Read Article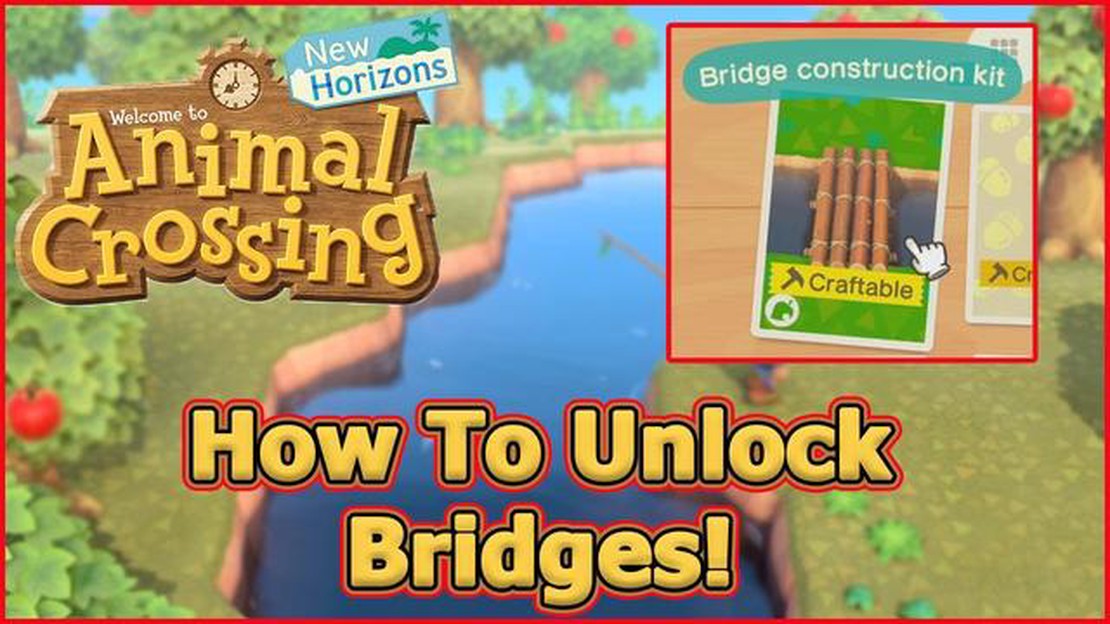
If you’ve been playing Animal Crossing and want to upgrade your island to make it more accessible and visually appealing, one of the best ways to do so is by adding a bridge. Bridges not only connect different parts of your island but also add charm and convenience to your gameplay. In this step-by-step guide, we’ll walk you through the process of obtaining a bridge in Animal Crossing.
Step 1: Unlocking the Island Designer App
To start building bridges in Animal Crossing, you’ll first need to unlock the Island Designer app. This can be done by achieving a 3-star rating for your island and receiving a visit from K.K. Slider. Once you have the app, you’ll be able to shape and customize your island, including adding bridges.
Step 2: Choosing the Bridge Type
Animal Crossing offers several different bridge types to choose from, each with its own unique style and cost. When selecting a bridge, consider the overall aesthetic of your island and the areas you want to connect. You can browse the available options at the Nook’s Cranny shop or by speaking to Tom Nook.
Step 3: Gathering Resources
Once you’ve decided on a bridge type, you’ll need to gather the necessary resources to construct it. This typically includes gathering wood, stone, and other materials. You can find these resources by shaking trees, hitting rocks, and collecting items found on your island.
Step 4: Constructing the Bridge
With the required materials in hand, head to the construction site where you want to place the bridge. Access your Island Designer app and select the bridge option. You’ll then be prompted to choose the bridge type and provide the necessary resources. Follow the on-screen instructions to complete the construction of your bridge.
Step 5: Enjoying Your New Bridge
Once the bridge is completed, you can start enjoying the benefits it brings to your island. Whether it’s connecting different areas, providing access to previously unreachable spots, or simply adding a touch of beauty to your surroundings, your new bridge will enhance your Animal Crossing experience.
Remember to plan your bridge placement carefully to ensure it fits seamlessly into your island’s layout. You can always move an existing bridge if you change your mind later on, but it will require additional resources and time.
With this step-by-step guide, you should now have all the information you need to get a bridge in Animal Crossing. So start designing, gather those resources, and enhance your island with a beautiful bridge!
Animal Crossing is a popular video game that allows players to create their own virtual island paradise. One of the key elements of your island is having bridges that connect different areas, making it easier for you and your villagers to explore and move around. If you want to know how to get a bridge in Animal Crossing, follow this step-by-step guide.
The first step is to unlock the Island Designer app on your in-game Nook Phone. This app allows you to modify and change various aspects of your island, including building bridges. To unlock the app, you need to achieve a 3-star island rating from Isabelle.
Once you have unlocked the Island Designer app, you can talk to Tom Nook and request the Bridge Construction Permit. He will give you the permit, which allows you to build bridges on your island.
Now that you have the Bridge Construction Permit, it’s time to choose a location for your bridge. Look for a spot where you want to connect two areas of your island. It could be across a river or over a cliff. Keep in mind that there are certain restrictions on where you can place a bridge, so make sure it fits in a suitable location.
Once you have chosen the location, open the Island Designer app on your Nook Phone and select the “Paths” option. From there, choose the bridge design that you like and place it in the desired location. The construction will begin, and your bridge will be built over time. You can also customize the bridge’s appearance by using different types of materials and patterns.
Read Also: Cyberpunk 2077 cheats: Get unlimited money, weapons, and cyberware
After the bridge is built, you will need to pay off the construction fees. Tom Nook will provide you with the total cost, and you can choose to pay it off in one go or in installments. Once the payment is complete, the bridge will be officially yours, and you can start using it to cross between areas of your island.
That’s it! You now know how to get a bridge in Animal Crossing. Building bridges in the game can help you create a more interconnected and accessible island, making it easier for you and your villagers to explore and enjoy the virtual paradise you’ve created.
Earning Bells in Animal Crossing is essential for many activities, such as buying furniture, clothing, and most importantly, constructing bridges. One of the most efficient ways to earn Bells is by fishing and collecting bugs.
Fishing: Grab your fishing rod and head to the nearest body of water, whether it’s a river, pond, or the ocean. Look for fish shadows in the water and cast your rod near them. When a fish bites, quickly press the button to reel it in. Different types of fish have various sizes and values, so make sure to catch a variety to maximize your earnings. You can sell your fish to Nook’s Cranny or to CJ, the fish-obsessed beaver, who visits the island occasionally.
Collecting Bugs: Bugs are another valuable source of Bells. Equip your net and start exploring your island or visit mystery islands to find different bugs. Bugs can be found on trees, flowers, and even flying around. Sneak up on bugs slowly, and when they are within range, swing your net to catch them. Some bugs are rarer and have higher values, so keep a lookout for those. Like fish, you can sell bugs to Nook’s Cranny for Bells or to Flick, the bug-loving chameleon who also visits occasionally.
The availability of different fish and bugs changes with the season and time of day, so be sure to vary your activities and explore different areas to find new and valuable specimens.
Read Also: Master the Strategies: How to Win Among Us Every Time!
Maximizing Your Earnings:
By regularly fishing and collecting bugs, you can earn a significant amount of Bells to fund your island projects, including building bridges. So, grab your fishing rod and net, and start making those Bells!
In Animal Crossing, building a bridge requires gathering materials. Here are the materials you will need:
Once you have gathered all the necessary materials for the bridge construction, you can proceed to the next steps of building the bridge in Animal Crossing. Remember to plan the location and design of your bridge beforehand to ensure it fits well with the overall aesthetic of your island!
Before you can start building a bridge in Animal Crossing, you need to find a suitable location for it on your island. The location should meet certain criteria to ensure that the bridge is aesthetically pleasing and functional:
Once you have identified a suitable location, it’s time to start building your bridge in Animal Crossing!
Once you have accumulated enough resources, you can proceed to the next step of building a bridge in Animal Crossing, which is placing an order at the Town Hall. To do this, follow the steps below:
During this conversation, they will inform you of the resources required to build the bridge, such as wood, stone, and iron nuggets. Make sure you have enough of these materials in your inventory before placing the order.
After confirming the order, the construction of the bridge will begin. It typically takes one day for the bridge to be completed, so be patient and wait for the construction to finish. Once the bridge is complete, you can start enjoying the new route and convenience it brings to your island in Animal Crossing.
Animal Crossing is a popular video game series created by Nintendo, where players take on the role of a character who moves to a deserted island or a rural village populated with anthropomorphic animals. The game allows players to engage in activities like fishing, bug catching, fossil hunting, and decorating their houses.
To get a bridge in Animal Crossing, you first need to progress in the game and unlock the option to build infrastructure. Once you have unlocked this option, you can purchase a bridge construction kit from the in-game Nook’s Cranny shop. After purchasing the kit, you can then choose a location for your bridge and start the construction process. It’s important to note that bridges can be quite expensive, so make sure you have enough in-game currency before attempting to build one.
Having a bridge in Animal Crossing comes with several benefits. Firstly, it allows for easier navigation around your island or village, as you no longer have to rely solely on your character’s ability to jump across rivers. Secondly, bridges add a level of aesthetic appeal to your surroundings, making your island or village look more developed and visually interesting. Lastly, bridges enable you to access new areas that were previously inaccessible, such as different sections of your island or special locations where rare items and resources can be found.
The time it takes to build a bridge in Animal Crossing depends on the type of bridge you choose and the progress of your in-game construction projects. Generally, the construction process can take anywhere from one to three days. During this time, you will need to gather the required materials and wait for the construction crew to finish building the bridge. It’s important to be patient and check on the progress of your bridge each day until it is completed.
Yes, you can move a bridge after it has been built in Animal Crossing. To do this, you will need to have progressed in the game and unlocked the island designer app. Once you have the app, you can use it to move existing structures, including bridges, to different locations on your island or village. However, it’s important to note that moving a bridge comes with a cost, so make sure you have enough in-game currency to cover the expenses.
Yes, there are several different types of bridges available in Animal Crossing. The type of bridge you can build depends on your in-game progress and the options presented to you by the game. Some common types of bridges include wooden bridges, stone bridges, suspension bridges, and log bridges. Each type of bridge has its own unique design and aesthetic appeal, allowing you to choose the one that best fits the style and theme of your island or village.
Yes, you can demolish a bridge in Animal Crossing if you no longer want it or if you want to build a different type of bridge in its place. To demolish a bridge, you will need to have the island designer app unlocked. Once you have the app, you can use it to remove any existing structures, including bridges, from your island or village. However, it’s important to note that demolishing a bridge comes with a cost, so make sure you have enough in-game currency to cover the expenses.
How To Get Victini In Pokemon Sword? Victini is a legendary Fire/Psychic-type Pokémon that was first introduced in Generation V. It is known as the …
Read Article
How Many Animal Crossing Games Are There? Animal Crossing is a beloved video game franchise that has captured the hearts of players around the world. …
Read Article
The Sims 5—Everything we know about Project Rene so far The Sims is a popular simulation video game series developed by Maxis and published by …
Read Article
Hogwarts Legacy arachnophobia mode arrives just in time for launch Good news for arachnophobics and fans of the highly-anticipated role-playing game …
Read Article
DayZ review Survival games have always been popular among gamers, but DayZ takes the genre to a whole new level. Set in a post-apocalyptic world, DayZ …
Read Article
How To Use Tara Brawl Stars? Tara is a powerful brawler in the popular mobile game Brawl Stars. With her mystical abilities and versatile attack …
Read Article

