


Which Pokemon Evolve With Mossy Lure? Find Out Here!
What Pokemon Evolve With Mossy Lure? The Mossy Lure is a special type of lure module that can be used in Pokemon Go to attract certain Grass-type …
Read Article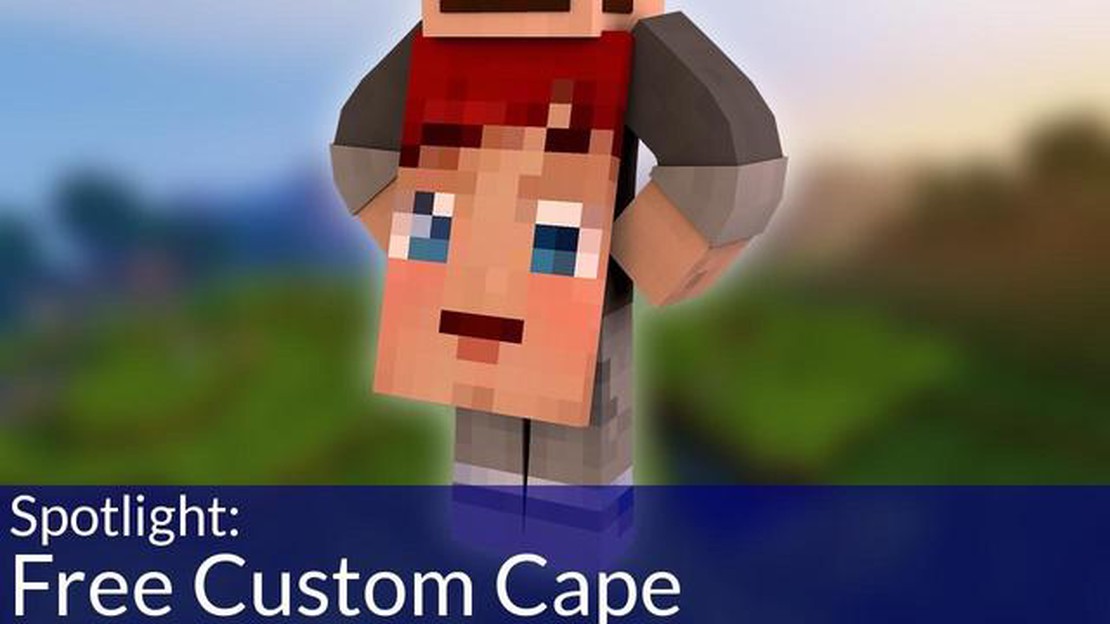
Minecraft is a popular sandbox game that allows players to build and explore virtual worlds. One way to personalize your Minecraft character is by obtaining a cape. Capes are cosmetic items that can be worn on the back of your character, adding a unique visual element to your gameplay. In this step-by-step guide, we will show you how to obtain a cape in Minecraft.
Step 1: Download OptiFine
The first step in obtaining a cape in Minecraft is to download and install OptiFine. OptiFine is a mod that enhances the performance and visuals of Minecraft, and it also allows players to customize their character with capes. You can download OptiFine from the official website or from a reputable Minecraft modding website.
Step 2: Install OptiFine
Once you have downloaded OptiFine, you need to install it on your computer. To do this, locate the downloaded file and double-click on it. This will open the OptiFine installer. Follow the on-screen instructions to complete the installation process.
Step 3: Launch Minecraft with OptiFine
After you have successfully installed OptiFine, launch your Minecraft game. On the Minecraft Launcher, click on the “Installations” tab. Select the installation profile that includes OptiFine. Click on the “Play” button to start the game.
Step 4: Access the Cape Customization Menu
Once you are in the Minecraft game, press the “C” key on your keyboard to access the OptiFine cape customization menu. This menu allows you to choose from a variety of different cape designs and colors. Select the cape design that you like the most.
Step 5: Enjoy Your Cape
Congratulations! You have successfully obtained a cape in Minecraft. Your new cape will be visible on the back of your character as you explore the Minecraft world. Enjoy the unique visual element that your cape adds to your gameplay experience.
Remember, capes are a cosmetic item and do not provide any gameplay advantages. They are purely for customization purposes. Additionally, please note that obtaining a cape in Minecraft through third-party mods may not be allowed on certain servers or multiplayer platforms. It is always a good idea to check the rules and guidelines of the server or platform you are playing on before using a cape.
Now that you know how to obtain a cape in Minecraft, go ahead and personalize your character with a unique cape design. Have fun exploring and building in the Minecraft world with your new fashionable accessory!
If you’re a Minecraft player, you may have seen other players wearing capes and wondered how you can get one for yourself. In this step-by-step guide, we’ll walk you through the process of obtaining a cape in Minecraft.
Read Also: Why Does Among Us Keep Crashing? | Common Reasons and Solutions4. Join a Minecraft Community Some Minecraft communities or servers have their own custom capes that they give to their members. Joining such a community or server can grant you access to these unique capes. Look for Minecraft community websites or forums where you can find information on how to join.
Remember that capes in Minecraft are purely cosmetic and do not affect gameplay. Obtaining a cape is a way to express your individuality and show off your style to other players. Follow these steps and you’ll be rocking a cool cape in no time!
Read Also: Unlock the Full Potential of Roblox: How to Uncap FPS in 3 Easy Steps
To obtain a cape in Minecraft, you will first need to download a cape mod. A cape mod is a modification that adds the functionality of wearing a cape in the game.
There are several different cape mods available for Minecraft, so you’ll want to find one that suits your preferences. You can search for cape mods on popular Minecraft mod websites or forums.
Once you’ve found a cape mod that you’d like to use, you’ll need to download it. Click on the download link provided for the mod, and it will save to your computer as a .jar file.
Important Note: Before downloading any mods, make sure you have a compatible version of Minecraft and a reliable mod installer, such as Minecraft Forge or Fabric.
| Step 1: Download a Cape Mod |
|---|
| 1. Search for a cape mod on a trusted Minecraft mod website or forum. |
| 2. Choose a cape mod that suits your preferences. |
| 3. Click on the download link for the cape mod. |
| 4. Save the .jar file to your computer. |
Once you have downloaded the cape mod, you are ready to move on to the next step of obtaining a cape in Minecraft.
In order to obtain a cape in Minecraft, you will need to install a mod that adds this feature to the game. Follow the steps below to install the cape mod:
After following these steps, Minecraft should launch with the cape mod enabled. You can now proceed to the next step to learn how to customize and use your cape in the game.
Once you have obtained a cape in Minecraft, the next step is to choose the cape design you want and apply it to your character. Here’s how:
Once you’ve completed these steps, your Minecraft character should now be wearing the cape design you chose. Enjoy showing off your unique cape to other players!
A cape in Minecraft is a decorative item that is worn on the back of a player’s character. It is purely cosmetic and does not provide any gameplay advantages. There are a few different ways to obtain a cape in Minecraft, such as attending a Minecraft event or using mods or third-party tools.
Yes, you can get a cape in Minecraft without attending an event. There are mods and third-party tools available that allow you to customize your character’s appearance, including adding a cape. However, it’s important to note that using mods or third-party tools can be risky and may not be allowed on certain servers.
Yes, there are free ways to get a cape in Minecraft. Some Minecraft events or promotions may offer capes as a free reward for attending or participating. Additionally, there are mods and third-party tools available that offer free cape options. However, it’s important to be cautious and only download mods or tools from trusted sources to avoid any potential risks.
Yes, capes are available on all platforms that Minecraft is available on, including PC, console, and mobile versions. However, the methods for obtaining capes may differ slightly depending on the platform. For example, some mods or tools may only be compatible with the PC version of Minecraft.
Yes, it is possible to design your own cape in Minecraft using certain mods or third-party tools. These tools allow you to create custom textures and designs for your character’s cape. However, it’s important to note that designing your own cape may not be allowed on all servers or may be subject to certain restrictions.
Some popular mods or tools for obtaining capes in Minecraft include OptiFine, which allows players to customize their cape appearance, and the MineCon Cape Mod, which adds a special cape that was given out to attendees of Minecraft’s annual convention. It’s important to thoroughly research and vet any mods or tools before downloading to ensure they are safe and compatible with your version of Minecraft.
What Pokemon Evolve With Mossy Lure? The Mossy Lure is a special type of lure module that can be used in Pokemon Go to attract certain Grass-type …
Read Article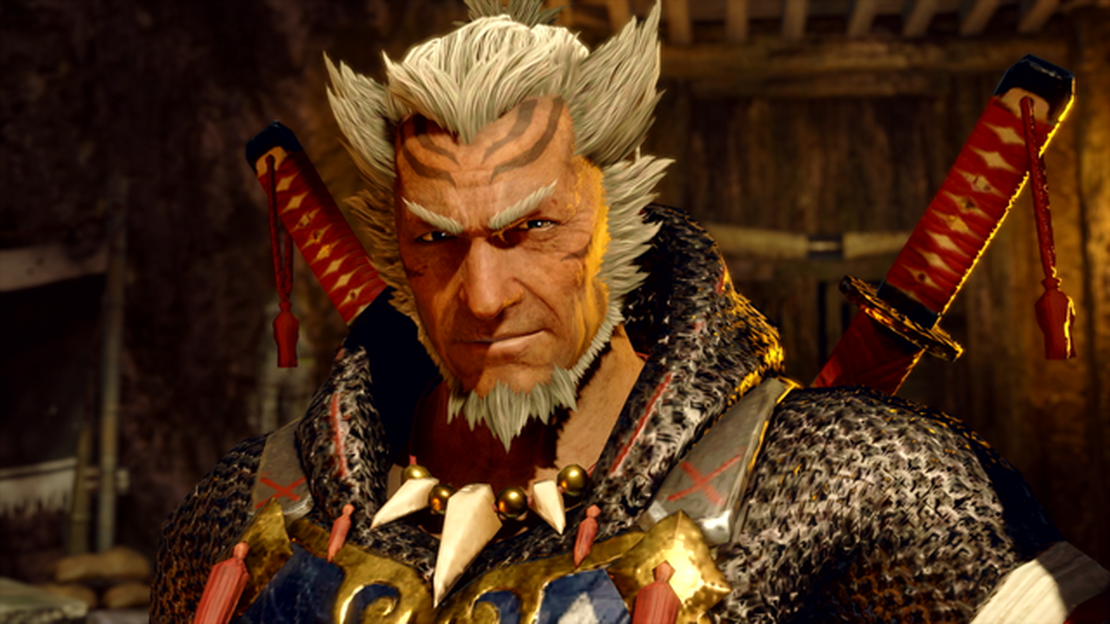
Monster Hunter Rise review Monster Hunter Rise is the latest installment in the popular action-packed gaming franchise. Developed and published by …
Read Article
Clash Royale What To Upgrade First? Clash Royale is a popular mobile game developed and published by Supercell. It combines elements of collectible …
Read Article
Why Does My Toca Boca Keep Crashing? If you’re an avid Toca Boca player, you may have experienced the frustrating issue of the game crashing. Whether …
Read Article
All Commands Minecraft Pe and what are they for If you’re a Minecraft PE player, you know that the game offers a wide range of commands that can …
Read Article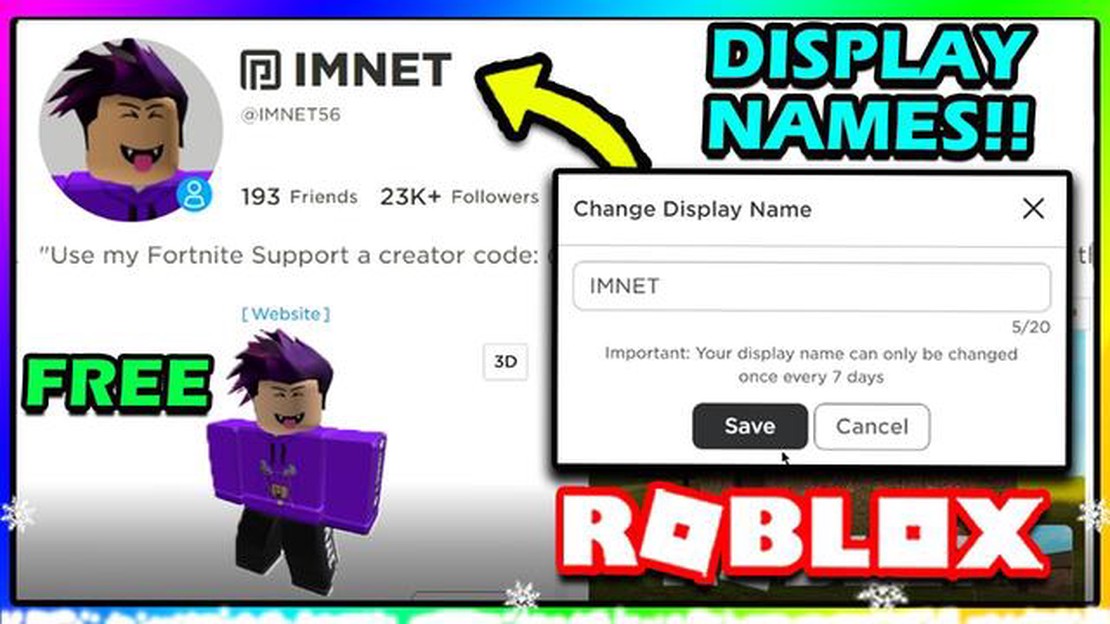
How To Change Roblox Display Name? If you’re an avid Roblox player, you may want to change your display name to better reflect your personality or …
Read Article
