

Crawl into the depths of an extraordinary adventure in the Endacopia game demo
Crawl down a toilet in the demo of adventure game Endacopia Imagine stepping into a world filled with mystery, danger, and untold treasures. This is …
Read Article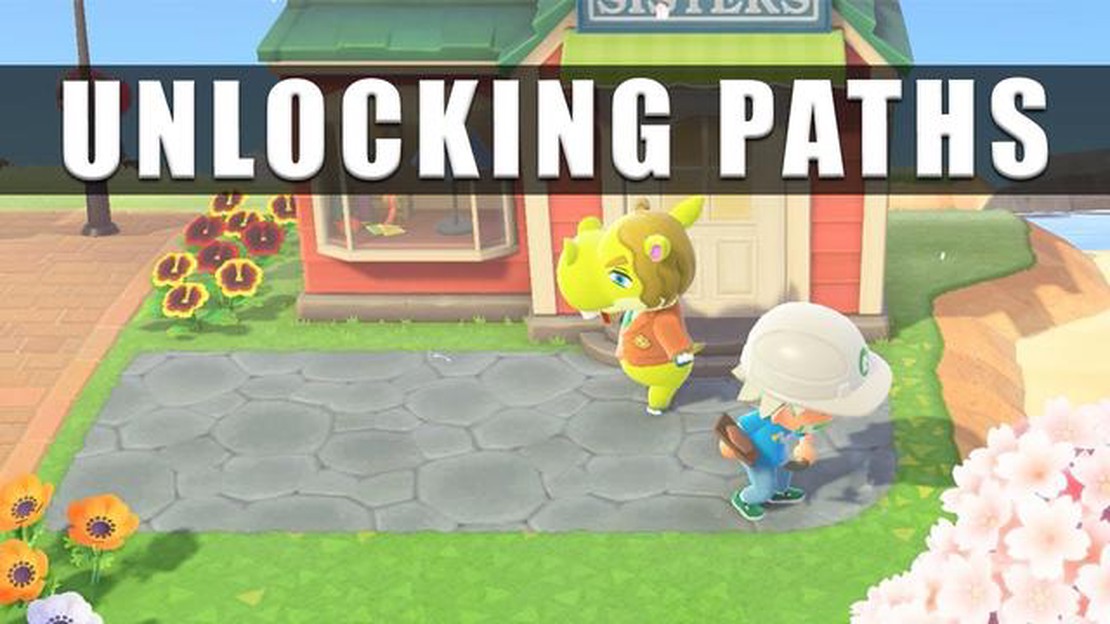
If you’re a fan of Animal Crossing: New Horizons, you’ve probably noticed that the game offers a wide range of customization options. One of the most popular ways players like to personalize their islands is by adding paths. Paths not only make your island look more organized and put together, but they also make it easier to navigate and find your favorite spots. In this guide, we’ll show you how to unlock and use paths in Animal Crossing: New Horizons.
To unlock paths in Animal Crossing: New Horizons, you’ll first need to reach a certain point in the game. After the Resident Services building is upgraded and Tom Nook starts offering you customization options for your island, you can head to the Nook’s Cranny shop and buy a “Construction Kit.” This kit will allow you to create your own custom paths.
Once you have the Construction Kit, you can start designing your paths. To do this, open your NookPhone and select the “Custom Designs” app. From there, choose the path design you want to use and select “Display on Ground.” The game will then prompt you to choose a custom design slot for your path.
After you’ve chosen a design slot, head over to the spot on your island where you want to place the path. Use your NookPhone to access the Custom Designs app again and select the slot with your path design. The game will give you the option to place the path in either a single tile or a 4-tile square. Choose the option that fits the spot you’ve chosen.
Repeat this process for each tile you want to place a path on. Remember, paths can be used to connect different areas of your island, create borders, or simply add decoration to empty spaces. Get creative and have fun designing your own unique paths in Animal Crossing: New Horizons!
Unlocking and using paths in Animal Crossing: New Horizons is a fun and rewarding way to personalize your island. With the help of the Construction Kit and the Custom Designs app on your NookPhone, you can create beautiful and unique paths that will make your island truly stand out. So go ahead, grab your shovel and get started on unlocking paths in Animal Crossing: New Horizons!
If you’re looking to add some personality to your island in Animal Crossing New Horizons, adding paths is a great way to do it. Paths not only make it easier to navigate your island but also give it a cohesive and polished look. Here’s a guide on how to unlock paths in Animal Crossing New Horizons.
The first step in getting paths is unlocking the Island Designer App. To do this, you need to earn a 3-star rating on your island. Isabelle will give you feedback on how to improve your island and reach this rating. Some things you can do to improve your rating include adding furniture, planting flowers, and decorating your island.
Once you’ve unlocked the Island Designer App, you can start creating paths. Open the app on your NookPhone and select the “Start construction!” option. This will allow you to place patterns on the ground to create paths.
The Island Designer App gives you access to a variety of pre-made path patterns. You can choose from different styles, such as brick, stone, or wood. Select the pattern you want and start placing it on the ground. Use the joystick to move around and press the A button to place the pattern.
If you want to customize your paths further, you can use the Custom Design Pro Editor+ app on your NookPhone. This app allows you to create your own custom designs and use them as paths. You can use different colors and patterns to create unique paths that match your island’s theme.
Read Also: Age of the Travelers in Genshin Impact: Unveiling the Secrets
Once you’ve placed your paths, it’s important to maintain them. Paths can deteriorate over time if they are not walked on regularly. To keep your paths looking clean and well-maintained, make sure to walk on them daily. You can also use a stone or brick pattern around the edges of your paths to prevent grass from growing over them.
To create a cohesive look, make sure to connect your paths. You can do this by placing patterns next to each other or using bridges and inclines to connect different parts of your island. Experiment with different layouts and designs to find the best way to connect your paths.
With these steps, you’ll be on your way to unlocking and creating beautiful paths in Animal Crossing New Horizons. Have fun getting creative and transforming your island into a work of art!
To get path recipes in Animal Crossing New Horizons, you have a few different options. Here are some methods you can try:
Read Also: Step-by-Step Guide: How to Redeem Code in Genshin Impact
Remember, obtaining path recipes in Animal Crossing New Horizons can require some luck and persistence. Keep trying the methods mentioned above and eventually, you will find the path recipes you desire for your island.
When it comes to creating paths in Animal Crossing: New Horizons, you’ll need a variety of crafting materials. These materials can be obtained through various methods, including:
Remember to always check the daily announcements from Isabelle and talk to your island’s residents, as they may have additional crafting material requests or tips to help you obtain materials more efficiently.
Customizing paths in Animal Crossing New Horizons allows you to add a personal touch to your island and create unique designs. Here are the steps to customize and place paths in the game:
Remember to experiment with different path styles, designs, and placements to find the best look for your island. You can also combine multiple path designs to create interesting patterns and textures.
Customized paths can significantly enhance the overall aesthetic of your island and make it more visually appealing. Enjoy the process of customizing and placing paths to create your dream island in Animal Crossing New Horizons!
To unlock paths in Animal Crossing New Horizons, you need to progress through the game and reach a certain point where Isabelle becomes available in the Resident Services building. Once Isabelle is present, you can unlock paths by using the Island Designer app on your NookPhone. This app allows you to create and customize different path designs.
To unlock paths in Animal Crossing New Horizons, you don’t need any specific materials. All you need is the Island Designer app on your NookPhone, which becomes available after reaching a certain point in the game. With the app, you can create and customize different path designs using your creativity and imagination.
Yes, in Animal Crossing New Horizons, you can unlock different types of paths. The Island Designer app allows you to create and customize various path designs, including dirt paths, stone paths, brick paths, wooden paths, and more. You can also combine different path designs to create unique patterns and styles for your island.
To unlock paths in Animal Crossing New Horizons, you need to progress through the game and reach a certain point where Isabelle becomes available in the Resident Services building. Once Isabelle is present, you can unlock paths by using the Island Designer app on your NookPhone. There are no specific requirements or prerequisites other than reaching that point in the game.
Crawl down a toilet in the demo of adventure game Endacopia Imagine stepping into a world filled with mystery, danger, and untold treasures. This is …
Read Article
How Do U Move In Brawl Stars? Welcome to Brawl Stars, the fast-paced multiplayer game where you team up with friends or play solo to battle it out in …
Read Article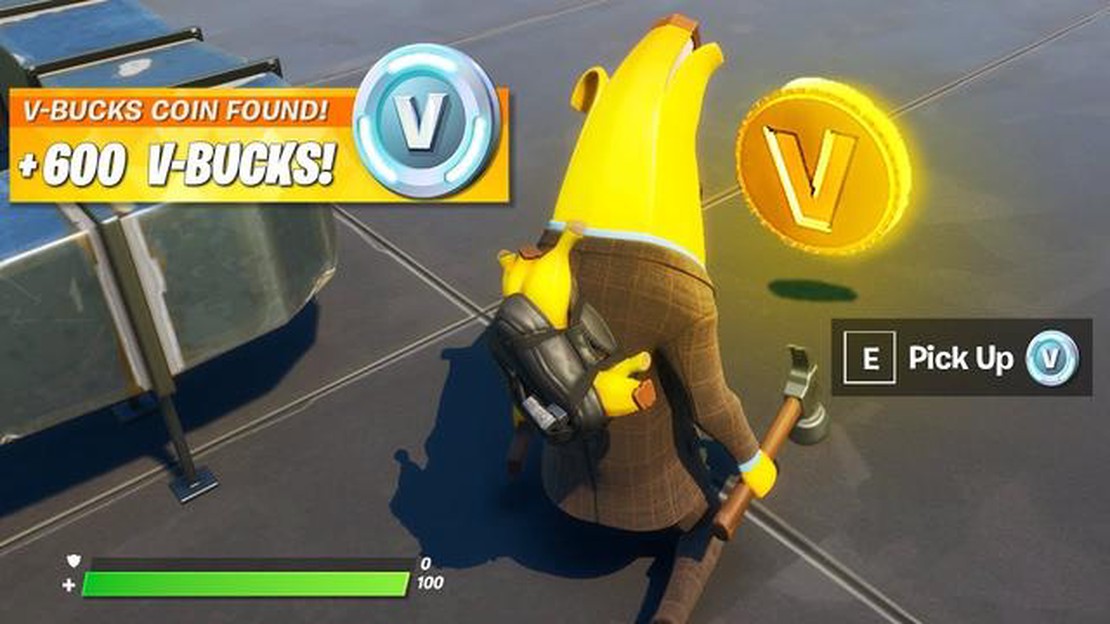
How to Buy Coins in Fortnite Fortnite how-to-buy-coins-in-fortnite Table Of Contents How to Buy Coins in Fortnite: A Comprehensive Guide Understanding …
Read Article
What Does A Mage Do In Mobile Legends? Mobile Legends is a popular multiplayer online battle arena (MOBA) game that features various heroes with …
Read Article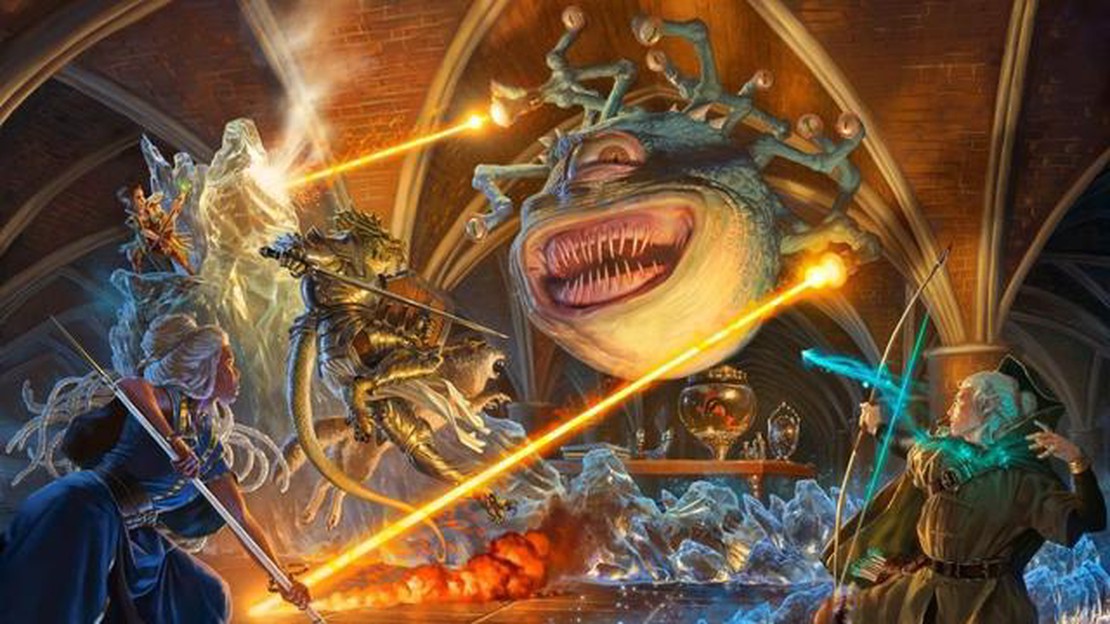
Taking your D&D campaign online is a game-changer, and so easy I wish I’d done it sooner Playing tabletop role-playing games like Dungeons & Dragons …
Read Article
How To Search People On Clash Of Clans? Clash of Clans is a popular mobile strategy game where players build and defend their own villages while also …
Read Article


