

Recover Your Brawl Stars Account Without Supercell ID: Step-by-Step Guide
How To Recover Brawl Stars Account Without Supercell Id? Whether you accidentally deleted your Brawl Stars account or got locked out of it, don’t …
Read Article
Animal Crossing: New Horizons is a beloved video game that allows players to build and manage their very own virtual town. One of the exciting features of the game is the ability to create public works projects, which are special structures that can be placed around the town. These projects, such as bridges, fountains, and playgrounds, not only add aesthetic value to the town, but also provide additional functionality and convenience for the townsfolk.
To start creating public works projects in Animal Crossing: New Horizons, players must first become the mayor of the town. If you are not yet the mayor, don’t worry! Simply continue playing the game and interacting with your virtual neighbors, and eventually, you will be given the opportunity to run for mayor.
Once you have become the mayor, the next step is to unlock the ability to create public works projects. This can be done by speaking to Isabelle, the friendly and helpful secretary at the town hall. Isabelle will guide you through the process of unlocking public works, explaining everything you need to know and providing you with the necessary tools and resources to get started. Listen carefully to her instructions and follow her guidance to ensure success.
After unlocking public works, you will now have access to a variety of projects that you can create. To choose which project to create, simply speak to Isabelle again and she will present you with a list of options. Each project has its own requirements, such as a specific number of bells and certain materials, so make sure you have the necessary funds and resources before committing to a project.
Pro Tip: Don’t be afraid to get creative with your public works projects! Experiment with different designs and placements to make your town truly unique and personal. Additionally, consider the needs and preferences of your virtual neighbors when choosing which projects to create, as this will increase their happiness and satisfaction.
Once you have chosen a project, it’s time to start construction! Head to the designated construction area, which is usually marked by a sign or an open space in your town. Use the construction kit provided by Isabelle to lay the foundation of the project and then gather the necessary materials to complete it. Depending on the complexity of the project, this may involve collecting various items, such as wood, stone, or even rare materials.
Once you have gathered all the materials, return to the construction site and begin building. Follow the on-screen prompts to complete each step of the construction process, such as placing objects or connecting pieces together. Take your time and enjoy the satisfaction of seeing your project come together.
Once your public works project is completed, it will become a permanent fixture in your town, adding beauty and functionality for both you and your virtual neighbors to enjoy. Keep in mind that certain projects may have specific placement requirements, such as being placed near water or in a specific area, so make sure to follow any instructions or guidelines provided by Isabelle.
Now that you know how to get public works in Animal Crossing: New Horizons, it’s time to get out there and start building! Whether you choose to create a stunning bridge over a river or a cozy picnic area in the park, the possibilities are endless. So grab your construction kit, gather your materials, and let your imagination run wild in the world of Animal Crossing.
Animal Crossing: New Leaf is a popular life simulation game where players can create and customize their own virtual town. One of the features of the game is the ability to build public works projects, which are special structures that can be placed throughout the town. These projects can range from simple benches and picnic tables to more elaborate structures like fountains and bridges. If you’re new to the game and want to learn how to get public works in Animal Crossing, this step-by-step guide will help you get started.
Remember, building public works projects is a great way to personalize your town and make it unique. With a little time and effort, you can create the town of your dreams in Animal Crossing: New Leaf.
Read Also: How Long Will Roblox Be Down? - Latest Updates and News
Public Works Projects are new to the Animal Crossing series and allow players to customize their towns with various structures, such as benches, fountains, bridges, and more. Here are the steps to unlock Public Works Projects in Animal Crossing:
Unlocking Public Works Projects in Animal Crossing can greatly enhance the overall experience and customization options for your town. Take your time, collect signatures, and choose projects that will make your town unique and special to you.
Read Also: Lisa Genshin Impact: Skills, Builds, and Strategies | [Website Name]
To fund public works projects in Animal Crossing, you need to gather donations from your fellow villagers. These donations can be used to build various structures and upgrades on your island. Here are the steps to gather donations for public works:
Gathering donations for public works can be a fun and rewarding community-building activity in Animal Crossing. By involving your villagers and showing appreciation for their contributions, you can create a vibrant and thriving island for everyone to enjoy.
Once you have unlocked the Public Works feature in Animal Crossing, you can start building and placing various projects in your town. Here is a step-by-step guide on how to do it:
Remember that you can only have a limited number of Public Works projects in your town at a time, so choose wisely! You can also demolish and move existing projects if you decide to change the layout of your town.
Public works in Animal Crossing are special projects that can be built in your town to enhance the appearance and functionality of the town. These projects can include things like bridges, fountains, and other decorative and functional structures.
To unlock public works projects in Animal Crossing, you need to become the mayor of your town. Once you become the mayor, you can speak to Isabelle at the town hall and she will give you the option to start building public works projects.
The materials required to build public works projects in Animal Crossing vary depending on the project. Some projects may require or include bells, wood, stone, flowers, or other items. The requirements for each project can be found in the list of available projects.
To choose where to build public works projects in Animal Crossing, you need to walk around your town and find a suitable spot. When you find a spot you like, open your inventory and select the public works project you want to build. Then, follow the prompts to place the project in your chosen location.
Yes, you can move or remove public works projects once they are built in Animal Crossing. To move a project, you need to speak to Isabelle at the town hall and select the option to move a project. To remove a project, you need to speak to Isabelle and select the option to demolish a project. Keep in mind that moving or removing projects may require a small fee.
In Animal Crossing, the number of public works projects you can build depends on your town’s development level. As your town develops and more villagers move in, you will unlock additional slots for public works projects. Initially, you may only have a few slots available, but as your town grows, you can build more projects.
How To Recover Brawl Stars Account Without Supercell Id? Whether you accidentally deleted your Brawl Stars account or got locked out of it, don’t …
Read Article
What Is Moonton Account In Mobile Legends? Mobile Legends is a popular multiplayer online battle arena (MOBA) game that has gained a huge following in …
Read Article
How Do I Find Diamonds Minecraft? Minecraft is an open-world game known for its endless possibilities and exploration. One of the most sought-after …
Read Article
Warhammer 40,000: Boltgun review The Warhammer 40,000 Boltgun is an iconic weapon in the Warhammer universe, known for its deadly firepower and …
Read Article
Who Is The Rarest Character In Genshin Impact? Genshin Impact is a popular action role-playing game developed by miHoYo. One of the most exciting …
Read Article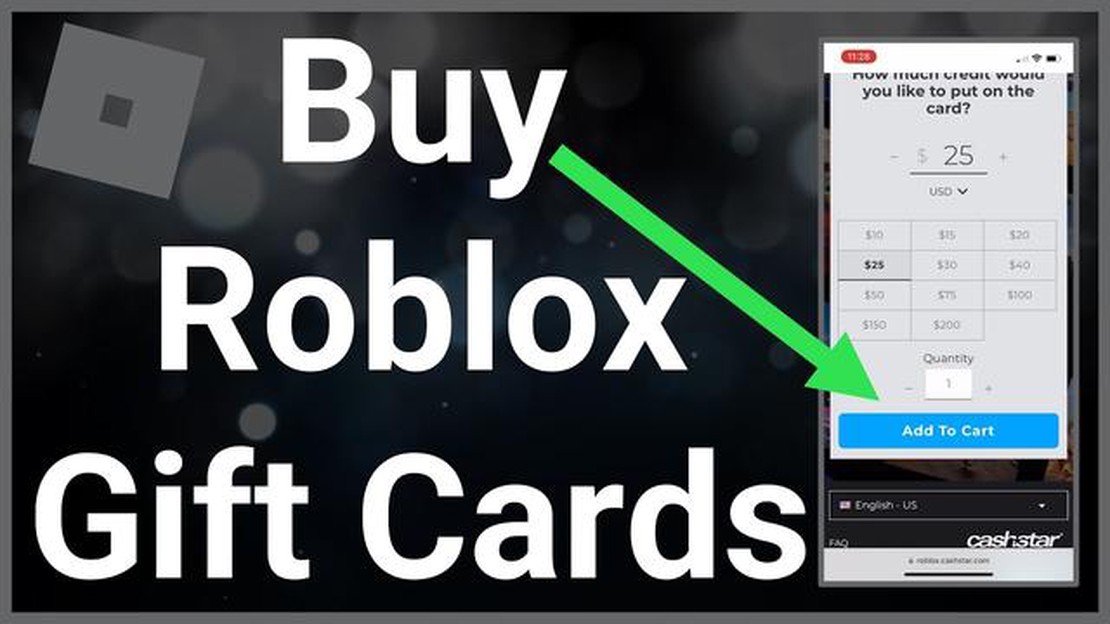
Who Sells Roblox Gift Cards? Looking to buy Roblox gift cards? Look no further! At [Roblox who-sells-roblox-gift-cards], we have the best deals on …
Read Article


