
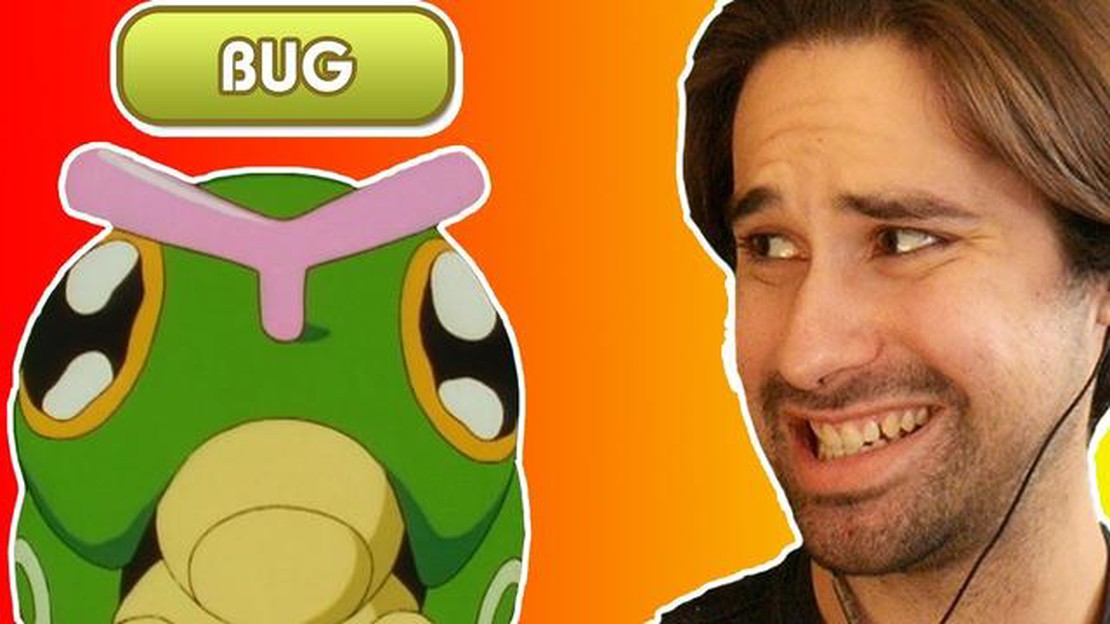

Bug Pokemon Weaknesses: Lack an Advantage Against These Types
What Are Bug Pokemon Weak Against? Bug-type Pokémon are known for their diverse movesets and cunning strategies, but they often struggle against …
Read Article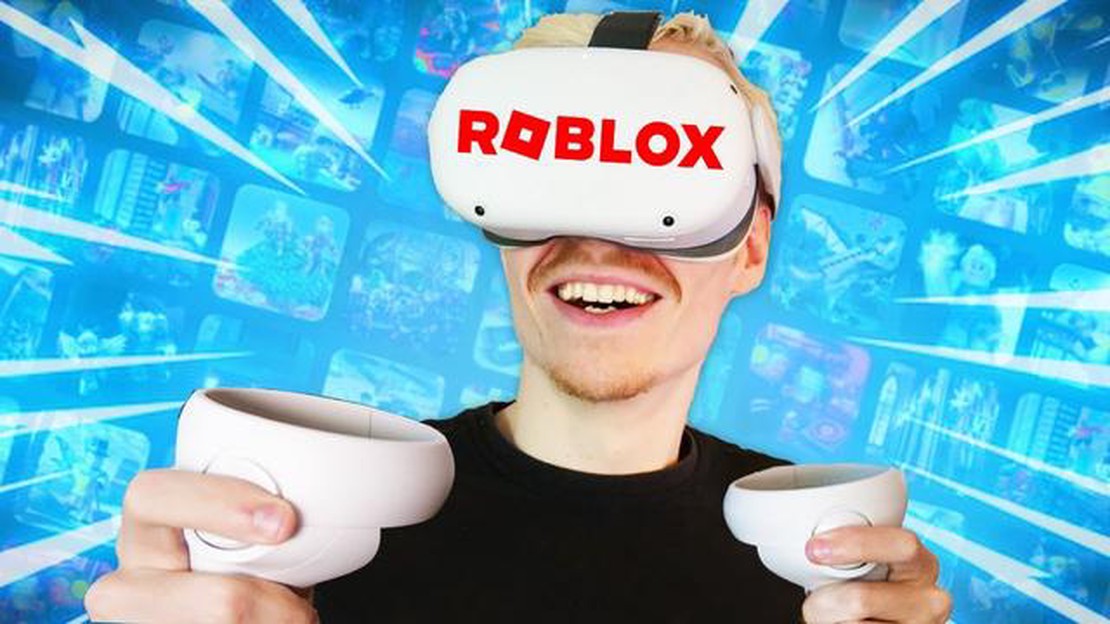
Are you a fan of Roblox and would love to experience it in a whole new way? Well, now you can with Oculus Quest 2! Roblox, the popular online platform that allows users to create and play games, is now available on the Oculus Quest 2 virtual reality headset. With Roblox on the Oculus Quest 2, you can immerse yourself in a whole new world and interact with your favorite games like never before.
In this step-by-step guide, we will walk you through the process of getting Roblox on your Oculus Quest 2. Whether you’re a veteran Roblox player or new to the platform, this guide will provide you with all the information you need to start enjoying Roblox in virtual reality.
First, you’ll need to make sure you have an Oculus Quest 2 headset. The Oculus Quest 2 is a standalone virtual reality headset that offers a wireless and untethered gaming experience. With its powerful capabilities and immersive display, the Oculus Quest 2 is the perfect device to enjoy Roblox in virtual reality.
Once you have your Oculus Quest 2 headset, the next step is to download and install the Roblox app. Simply navigate to the Oculus Store on your headset, search for Roblox, and click on the download button. The app will then be downloaded and installed onto your Oculus Quest 2.
After the installation process is complete, you can launch the Roblox app from your Oculus Quest 2’s home screen. You’ll be prompted to sign in to your Roblox account or create a new one if you don’t already have an account. Once you’re signed in, you’ll have access to all your favorite Roblox games and experiences, fully optimized for virtual reality.
Now it’s time to dive into the world of Roblox in virtual reality. Put on your Oculus Quest 2 headset, grab your Oculus Touch controllers, and start exploring the vast library of games and experiences that Roblox has to offer. Whether you want to fly through the skies, battle zombies, or create your own virtual world, the possibilities are endless in Roblox on the Oculus Quest 2.
So what are you waiting for? Grab your Oculus Quest 2, follow this step-by-step guide, and start enjoying Roblox in virtual reality today!
Roblox is a popular online gaming platform that allows users to create and play games in virtual environments. With the release of the Oculus Quest 2, players can now experience Roblox in virtual reality for an even more immersive gaming experience. If you own an Oculus Quest 2 and want to learn how to get Roblox on it, follow this step-by-step guide:
It’s important to note that you will need a Roblox account to play Roblox on your Oculus Quest 2. If you don’t have one, you can create a new account for free on the Roblox website before following the steps above.
Enjoy exploring and playing Roblox games in virtual reality on your Oculus Quest 2!
Before you can get Roblox on your Oculus Quest 2, make sure you have everything you need and set up your device properly:
Read Also: How to Revive Pokemon in Pokemon Go? - Step by Step Guide
Once you have completed these preparations, you are now ready to proceed to the next step and start downloading Roblox onto your Oculus Quest 2.
Before you can sideload applications onto your Oculus Quest 2, you’ll need to enable Developer Mode in the Oculus app on your smartphone.
Read Also: Discover the Ultimate Guide to Feeding Parrots in Minecraft
Enabling Developer Mode will allow you to install and run third-party applications on your Oculus Quest 2, including Roblox.
To play Roblox on your Oculus Quest 2, you will need to sideload the Roblox app onto your device. Here are the steps to sideload Roblox onto your Oculus Quest 2:
By following these steps, you will be able to sideload the Roblox app onto your Oculus Quest 2 and explore the virtual worlds of Roblox in an immersive VR experience.
Yes, you can play Roblox on Oculus Quest 2. Here’s a step-by-step guide on how to get Roblox on Oculus Quest 2.
Oculus Quest 2 is a virtual reality headset developed by Facebook. It allows you to play VR games and experiences without the need for a PC or external sensors.
To download Roblox on Oculus Quest 2, you’ll need to enable developer mode on your device, install SideQuest on your computer, and then use SideQuest to download and install the Roblox VR app onto your Oculus Quest 2.
No, you do not need a computer to play Roblox on Oculus Quest 2. The Oculus Quest 2 is a standalone virtual reality headset that has its own processors and storage, allowing you to play games and experiences directly on the device.
Yes, you can play Roblox VR on other Oculus devices, such as the original Oculus Quest or Oculus Rift. However, the specific steps to download and install Roblox VR may vary depending on the device.
Yes, Roblox VR is free to play. You can download and install the Roblox VR app on your Oculus Quest 2 or other compatible devices and start playing without any additional cost.
What Are Bug Pokemon Weak Against? Bug-type Pokémon are known for their diverse movesets and cunning strategies, but they often struggle against …
Read Article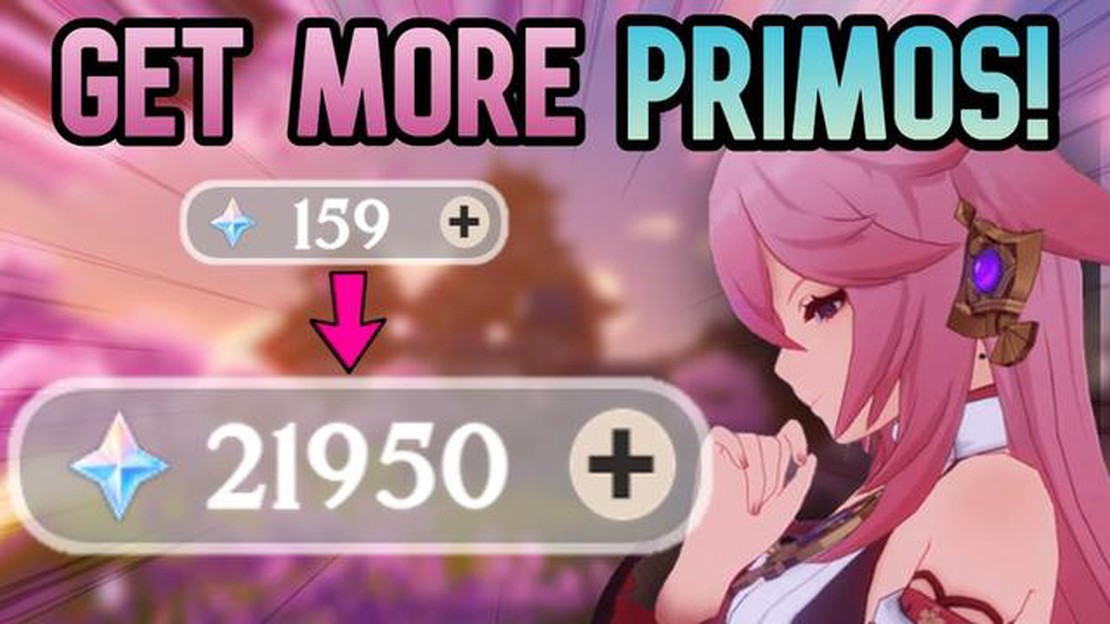
How To Get 20 Free Wishes Genshin Impact? Genshin Impact is a popular open-world action role-playing game developed and published by miHoYo. In the …
Read Article
Who Is The Creator Of Fortnite? Fortnite has become one of the most popular online video games in recent years, captivating millions of players around …
Read Article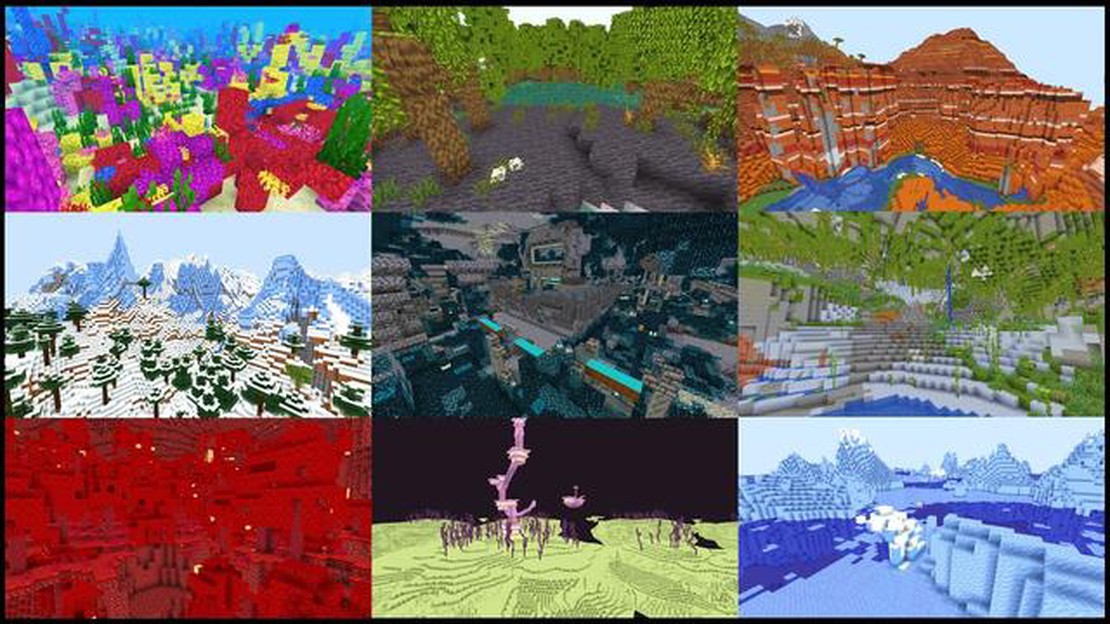
How Many Biomes Are In Minecraft? Minecraft is a popular sandbox game that offers players the opportunity to explore and create their own virtual …
Read Article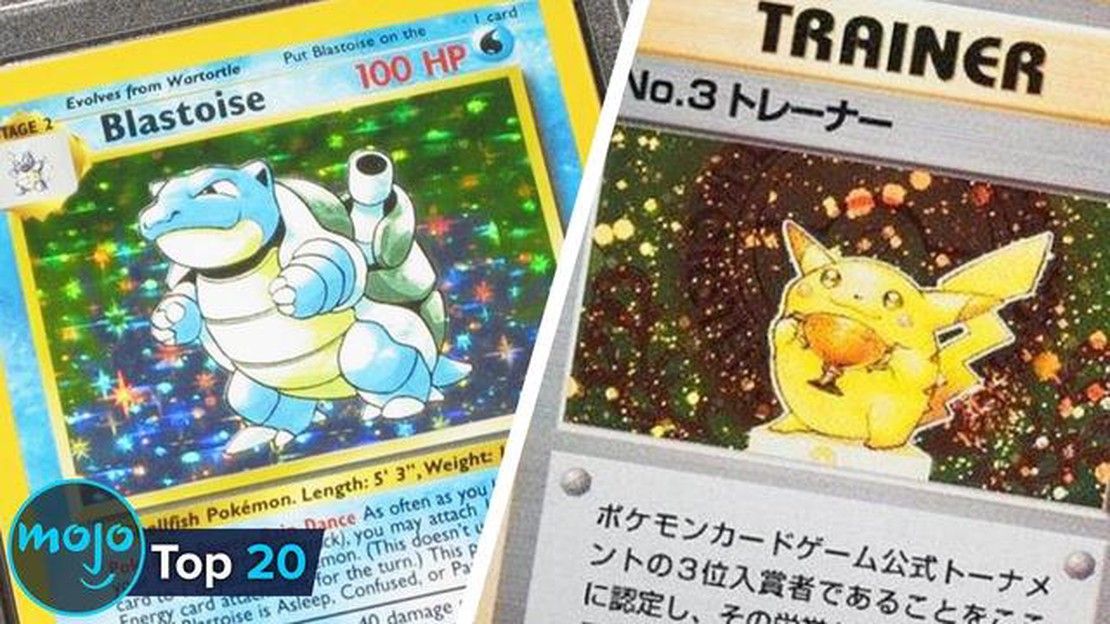
What Is The Most Rarest Pokemon Card? Not only are Pokémon cards a popular collectible, but they also hold significant value for collectors and …
Read Article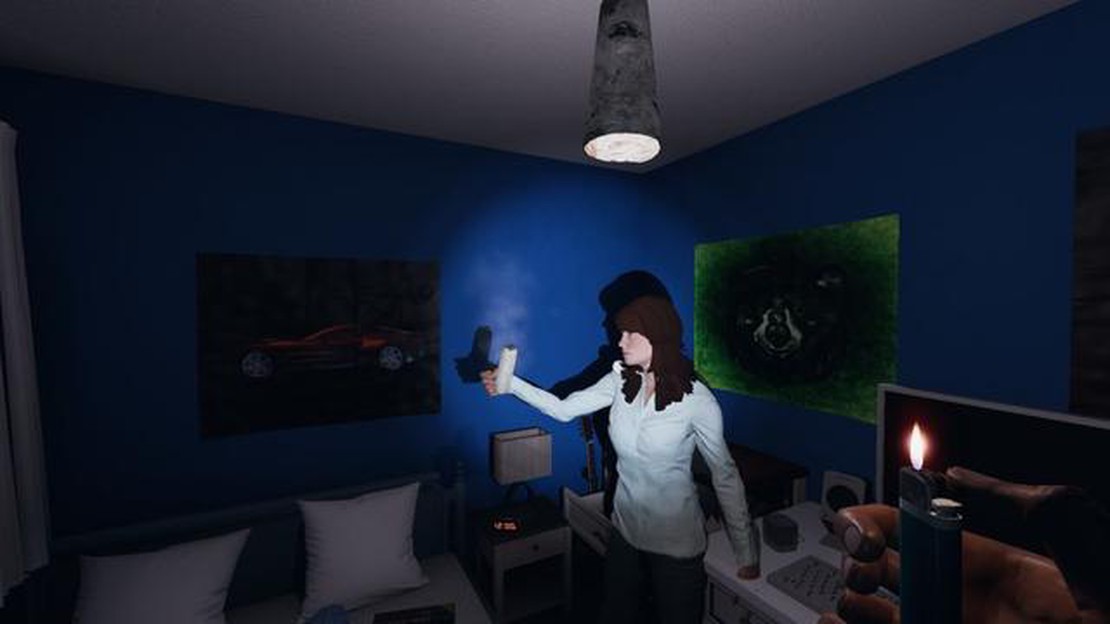
How to use smudge sticks in Phasmophobia Phasmophobia, the popular co-op horror game, has gained a massive following among gamers. One of the …
Read Article


