


How to Get Hog Rider in Clash Royale: A Complete Guide
Clash Royale How To Get Hog Rider? If you are a fan of Clash Royale, you must be familiar with the iconic Hog Rider. This powerful troop has become a …
Read Article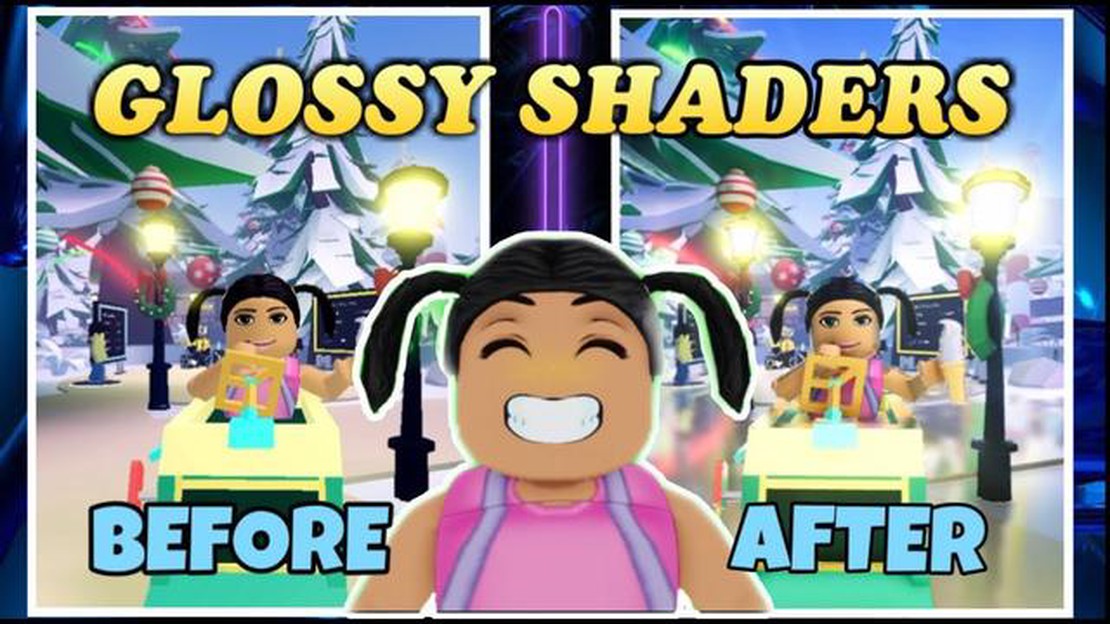
Roblox is a popular online gaming platform that allows users to create and play games made by other players. One of the ways to enhance your gaming experience on Roblox is by using shaders. Shaders are graphical effects that can be added to games to improve the lighting, shadows, and overall visual quality. In this step-by-step guide, we will show you how to install and use shaders on Roblox.
Step 1: Install a Roblox Shader Plugin
The first step is to install a shader plugin for Roblox. There are several plugins available that allow you to add shaders to your games. One popular option is the “Roblox+ Shaders” plugin, which can be found in the Roblox plugin marketplace. To install the plugin, simply search for it in the marketplace, click on the “Get” button, and follow the prompts to install it.
Step 2: Open the Shader Editor
Once you have installed the shader plugin, open the Roblox Studio and navigate to the game you want to add shaders to. In the Studio, click on the “View” tab at the top of the window and select “Shader Editor” from the dropdown menu. This will open the Shader Editor, where you can create and edit shaders for your game.
Step 3: Create or Import a Shader
Now that you have the Shader Editor open, you can start creating or importing shaders for your game. If you are new to shaders, you can use the built-in presets in the Shader Editor to get started. Simply click on the “Presets” tab and choose a preset that you like. If you want to create your own shaders, you can use the tools and options in the Shader Editor to customize the settings and effects.
Step 4: Apply Shaders to Your Game
Once you have created or imported a shader, you can apply it to your game. To do this, select the object or part of the game that you want to apply the shader to, and click on the “Apply Shader” button in the Shader Editor. This will apply the shader to the selected object or part of the game. You can repeat this step to apply shaders to other objects or parts of the game.
Step 5: Test and Customize Your Shaders
After applying the shaders, you can test your game to see how they look and make any necessary adjustments. You can use the Shader Editor to further customize the shaders by adjusting the settings and effects. Play around with different combinations and settings to find the look and feel that you desire for your game.
By following these steps, you can easily install and use shaders on Roblox to enhance the visual quality of your games. Shaders can help create a more immersive and realistic gaming experience, making your games even more enjoyable for players. So why not give shaders a try in your next Roblox game?
Read Also: How Popular Is Call Of Duty? A Look Into The Explosive Popularity of the Call Of Duty Franchise
If you are looking to enhance your Roblox gaming experience by adding visual effects, shaders can be a great option. Shaders can change the way lighting and textures look in the game, making it more immersive and visually appealing. Here is a step-by-step guide on how to install and use shaders on Roblox:
Congratulations! You have successfully installed and used shaders on Roblox. Experiment with different shader tools and settings to create unique visual effects for your Roblox games.
Shaders can greatly enhance the visual appearance of your Roblox gameplay by adding various effects like lighting, shadows, and reflections. To download and use shaders on Roblox, you can follow these steps:
Once the shader files are imported and applied, you should be able to see the visual effects in your Roblox game. Experiment with different shaders and settings to find the combination that suits your gameplay style and aesthetic preferences.
Note: Keep in mind that using shaders in Roblox may require a decent graphics card and can affect the performance of your game, especially on low-end systems. Make sure to test the shaders and adjust settings accordingly to maintain smooth gameplay.
Shaders are graphical effects that can enhance the visual experience in Roblox games. By installing shaders, you can add dynamic lighting, shadows, and other realistic effects to make your gameplay more immersive. Here is a step-by-step guide on how to install and use shaders on Roblox:
Read Also: How Much Does Coin Master Charge? | Coin Master Pricing Guide
Remember that not all games on Roblox support shaders, and some games may have specific restrictions or limitations on the use of shaders. Make sure to check the game’s requirements and guidelines before using shaders in your Roblox gaming experience.
In order to use shaders on Roblox, you will need to follow a step-by-step process. Here is a guide on how to install and use shaders on Roblox:
local Shaders = require(game.Workspace.Shaders)
Shaders:Apply()
By following these steps, you can successfully install and use shaders on Roblox to enhance the visual effects in your games.
Shaders are graphics filters that enhance the visual quality of games by adding realistic lighting, shadows, and reflections. By installing shaders on Roblox, you can greatly improve the overall appearance of your gameplay experience.
Shaders can be installed on any device that supports Roblox, including gaming PCs, laptops, and even some mobile devices. However, keep in mind that the performance of shaders may vary based on the capabilities of your device.
There are several websites and platforms where you can find and download shaders for Roblox. Some popular options include the Roblox Asset Library, Roblox Catalog, and third-party websites like MediaFire and GitHub.
To install shaders on Roblox, you first need to download the shader files from a trusted source. Then, you need to locate the Roblox game folder on your device and place the shader files in the appropriate folder. Finally, you can enable shaders in the game settings to start using them.
Some popular shaders that you can try on Roblox include “Jelly World Shader,” “Roblox Realistic Shader,” and “Roblox Enhanced Shader.” Each of these shaders offers unique visual enhancements and can greatly enhance your gameplay experience.
Yes, installing shaders on Roblox can have an impact on your game’s performance. Shaders require additional processing power and resources to render realistic lighting and effects, which can cause a decrease in frame rate and overall performance. It is recommended to have a gaming PC or a device with sufficient hardware capabilities to ensure smooth gameplay with shaders enabled.
Clash Royale How To Get Hog Rider? If you are a fan of Clash Royale, you must be familiar with the iconic Hog Rider. This powerful troop has become a …
Read Article
Why Cant I Get Brawl Stars? Brawl Stars is a popular mobile game that offers intense multiplayer battles and unique gameplay features. However, some …
Read Article
What Are Emblems In Mobile Legends? Mobile Legends is a popular multiplayer online battle arena (MOBA) game that has gained a massive following since …
Read Article
How To Dive In Animal Crossing New Horizons? Animal Crossing: New Horizons is a popular life simulation game that allows players to explore and create …
Read Article
Horizon Zero Dawn review In the highly anticipated game, Horizon Zero Dawn, players are transported to a breathtaking post-apocalyptic world where …
Read Article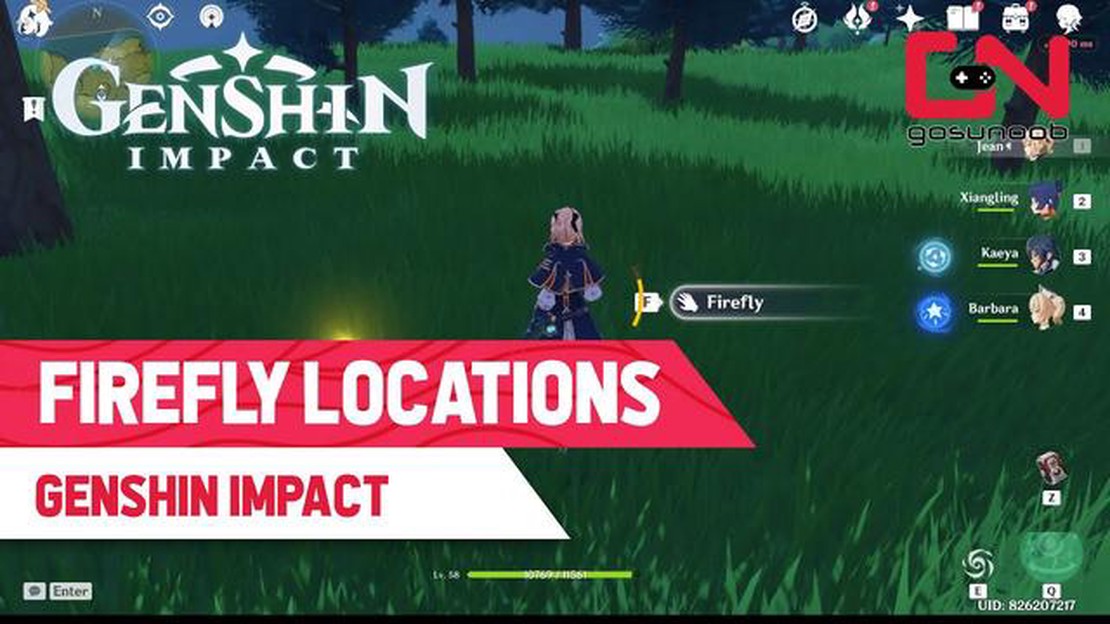
Where To Find Fireflies In Genshin Impact? Fireflies in Genshin Impact are not only beautiful to look at, but they also serve a useful purpose in the …
Read Article


