

When Is Animal Crossing Coming To iPhone? Release Date and Updates
When Is Animal Crossing Coming To Iphone? Animal Crossing is a highly popular and beloved video game franchise developed by Nintendo. The series, …
Read Article
Animal Crossing is a popular video game series that allows players to create and manage their own virtual worlds. One of the key tools in the game is the shovel, which is used for various activities such as digging up fossils, planting trees, and catching bugs. If you’re new to the game or simply haven’t obtained a shovel yet, don’t worry! We’ve got you covered.
The first step to getting a shovel in Animal Crossing is to upgrade your home to a certain level. Once you’ve done that, you can visit the Nook’s Cranny store on your island. The store is run by Timmy and Tommy Nook, and it offers a variety of items for sale. Keep an eye out for the shovel, as it may be available for purchase at a reasonable price.
If the shovel is not in stock at the Nook’s Cranny store, don’t panic! There is another way to obtain it. You can try talking to your animal neighbors and see if they have a spare shovel they are willing to give you. Animal villagers in the game are known for being helpful and generous, so it’s worth a shot. Just make sure to have a friendly conversation with them and build up a good relationship.
Pro tip: If you have a friend who plays Animal Crossing, you can visit their island and see if they have a spare shovel they can give you. This can be a quicker and easier way to obtain the shovel.
Once you have obtained the shovel, you can start using it to make your island even more beautiful and interesting. You can dig up fossils to donate to the museum, plant trees and flowers to create a stunning landscape, and even use the shovel as a weapon to defend yourself against pesky bugs or other creatures. The possibilities are endless!
So, whether you’re a seasoned Animal Crossing player or just starting out, now you know how to get a shovel in the game. Happy digging!
In Animal Crossing, the shovel is a versatile tool that allows players to dig up fossils, plant trees, and collect various items buried underground. However, obtaining a shovel is not as straightforward as simply purchasing it from a store. Here are the steps you need to follow to get a shovel in Animal Crossing:
Once you have obtained the shovel, you can start using it to dig up fossils, plant trees, and search for buried treasure on your island. It’s an essential tool that will greatly enhance your gameplay experience in Animal Crossing.
The shovel is an essential tool in the world of Animal Crossing. With it, you can dig up fossils, plant trees, and even unearth hidden treasures. In this guide, we will reveal the secrets to obtaining a shovel and start digging up your own adventures in Animal Crossing.
Read Also: What You Should Know About Windows 11 TPM 2.0 Requirements
Before you can get a shovel, you must first upgrade your Resident Services building. To do this, you need to complete various tasks given by Tom Nook, such as constructing and furnishing homes for new residents. Once your Resident Services building is upgraded, you will gain access to the Nook’s Cranny store.
Next, talk to Tom Nook inside the upgraded Resident Services building. He will give you a DIY recipe for a shovel and ask you to craft it. To craft a shovel, you will need the following materials:
Read Also: Why Kim Kitsuragi is the Standout Star of Disco Elysium
Acquire these materials by chopping trees with an axe and hitting rocks with a shovel or an axe. Once you have the required materials, open your DIY crafting app, select the shovel recipe, and craft it.
Congratulations! You now have a shovel in Animal Crossing. Use it to dig up fossils, plant trees, and dig for buried treasures like fossils or valuable items. Keep in mind that the durability of your shovel decreases with each use, so make sure to take care of it or craft a new one when it breaks. Happy digging!
In Animal Crossing, a shovel is an essential tool for a variety of tasks, such as digging up fossils, planting trees, and digging for valuable items. Follow these steps to obtain a shovel and start digging up the island:
Now that you have obtained a shovel, you can start exploring the island, digging for fossils, and planting trees. Remember to take care of your shovel and use it responsibly! Happy digging!
To get a shovel in Animal Crossing, you need to first progress a few days in the game. After a few days, Tom Nook will give you a DIY recipe for a shovel. You can also buy shovels from Nook’s Cranny once it is built on your island.
Tom Nook gives you the DIY recipe for a shovel after you have progressed a few days in the game. This usually happens once you have completed a few tasks and built some infrastructure on your island.
Yes, you can buy a shovel in Animal Crossing. Once Nook’s Cranny is built on your island, you can purchase shovels from the shop. The shop will have different variations of shovels available for purchase, so you can choose the one you like.
Other than receiving the DIY recipe from Tom Nook and buying shovels from Nook’s Cranny, you can also find shovels in presents that float by on balloons. Shooting down these balloons using a slingshot will give you different items, including shovels.
When Is Animal Crossing Coming To Iphone? Animal Crossing is a highly popular and beloved video game franchise developed by Nintendo. The series, …
Read Article
How To Write In A Book In Minecraft? If you’ve been playing Minecraft for a while, you may have come across a book and quill. This item allows you to …
Read Article
How Do U Get More Attacks In Coin Master? Are you tired of losing in Coin Master? Do you want to dominate your opponents and become the ultimate coin …
Read Article
Call of Duty Reviews Since its debut in 2003, the Call of Duty franchise has become one of the most popular and successful video game series of all …
Read Article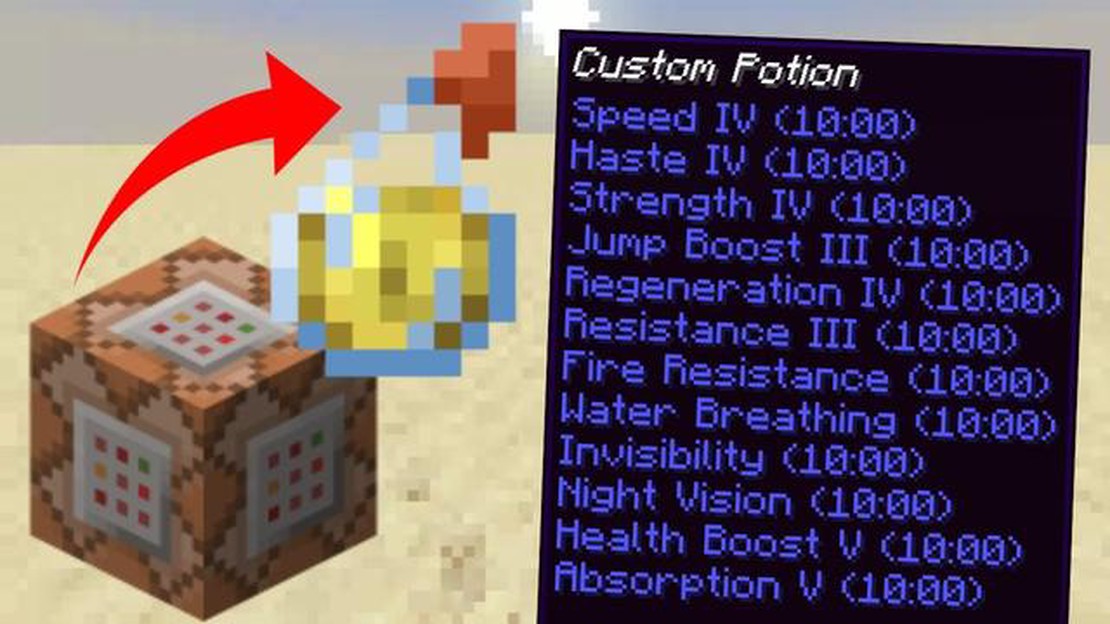
Potions Commands Minecraft If you’ve ever played Minecraft, you know that potions can be incredibly useful in your gameplay. From healing yourself to …
Read Article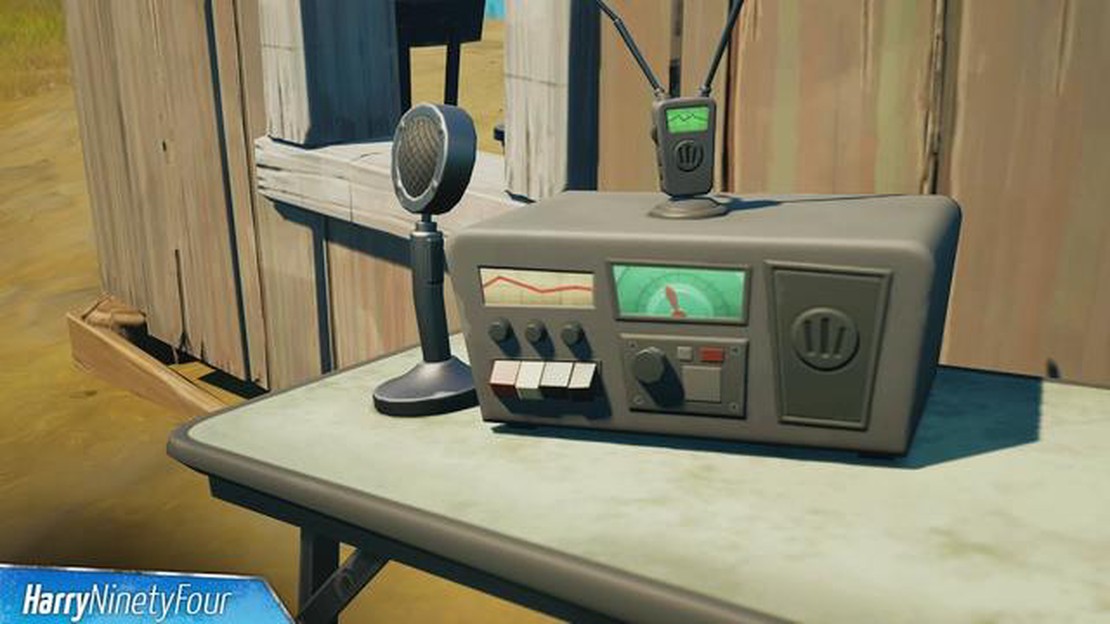
Where Is The Cb Radio In Fortnite? Are you a Fortnite player looking to gain an edge in the game? One of the latest challenges in Fortnite Season 6 …
Read Article


