
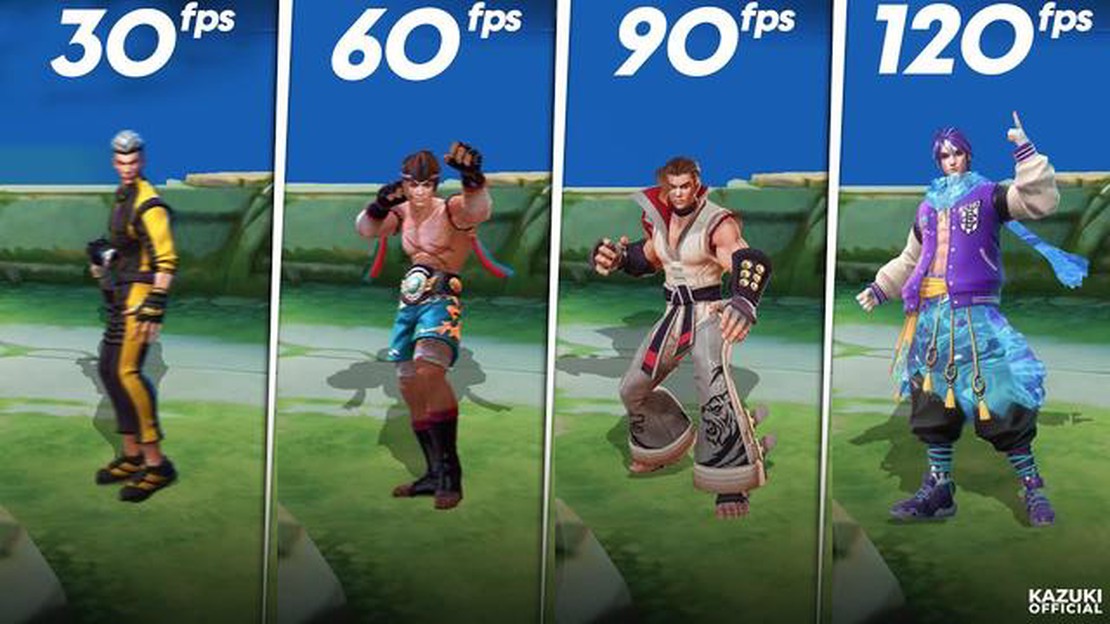

How to Increase FPS in Mobile Legends: Tips and Tricks
How To Increase Fps In Mobile Legends? Mobile Legends is a popular mobile game that requires fast reflexes and quick thinking. However, if you’re …
Read Article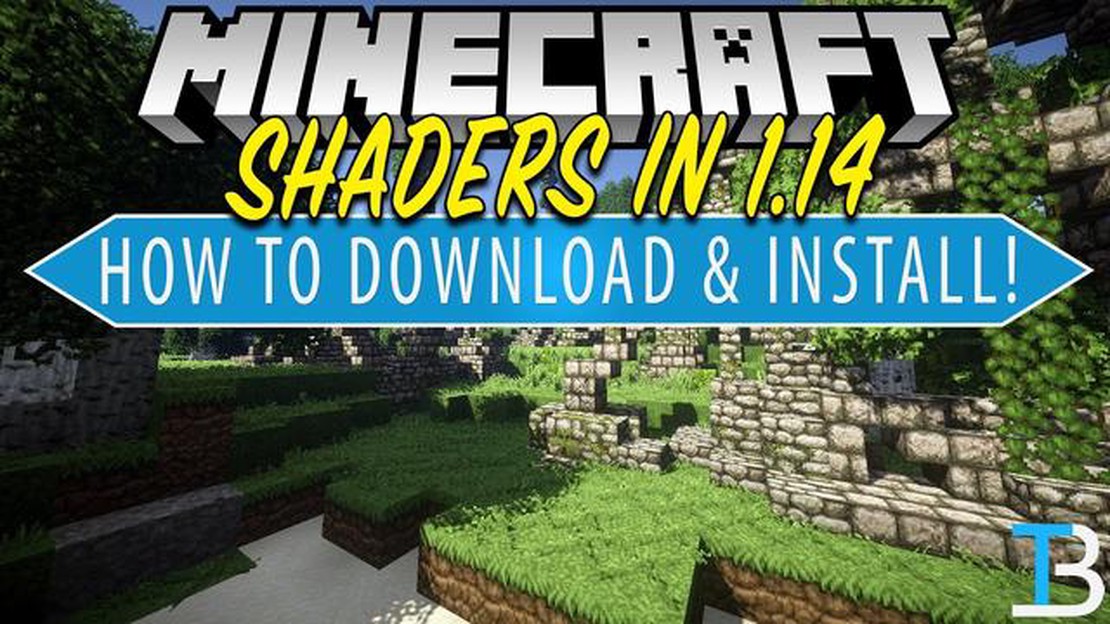
Minecraft is a sandbox game that allows players to create and explore virtual worlds. One of the ways to enhance the visual experience of Minecraft is by installing shaders. Shaders are graphical mods that add realistic lighting, shadows, and other visual effects to the game. In this step-by-step guide, we will walk you through the process of installing shaders for Minecraft version 1.14.
Step 1: Download and Install Optifine
In order to install shaders, you will first need to download and install Optifine. Optifine is a mod that helps to optimize Minecraft’s performance and graphics. To download Optifine, go to the official Optifine website and click on the download link for the version that is compatible with Minecraft 1.14. Once the download is complete, double-click on the downloaded file to start the installation process. Follow the on-screen instructions to install Optifine.
Step 2: Launch Minecraft with Optifine
After installing Optifine, you will need to launch Minecraft with Optifine. To do this, open the Minecraft launcher and click on the “Installations” tab. Next, click on “New” to create a new installation. In the “Version” dropdown menu, select the version of Minecraft that has Optifine installed (e.g. “1.14 Optifine”). Give the installation a name and click on “Create”. Finally, click on the “Play” button to launch Minecraft with Optifine.
Step 3: Download and Install Shaders
With Minecraft launched and Optifine installed, you can now download and install the shaders. There are many websites that offer shaders for free download. Make sure to choose a reputable and trusted source. Once you have chosen a shader pack, download the ZIP file. Open the Minecraft launcher and click on the “Options” button. In the options menu, click on “Video Settings” and then on “Shaders”. Click on “Open Shaders Folder” to open the shaders folder. Move the downloaded shader pack ZIP file into the shaders folder.
Step 4: Activate the Shaders
After you have downloaded and installed the shader pack, go back to the Minecraft game. In the options menu, click on “Video Settings” and then on “Shaders”. In the shaders menu, you should see the shader pack that you installed. Click on the shader pack to activate it. You can customize the shader settings by clicking on “Shader Options”. Experiment with different settings to achieve the desired visual effects.
Congratulations! You have successfully installed shaders for Minecraft 1.14. Now you can enjoy a more visually stunning and immersive gaming experience. Have fun exploring the virtual world of Minecraft!
Installing shaders can greatly enhance your Minecraft gameplay experience by adding realistic lighting, shadows, and other visual effects. Here is a step-by-step guide on how to install shaders in Minecraft version 1.14.
Read Also: How To Change Your Name On Call Of Duty - Step By Step Guide11. Copy the downloaded shader pack file (.zip or .rar) into the “shaderpacks” folder. 12. Select the shader in Minecraft: 13. Launch Minecraft and go to “Options” -> “Video Settings” -> “Shaders”. 14. In the Shaders menu, click “Shaders Folder” and select the shader pack you just installed. 15. Click “Done” and the shaders will be applied to your Minecraft game.
16. Adjust shader settings (optional): 17. If desired, you can customize the shader settings further by going to “Options” -> “Video Settings” -> “Shaders” -> “Shader Options”. 18. Experiment with different settings to achieve the desired visual effects. 19. Click “Done” to save your changes.
Congratulations! You have successfully installed shaders in Minecraft version 1.14. Enjoy the enhanced visuals and immersive gameplay experience!
Minecraft Shaders are modifications that can be applied to the game of Minecraft to change its graphics and visual effects. Shaders add various effects, such as realistic lighting, shadows, reflections, and dynamic weather, to enhance the overall appearance of the game.
Read Also: Discover the Mysteries of Ascending the Divine Tower of Caelid in Elden Ring
Shaders work by modifying the game’s rendering engine, which controls how the graphics are generated and displayed on the screen. With the use of shaders, players can create stunning visuals that can significantly enhance their Minecraft gaming experience.
There are many different types of shaders available, each offering its own unique set of visual effects and styles. Some shaders aim to make Minecraft look more realistic, while others may give the game a more vibrant or cartoon-like appearance. The choice of shader depends on the player’s personal preferences and desired visual style.
Installing shaders in Minecraft involves downloading and installing a shader pack, which contains the necessary files to modify the game’s graphics. Once installed, players can enable the shader pack in the game’s settings to apply the chosen shader and enjoy the new visual effects.
It is important to note that while shaders can greatly enhance the graphical quality of Minecraft, they also require more system resources to run properly. Players with lower-end computers may experience performance issues or frame rate drops when using shaders.
Overall, Minecraft shaders offer an exciting way to enhance the visual experience of the game and allow players to experience Minecraft in a whole new light.
Before you can install shaders in Minecraft 1.14, you’ll need to download and install the Shaders Mod. Here’s how you can do it:
Now that you have downloaded and installed the Shaders Mod, you’re ready to move on to the next step: finding and installing shaders for Minecraft 1.14.
Installing the Shaders Mod is the next step to enhancing your Minecraft graphics and creating a more immersive gaming experience.
Follow these simple steps to install the Shaders Mod:
Remember, the Shaders Mod may impact your computer’s performance and may require a more powerful system to run smoothly. Make sure to adjust the settings accordingly if you experience any lag or performance issues.
Now that you have successfully installed the Shaders Mod, you can start exploring and trying out different shaders to enhance your Minecraft gameplay.
Minecraft shaders are graphical mods that enhance the visuals of the game by adding effects such as realistic lighting, shadows, and reflections.
Yes, you can install shaders on Minecraft version 1.14. However, not all shaders are compatible with every version of the game, so make sure to check if the shader you want to install is compatible with version 1.14.
To install Minecraft shaders, you first need to download and install a shader pack. Once you have the shader pack file, open the Minecraft launcher, select the version of the game you want to play, and click “Edit” on the bottom left corner. In the “Edit Installation” window, click “More Options” and add the shader pack file under “Program Arguments.” Finally, click “Save” and launch the game.
The best shader pack for Minecraft is subjective and depends on personal preference. Some popular shader packs include SEUS (Sonic Ether’s Unbelievable Shaders), Continuum, and KUDA. It’s recommended to try out different shader packs and see which one you like the most.
Yes, there are system requirements for installing Minecraft shaders. Shaders can be demanding on your computer’s graphics card and CPU, so make sure your computer meets the minimum system requirements for both Minecraft and the specific shader pack you want to install. This may include having a certain version of OpenGL, a compatible graphics card, and enough RAM.
How To Increase Fps In Mobile Legends? Mobile Legends is a popular mobile game that requires fast reflexes and quick thinking. However, if you’re …
Read Article
The best games to show off your fancy new graphics card When it comes to gaming, having a powerful graphics card can make all the difference in terms …
Read Article
The best Paladin builds in Lost Ark Lost Ark, the massively multiplayer online role-playing game developed by Smilegate RPG, has taken the gaming …
Read Article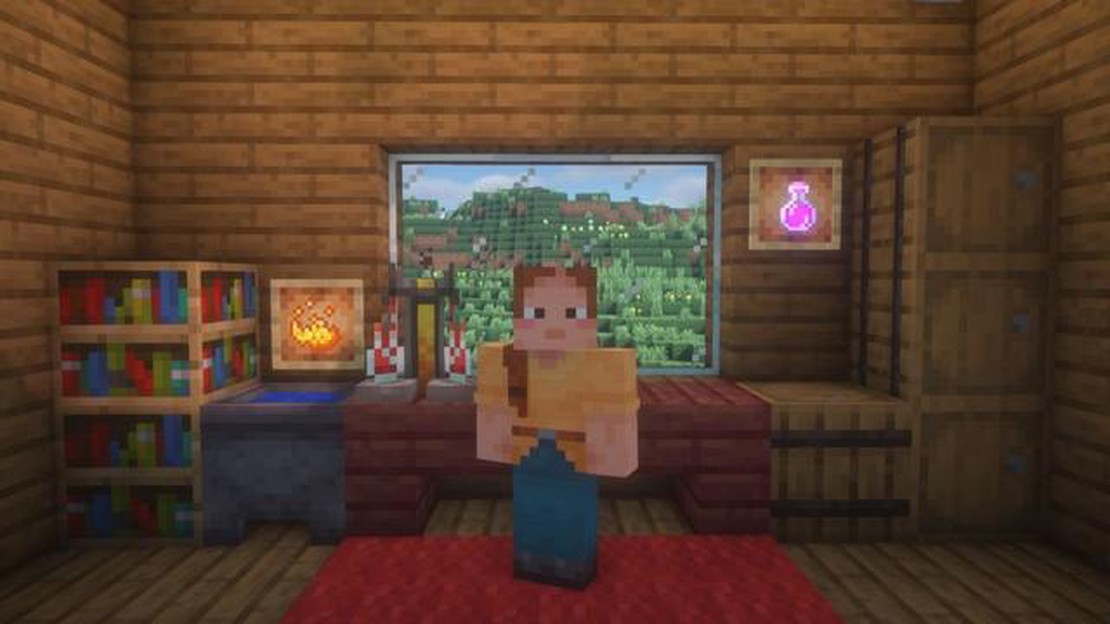
All the Minecraft potion recipes you need to survive If you’re any kind of Minecraft enthusiast, you know that potions are a crucial part of surviving …
Read Article
What Beats Dark Type Pokemon? Dark type Pokémon are known for their tricky and sneaky nature. They possess high offensive power and can be quite a …
Read Article
Who Makes Call Of Duty Black Ops? Call of Duty Black Ops is one of the most iconic and beloved video game franchises of all time. But have you ever …
Read Article


