

How to Change the Build in Mobile Legends: A Comprehensive Guide
How To Change The Build In Mobile Legends? Changing the build in Mobile Legends is a crucial aspect of the game. A great build can significantly …
Read Article
If you’re a Minecraft player looking to enhance your gaming experience, you’ll want to consider installing mods. Mods are modifications to the game that allow you to customize and add new features. While mods are more commonly associated with the Java Edition of Minecraft, they can also be installed on other versions of the game.
Installing mods on Minecraft Java Edition is a straightforward process, but it does require a few preliminary steps. First, make sure you have the latest version of Minecraft Java Edition installed on your computer. It’s also recommended to create a backup of your Minecraft files before proceeding, just in case anything goes wrong.
Once you’re ready to install mods, you’ll need to download and install a mod loader. This is a program that allows you to easily manage and load mods into Minecraft. One popular mod loader for Minecraft Java Edition is Forge. You can download Forge from its official website. Make sure to select the version of Forge that corresponds to your Minecraft version.
After downloading Forge, you’ll need to run the installer. The installer will automatically detect your Minecraft installation and install Forge into the appropriate folder. Once the installation is complete, you can launch Minecraft and select the Forge profile from the launcher. This will load Minecraft with Forge installed, allowing you to start installing mods.
To install mods, you’ll need to locate the mod files. Mods are typically downloaded as .jar files, which can be found on various Minecraft mod websites. Once you have the mod file, simply drag and drop it into the “mods” folder, which can be found in your Minecraft installation directory. Alternatively, you can open the mods folder and paste the mod file into it.
Once the mod is in the mods folder, simply launch Minecraft and select the Forge profile again. This time, you’ll see the mod listed alongside your regular Minecraft worlds. Select the mod, click “Play,” and you’re ready to start playing Minecraft with mods!
Remember, not all mods are compatible with each other, so it’s important to do your research and ensure that the mods you want to install are compatible with your Minecraft version. Additionally, mods can sometimes cause conflicts or issues with the game, so it’s always a good idea to install mods one at a time and test them before adding more. With a bit of experimentation and some careful mod selection, you can take your Minecraft experience to a whole new level!
Before you can start installing mods on Minecraft Java Edition, there are a few things you need to do to prepare:
Once you have completed these preliminary steps, you are ready to start installing mods on Minecraft Java Edition. The next section will guide you through the process step by step.
Minecraft Java Edition is the version of Minecraft that runs on personal computers. Before installing mods, it is important to make sure that you have Minecraft Java Edition installed on your computer. Here’s how to check:
If you do not have Minecraft Java Edition, you can purchase and download it from the official Minecraft website.
Read Also: How to Feed a Horse in Minecraft: A Comprehensive Guide
Once you have verified that you have Minecraft Java Edition installed, you can move on to installing mods for the game.
To install mods on Minecraft Java Edition, you will need to first install Minecraft Forge. Minecraft Forge is a platform that allows you to add custom modifications to the game.
Now that you have successfully installed Minecraft Forge, you are ready to start installing mods on Minecraft Java Edition.
In order to install a mod in Minecraft Java Edition, you will need to find and download the mod file.
Read Also: Understanding Latency and Ping: How They Impact Gaming Experience
Here are a few popular websites where you can find Minecraft mods:
These websites have large collections of mods created by the Minecraft community. You can browse through different categories or use the search function to find the specific mod you want to install.
When choosing a mod, it’s important to check if it is compatible with the version of Minecraft you are currently playing. Mods usually have a version number associated with them, so make sure it matches the version of Minecraft you have installed.
Once you have found a mod you want to install, make sure to download the mod file to your computer. Mods are typically downloaded as .jar or .zip files.
It’s always a good idea to double-check the website and the mod file for any instructions or additional requirements before proceeding with the installation process.
Before installing mods on Minecraft Java Edition, it’s important to ensure that the mods you want to use are compatible with your current version of the game. Incompatible mods may cause crashes, errors, or other issues that can disrupt your gameplay experience.
To verify mod compatibility, follow these steps:
It’s important to note that mod compatibility can sometimes be a complex issue, as mods can interact with each other in unexpected ways. If you encounter any issues with mod compatibility, check the mod’s official website or forums for troubleshooting information or seek help from the mod’s community.
Yes, you can install mods on the Minecraft Java Edition. It offers a platform for players to customize their gameplay experience by adding new features, items, or modifying existing ones.
The main difference between the two editions is how mods are installed. In Minecraft Java Edition, mods are installed by downloading files and placing them into the game’s “mods” folder. In Bedrock Edition, mods are called “add-ons” and can be installed by downloading them from the in-game marketplace.
You can find mods for Minecraft Java Edition on various websites, such as CurseForge, Planet Minecraft, and Minecraft Forum. These websites offer a wide range of mods created by the Minecraft community.
How To Change The Build In Mobile Legends? Changing the build in Mobile Legends is a crucial aspect of the game. A great build can significantly …
Read Article
How To Play Pokemon Card Game? Welcome to our beginner’s guide on how to play the Pokemon Card Game! Whether you’re a long-time fan of the Pokemon …
Read Article
Double mode Fortnite Disabled Attention Fortnite enthusiasts! Are you experiencing difficulties accessing the highly anticipated Double Mode Fortnite? …
Read Article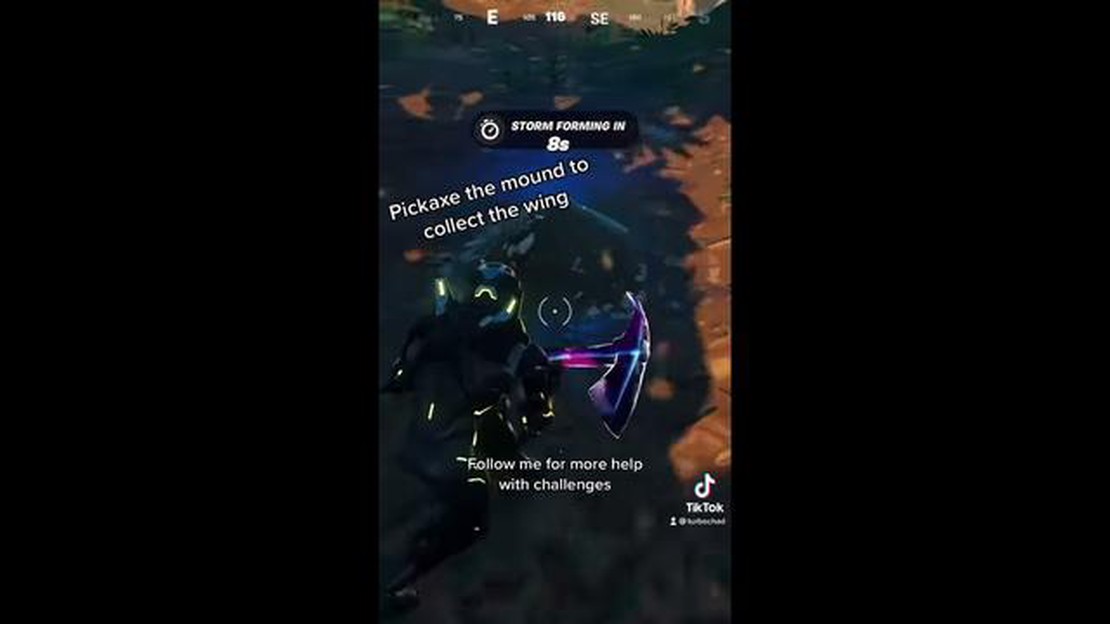
Where Is Stealthy Stronghold In Fortnite? Fortnite is a popular online video game that has taken the gaming world by storm. One of the most exciting …
Read Article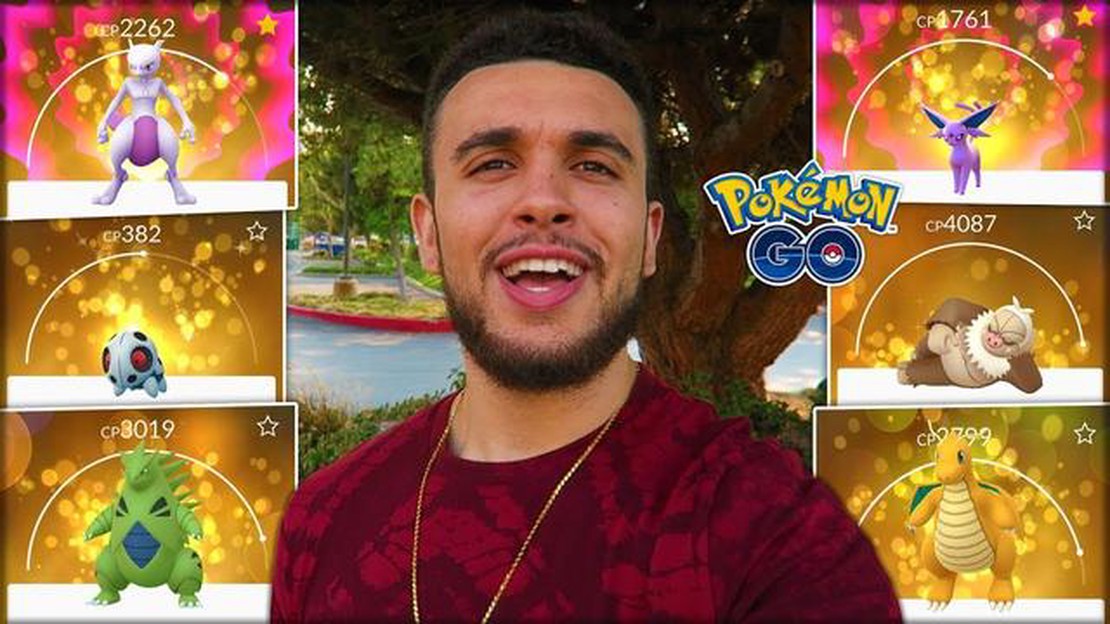
What Does Lucky Pokemon Mean? Have you ever come across the term “Lucky Pokemon” while playing the popular game Pokémon Go, but weren’t quite sure …
Read Article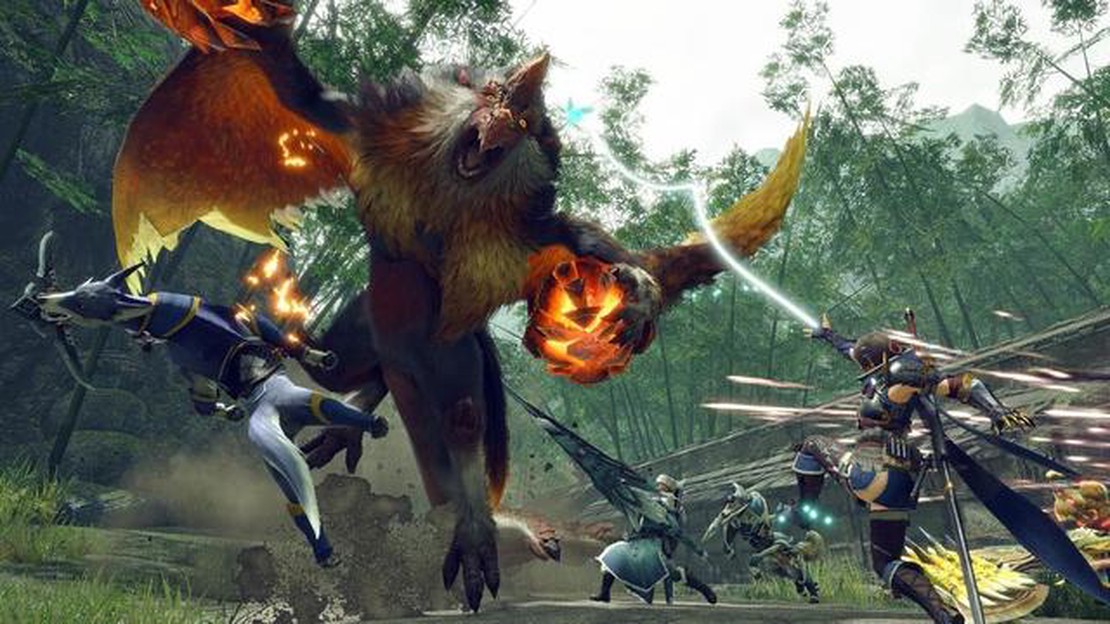
How to get Sapphiron Ore in Monster Hunter Rise: Sunbreak In the world of Monster Hunter Rise: Sunbreak, one of the most sought-after resources is …
Read Article


