


Step-by-Step Guide: How to Remove Quick Chat from Among Us
How to Remove Quick Chat from Among Us Among Us has become a popular game among gamers of all ages, allowing players to work together to identify the …
Read Article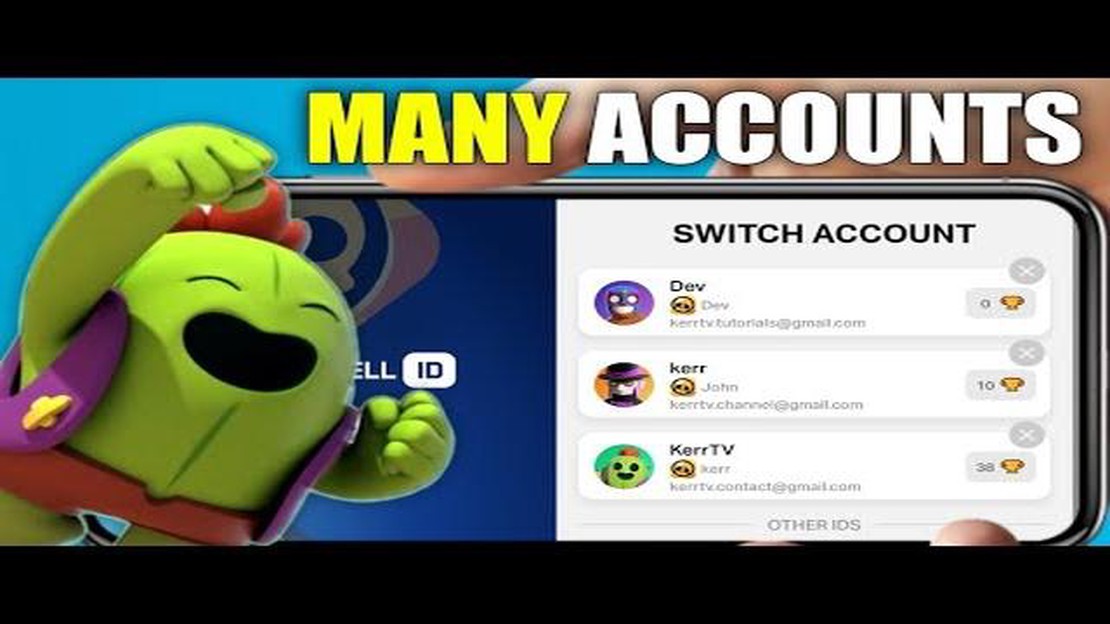
Are you a fan of the immensely popular mobile game Brawl Stars? Do you want to enhance your gaming experience by linking your Facebook account to your Brawl Stars profile? Look no further, as we provide you with a step-by-step guide on how to load a Facebook account for Brawl Stars.
Linking your Facebook account to your Brawl Stars profile comes with a range of benefits. Firstly, it allows you to easily connect and play with friends who are also on Facebook. Secondly, it enables you to sync your progress across different devices, ensuring that you never lose your hard-earned rewards and achievements. Lastly, linking your Facebook account opens up opportunities to join Brawl Stars communities and participate in events exclusive to Facebook users.
So, without further ado, let’s dive into the step-by-step process of loading your Facebook account onto Brawl Stars.
If you want to load your Facebook account for Brawl Stars, follow these step-by-step instructions:
Now you can easily load your Facebook account on any device by logging in to your Supercell ID. This will allow you to access your Brawl Stars progress and play the game with your Facebook account saved data.
Note: Linking your Facebook account to your Brawl Stars game is important in case you switch devices or need to recover your game progress.
Before you can load a Facebook account for Brawl Stars, you’ll need to create a Facebook account if you don’t already have one. Follow the steps below to create a Facebook account.
Now that you have successfully created a Facebook account, you can proceed to load it for Brawl Stars and enjoy the game even more!
Read Also: Discover the Best Clash of Clans Hacks - Step-by-Step Guide for Success
After you have successfully created or loaded your Facebook account, it’s time to install Brawl Stars on your device. Follow the steps below to get started:
Congratulations! You have now successfully installed Brawl Stars on your device. In the next step, we will guide you on how to log in to your Facebook account within the game to access your saved progress and play with friends.
Read Also: Guide to Overclocking Your PC and Maximizing Performance - Step-by-Step Tutorial
Once you have created a Facebook account or if you already have one, you can proceed to link your Brawl Stars account to it. This will allow you to save your game progress and play with friends who are also connected to Facebook.
Note that linking your Brawl Stars account to Facebook is optional, but it offers various benefits such as easy account recovery, finding and playing with friends, and syncing your progress across multiple devices. If you decide to link your account, make sure to keep your login credentials secure to protect your account from unauthorized access.
Yes, it is possible to load a Facebook account for Brawl Stars. Facebook integration allows players to connect their game progress and social profile to their Facebook account.
There are a few reasons to load your Brawl Stars account on Facebook. Firstly, it allows you to easily switch between devices and continue playing where you left off. Additionally, it provides a way to connect with friends and share achievements on social media.
Linking multiple Brawl Stars accounts to one Facebook account can be beneficial for players who have more than one account. It allows them to easily switch between accounts without needing to remember multiple usernames and passwords.
If you lose access to your Facebook account, you may also lose access to your linked Brawl Stars account. It is important to keep your Facebook account secure and remember your login credentials to avoid any issues with accessing your game progress.
No, once a Brawl Stars account is linked to a specific Facebook account, it cannot be transferred to a different Facebook account. The link is permanent and cannot be changed.
How to Remove Quick Chat from Among Us Among Us has become a popular game among gamers of all ages, allowing players to work together to identify the …
Read Article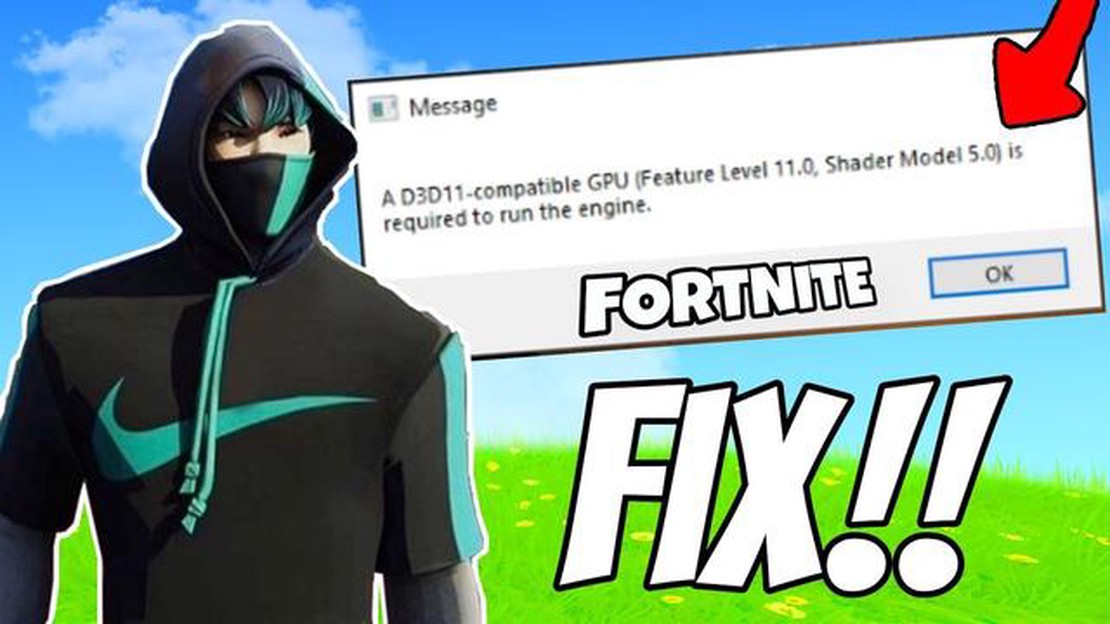
What Engine Does Fortnite Run On? Fortnite, the immensely popular online multiplayer game, runs on an engine known as the Unreal Engine. Developed by …
Read Article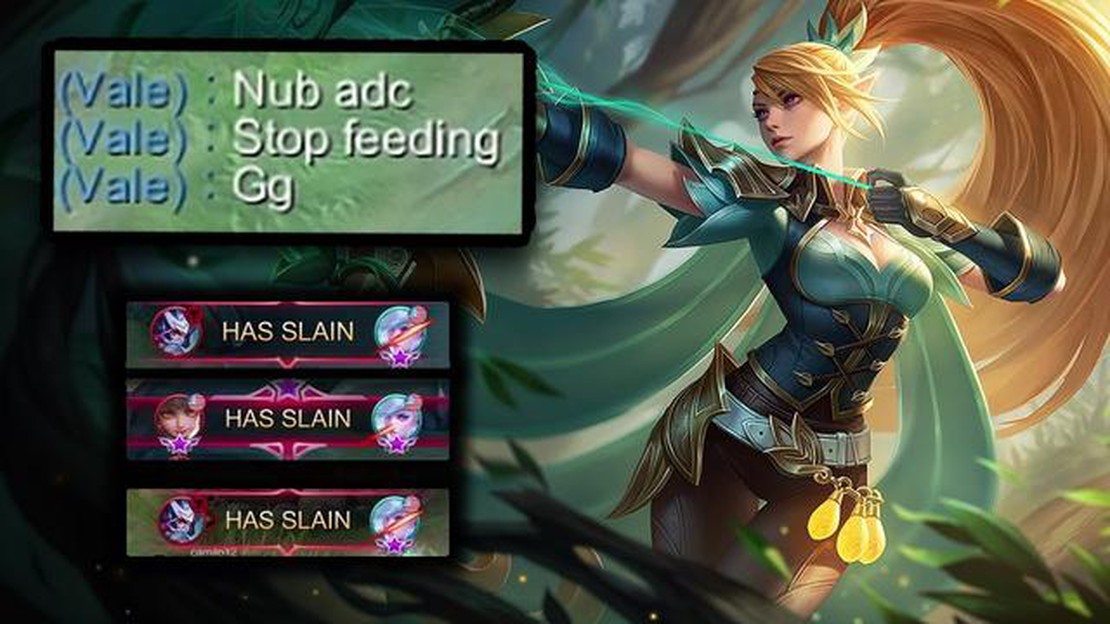
What Is Feeding Mobile Legends? Mobile Legends is a popular multiplayer online battle arena (MOBA) game that has gained immense popularity among …
Read Article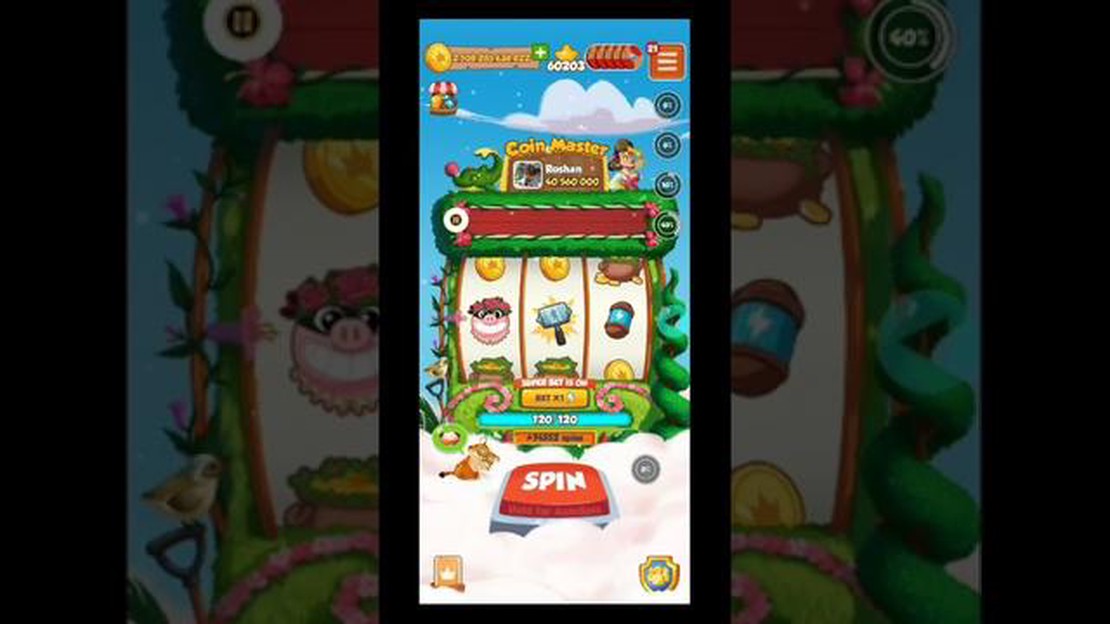
How To Change Profile Picture On Coin Master? Changing your profile picture on Coin Master is an easy way to personalize your gaming experience and …
Read Article
What Are Fire Pokemon Weak Against? Fire-type Pokemon are known for their fierce and powerful attacks, but even they have weaknesses. Understanding …
Read Article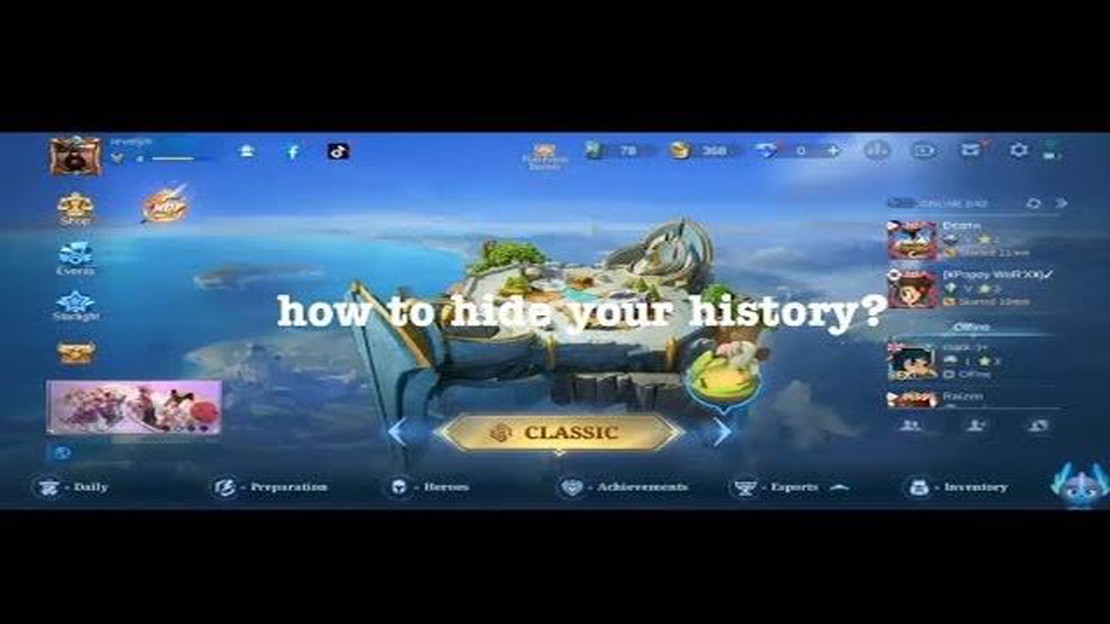
How To Hide Game History In Mobile Legends? Mobile Legends is a popular multiplayer online battle arena (MOBA) game that allows players to team up and …
Read Article


