


Who Made Clash Of Clans: The Story Behind the Popular Game | Website Name
Who Made Clash Of Clans? Clash of Clans is a popular mobile strategy game that has captivated millions of players around the world. But have you ever …
Read Article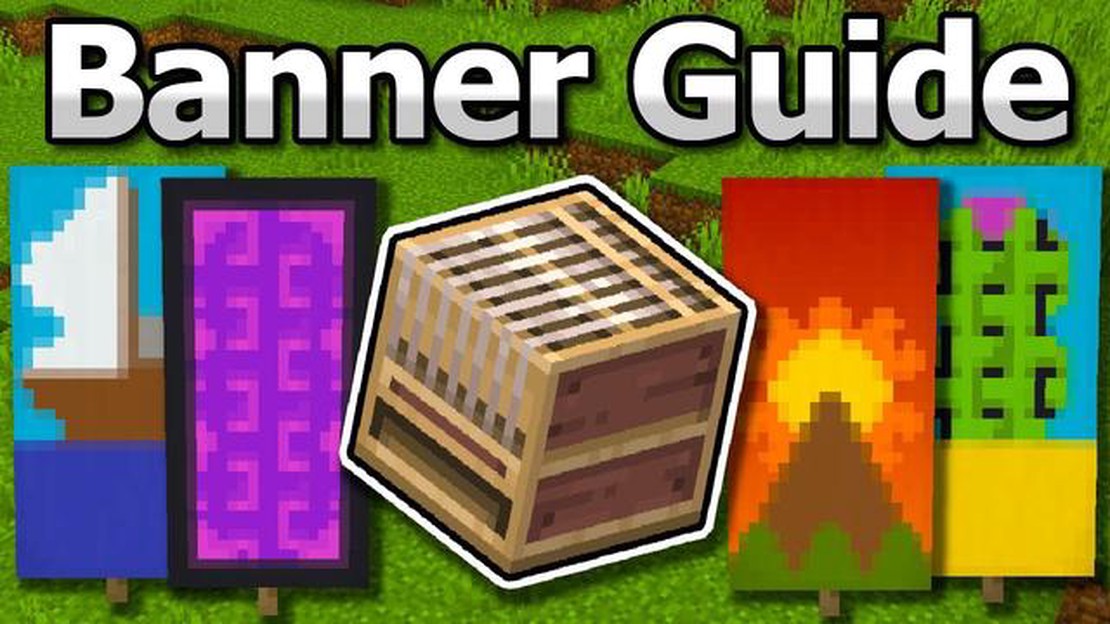
Do you want to add a personalized touch to your Minecraft world? Learn how to make a banner in Minecraft and customize it with your own designs and colors. Banners are a great way to showcase your creativity and add a unique flair to your buildings and landscapes.
To make a banner in Minecraft, you’ll need a few simple materials and access to a crafting table. Follow our step-by-step guide below to learn how to create and customize your own banners to make your Minecraft experience truly one-of-a-kind.
Step 1: Gather the materials:
To make a basic banner, you’ll need the following materials:
Step 2: Open the crafting table:
Once you have gathered the materials, open your crafting table by right-clicking on it. The crafting table interface will appear, with a 3x3 grid for you to place your materials.
Step 3: Arrange the materials:
In the crafting table grid, arrange the materials as follows:
W W W
W S W
T
Where W represents wool of any color, S represents a stick, and T represents the empty space in the middle of the grid.
Note: You can experiment with different colors of wool to create banners with different designs and patterns.
Step 4: Retrieve your banner:
Once you have placed the materials in the correct pattern, you will see a banner icon appear in the result box of the crafting table. Simply click on the banner icon to retrieve your newly crafted banner.
Congratulations! You have successfully made your own banner in Minecraft. Now, it’s time to customize it with your own designs and colors. Stay tuned for our next tutorial where we’ll show you how to design and customize banners in Minecraft to make them truly unique.
Creating custom banners in Minecraft is a fun way to personalize your in-game experience. Follow these steps to learn how to make a banner in Minecraft:
Now that you have crafted a basic banner, you can customize its appearance. Here are a few ways to do it:
Once you have finished customizing your banner, you can use it to decorate your home, create signs, or showcase your personal style in the game.
| Materials | Crafting Recipe |
|---|---|
| 6 wool | No pattern |
| 1 stick |
With this step-by-step guide, you can now make and customize your own banners in Minecraft. Get creative and have fun!
Before you start making a banner in Minecraft, you will need to gather the necessary materials to craft and customize it. Here are the items you will need:
Read Also: Meet the Seven Characters in Fortnite: Who Are They?
A crafting table is essential for creating banners and many other items in Minecraft. If you don’t have a crafting table, you can craft one using four wooden planks. Arrange the wooden planks in a 2x2 grid in your crafting table to create a crafting table.
Wool is the primary material used to create banners. There are 16 different colors of wool in Minecraft, including white, black, red, green, blue, and more. Sheep naturally spawn in various biomes and drop wool when killed. Alternatively, you can also obtain wool by shearing sheep with shears.
Sticks are required to craft the actual banner item. You can obtain sticks by breaking leaves, killing witches, or crafting them using wooden planks. To craft sticks, place two wooden planks vertically in the second column of your crafting table.
Depending on the design you want to create for your banner, you will need different dyes. Dyes can be crafted using various materials, such as flowers, ink sacs, and cacti. Each dye color in Minecraft corresponds to a specific item or block.
Read Also: When Does Fortnite Season 5 End? | Important Dates and Release Schedule
To further customize your banner, you can add additional decoration items such as patterns, enchantments, and special effects. These items are optional and can be obtained through gameplay, trading with villagers, or exploring the game world.
While not necessary, having a loom can make the process of designing and customizing your banner easier. A loom is a special block that allows you to apply patterns and dyes to your banners with a simplified interface. You can find a loom in villages or craft one using two wooden planks and two string.
To begin crafting your banner, you will need the following materials:
Once you have gathered these materials, follow these steps to craft your banner:
Congratulations! You have successfully crafted your banner. Now it’s time to customize and design it to make it truly your own. Continue reading to learn how to do this.
Once you have created your basic banner, you can now start customizing and designing it to make it unique and personal. Here are some steps to help you get started:
Decide on the color scheme you want for your banner. You can choose a single color or a combination of colors. Keep in mind that the color of the banner will affect the design and patterns that you can add later on.
To add patterns to your banner, you will need to use different crafting materials. Choose from options like dyes, wools, or even blocks to create patterns such as stripes, crosses, or gradients. Experiment with different combinations to achieve the desired effect.
If you want to add a logo or an icon to your banner, you can create one using dye and certain patterns. This will make your banner stand out and represent your personality or faction.
Add lettering to your banner by using the banner Pattern recipe. You can create letters, symbols, or even simple words. This is a great way to personalize your banner and make it more meaningful.
Layering different patterns and designs can create a more complex and eye-catching banner. Try experimenting with layering to create depth and texture.
Once you have designed your banner, you can also apply it to your shield. This will show off your custom banner design during battles or when exploring in Minecraft.
Remember, designing and customizing a banner is a creative process, so don’t be afraid to experiment and try new things. Have fun and create a banner that truly represents you!
To make a banner in Minecraft, you will need a crafting table, six wool, and one stick. The wool can be any color, depending on the design you want for your banner.
Yes, you can customize your banner design in Minecraft. You can choose different patterns, colors, and shapes for your banner by combining different dyes and banners in the crafting table.
To get a crafting table in Minecraft, you need to collect wood blocks by chopping down trees. Once you have enough wood, open your inventory, and place the wood blocks in the crafting grid to craft a crafting table.
Some popular banner designs in Minecraft include checkerboard patterns, gradient designs, animal faces, and symbols. You can also create your own unique designs by experimenting with different patterns and colors.
To apply a banner to a shield in Minecraft, you need to use an anvil. Place the shield in the first slot of the anvil and the banner in the second slot. The banner pattern will then be applied to the shield.
Yes, there are some limitations to banner design in Minecraft. The patterns on the banner cannot be rotated or scaled, and you can only have six different layers on the banner. However, there are still many possibilities for creativity within these limitations.
Yes, you can share your banner design with others in Minecraft. You can either give them a copy of your banner or display it in your world for others to see. Some players even create custom banners and share them as downloadable files for others to use.
Who Made Clash Of Clans? Clash of Clans is a popular mobile strategy game that has captivated millions of players around the world. But have you ever …
Read Article
What Is The Best Call Of Duty? Call of Duty is undoubtedly one of the most beloved and successful video game franchises in the world. Since the …
Read Article
How Much Will Call Of Duty Vanguard Cost? How Much Will Call Of Duty Vanguard Cost? Everything You Need to Know Call of Duty Vanguard, the latest …
Read Article
How To Make A Trapdoor In Minecraft? Minecraft is a popular sandbox game where players can create and build their own virtual worlds. One of the key …
Read Article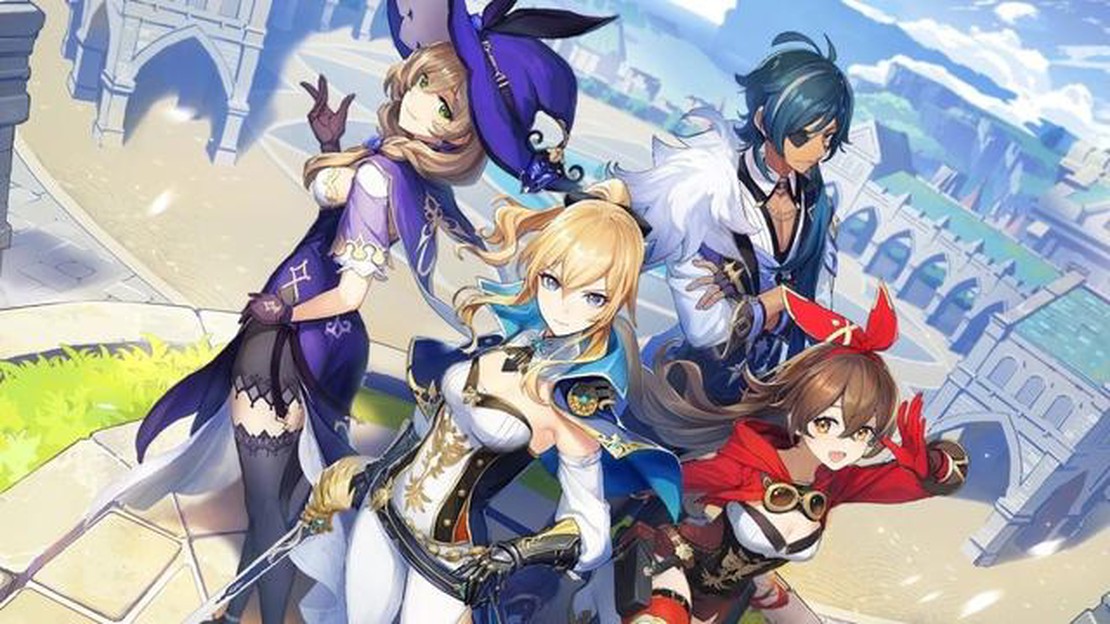
Genshin Impact co-op guide: How to adventure with other players Genshin Impact is an open world action role-playing game that allows players to …
Read Article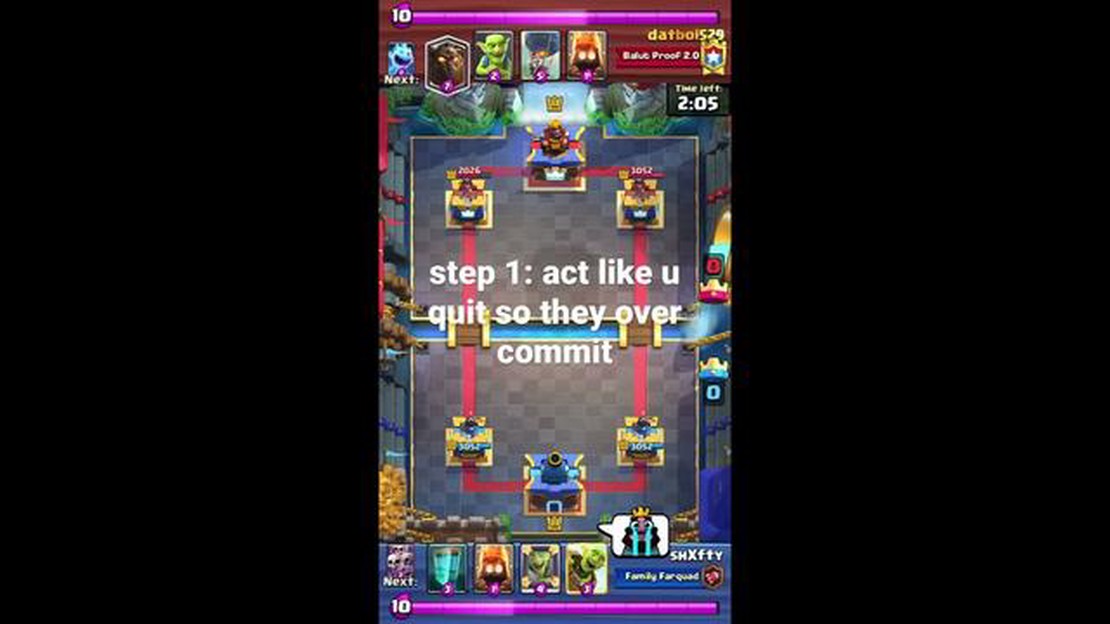
How To Skip Time In Clash Royale? Clash Royale is a popular mobile game that combines elements of real-time strategy and collectible card games. One …
Read Article


