

How Much Is Pokemon Worth? The Definitive Guide to Pokemon Valuation
How Much Is Pokemon Worth? Since its debut in 1996, Pokemon has become a global phenomenon, captivating millions of fans around the world. With its …
Read Article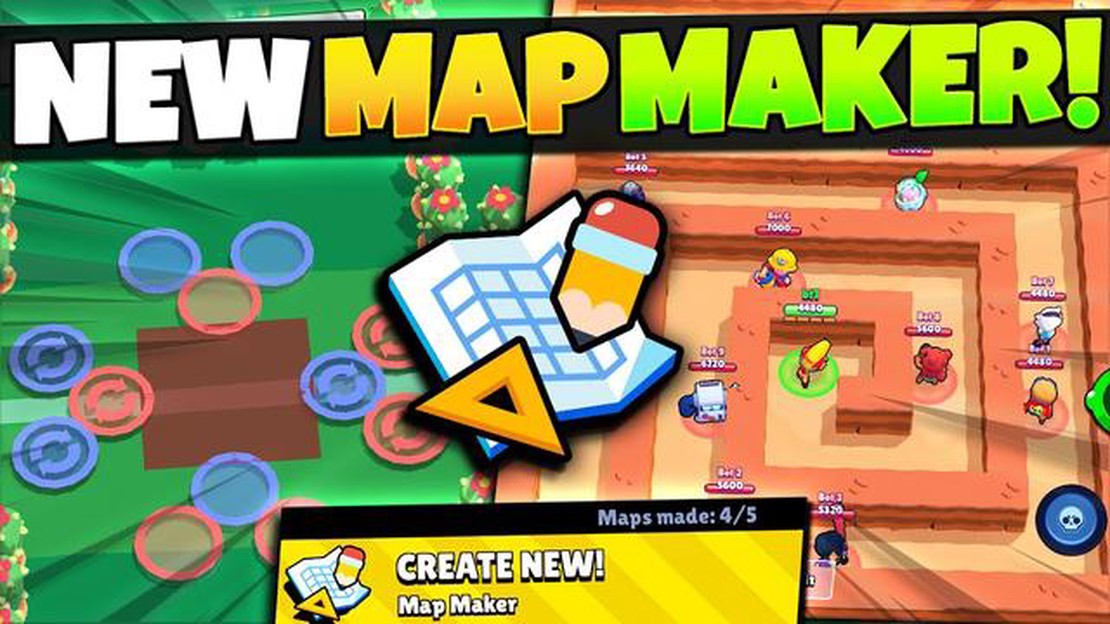
Are you a fan of the popular mobile game Brawl Stars? Have you ever wanted to create your own map and have others play on it? Well, you’re in luck! In this step by step guide, we will walk you through the process of creating your very own Brawl Stars map.
Before we get started, it’s important to note that creating a map for Brawl Stars requires some basic knowledge of level design and game mechanics. But don’t worry if you’re not an expert, we will explain everything in detail.
The first step in creating your own Brawl Stars map is to come up with a concept. Think about what kind of map you want to create and what features and obstacles you want to include. Do you want a close-quarters map with lots of walls and hiding spots, or a more open map with long-range opportunities? The choice is yours!
Once you have a concept in mind, it’s time to start building your map. Brawl Stars provides a map editor tool that allows you to place tiles, walls, and other objects on a grid. Take your time to carefully place each element and consider how it will affect gameplay. Don’t forget to test your map as you go to ensure that it’s balanced and fun to play on.
After you have finished building your map, it’s time to test it with your friends. Invite them to play on your map and gather feedback. Pay attention to their comments and make adjustments accordingly. This iterative process will help you fine-tune your map and make it even better.
Once you are satisfied with your map, it’s time to share it with the Brawl Stars community! You can submit your map to the in-game map contest for a chance to have it featured in the game. Additionally, you can share your map on social media platforms or Brawl Stars forums to get even more exposure.
Creating your own Brawl Stars map can be a rewarding experience. Not only do you get to unleash your creativity, but you also get to share your creation with others. So what are you waiting for? Start creating your own Brawl Stars map today!
Creating your own map in Brawl Stars can be a fun and exciting way to explore your creativity and challenge your friends to epic battles. Follow this step-by-step guide to learn how to create your very own Brawl Stars map:
The first step in creating your own Brawl Stars map is to choose a theme. Think about the type of environment you want your map to have, such as a desert, jungle, or cityscape. This will help set the mood and style for your map.
Grab a pen and paper and start sketching out your map. Consider the size and layout, as well as any obstacles or features you want to include. This will serve as your blueprint for creating your map in the Brawl Stars editor.
Open Brawl Stars on your device and navigate to the Map Editor. This is where you will bring your map to life. Familiarize yourself with the tools and options available in the editor.
Begin by shaping the terrain of your map. Use the editor’s terrain tools to sculpt hills, valleys, and other natural features. Think about how the terrain will affect gameplay and create interesting strategic opportunities for players.
Next, add obstacles and cover elements to your map. These can include walls, bushes, and other objects that provide protection and create tactical advantages for players. Experiment with different placements to find the right balance of challenge and fairness.
Now it’s time to place spawn points for the players. Consider the number of players in each match and distribute spawn points evenly across the map. Make sure there is enough space between spawn points to prevent players from immediately encountering each other.
To make your map more exciting, add power-ups and special features. These can include extra health, damage boosts, or unique gameplay mechanics. Place them strategically to create strategic decision points and encourage exploration.
Once you have created your map, playtest it with friends or other players to gather feedback. Pay attention to their comments and suggestions, and make adjustments as necessary to improve the balance and gameplay experience. Don’t be afraid to iterate on your design multiple times.
Read Also: Battlefield 3 Review: The Ultimate First-Person Shooter Experience
When you are satisfied with your map, publish it for others to enjoy. Share it with your friends, or submit it to the Brawl Stars community for a chance to have it featured in the game. Celebrate your accomplishment and see how others respond to your creation.
Remember, creating your own Brawl Stars map is a process of trial and error. Keep experimenting, refining, and learning from each iteration. With practice, you can become a master map creator and leave your mark on the Brawl Stars community.
Read Also: HHKB Professional Hybrid Type S: The Ultimate Keyboard for Professionals
Before you start creating your own Brawl Stars map, you will need to gather a few tools and resources to help you throughout the process. Here’s what you’ll need:
Once you have gathered all the necessary tools and resources, you will be ready to move on to the next step, which is getting familiar with the map editor interface.
When it comes to designing your own Brawl Stars map, it’s important to consider both the aesthetic appeal and the gameplay strategy. A well-designed map should provide balanced gameplay for all Brawl Stars brawlers, and give them an equal chance to succeed.
Start by brainstorming different ideas for your map. Think about the theme, terrain, and obstacles that will make your map unique. Consider whether you want an open map, where brawlers have plenty of room to move around, or a more closed map with tight spaces and narrow pathways.
Next, layout the basic structure of your map. Determine the overall size and shape of the playing area, and divide it into different sections using walls or other obstacles. Think about how the different areas will be connected and how players can navigate through them.
When placing obstacles, try to create a variety of cover points for brawlers to hide behind. This will add strategy to the gameplay, as players will need to make strategic decisions about when and where to engage in combat. Also, consider adding power cubes or other power-ups in strategic locations to create a sense of reward and incentive for exploring the map.
Additionally, pay attention to the overall symmetry of your map. Symmetrical maps ensure fairness and prevent any particular side from having an advantage over the other. However, don’t be afraid to experiment with asymmetrical designs if you think it will create interesting gameplay dynamics.
Consider testing your map with friends or other players to gather feedback. This will help you identify any potential balance issues or areas for improvement. Iterate on your design based on the feedback received to create a more refined and enjoyable map.
Overall, creating your own Brawl Stars map requires a balance between aesthetic appeal and strategic gameplay. By considering the design, layout, and feedback, you can create a unique and engaging map that will provide hours of fun for Brawl Stars players.
Once you have created the basic layout and design of your Brawl Stars map, it’s time to add some gameplay elements to make it more fun and challenging. Here are some steps to help you add gameplay elements and finalize your map:
Once you are satisfied with the gameplay elements and have made any necessary adjustments, you can finalize your map. Consider giving it a unique name, adding any finishing touches or details, and sharing it with the Brawl Stars community. Whether you publish it for others to enjoy or keep it for personal use, creating your own Brawl Stars map is a rewarding experience.
Brawl Stars is a popular multiplayer online battle arena game developed and published by Supercell. It’s available on both Android and iOS platforms and allows players to compete in various game modes with their friends.
Yes, you can create your own Brawl Stars map using the in-game Map Editor. The Map Editor allows you to design and customize the layout of the map, place obstacles, bushes, and other objects, and create unique gameplay experiences for yourself and other players.
To access the Map Editor, you need to reach level 5 in Brawl Stars. Once you reach level 5, you’ll unlock the Map Editor feature, and you’ll be able to start creating your own maps.
There are several tips you can follow to create a great Brawl Stars map. Firstly, make sure to create a balanced map with equal opportunities for both teams. Secondly, consider the different game modes and create a map that suits each mode’s objective. Thirdly, use a variety of obstacles and bushes to provide strategic hiding spots for players. Lastly, playtest your map with friends and make adjustments based on their feedback.
How Much Is Pokemon Worth? Since its debut in 1996, Pokemon has become a global phenomenon, captivating millions of fans around the world. With its …
Read Article
How to collect your reward in Cyberpunk 2077’s The Gig quest The Gig is one of the many exciting quests in Cyberpunk 2077 that players can undertake. …
Read Article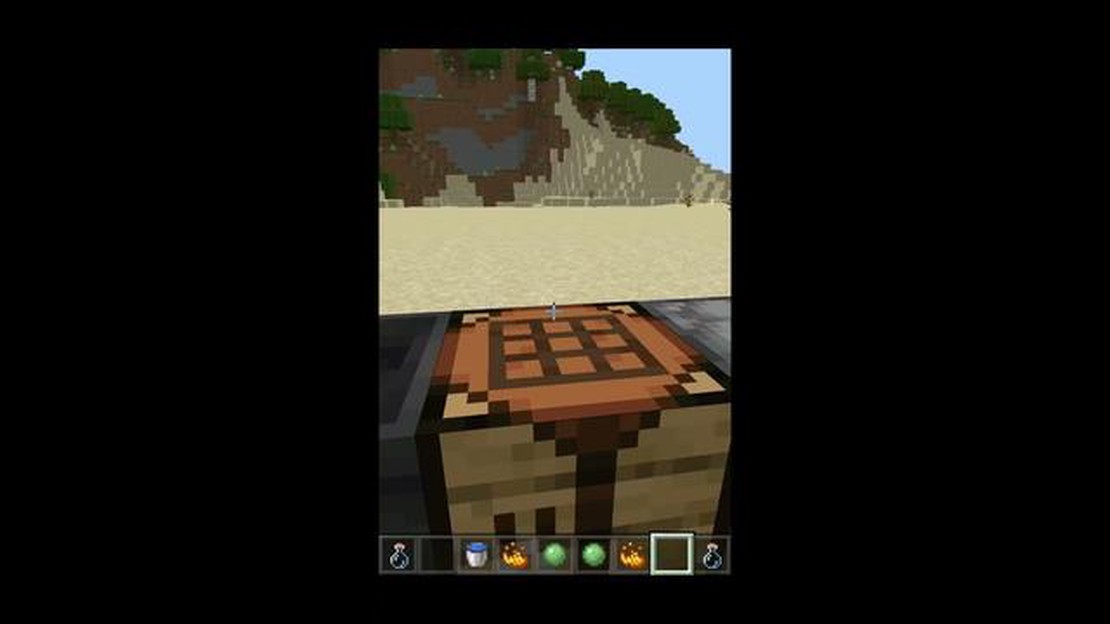
How To Make Fire Resistance Potion In Minecraft? Minecraft is a popular sandbox game where players can explore, build, and survive in an open world. …
Read Article
Buy CP at Call of Duty Mobile Are you an avid Call of Duty Mobile player? Do you want to enhance your gaming experience by unlocking exclusive items, …
Read Article
How To Ai Match Mobile Legends? Mobile Legends: Bang Bang is a popular multiplayer online battle arena (MOBA) game that requires a combination of …
Read Article
How to use smudge sticks in Phasmophobia Phasmophobia, the popular co-op horror game, has gained a massive following among gamers. One of the …
Read Article


