


Discover the Best Amazon Prime Day PC Gaming Deals
Best Amazon Prime Day PC gaming deals Amazon Prime Day is an annual event that offers incredible discounts on a wide range of products. PC gamers wait …
Read Article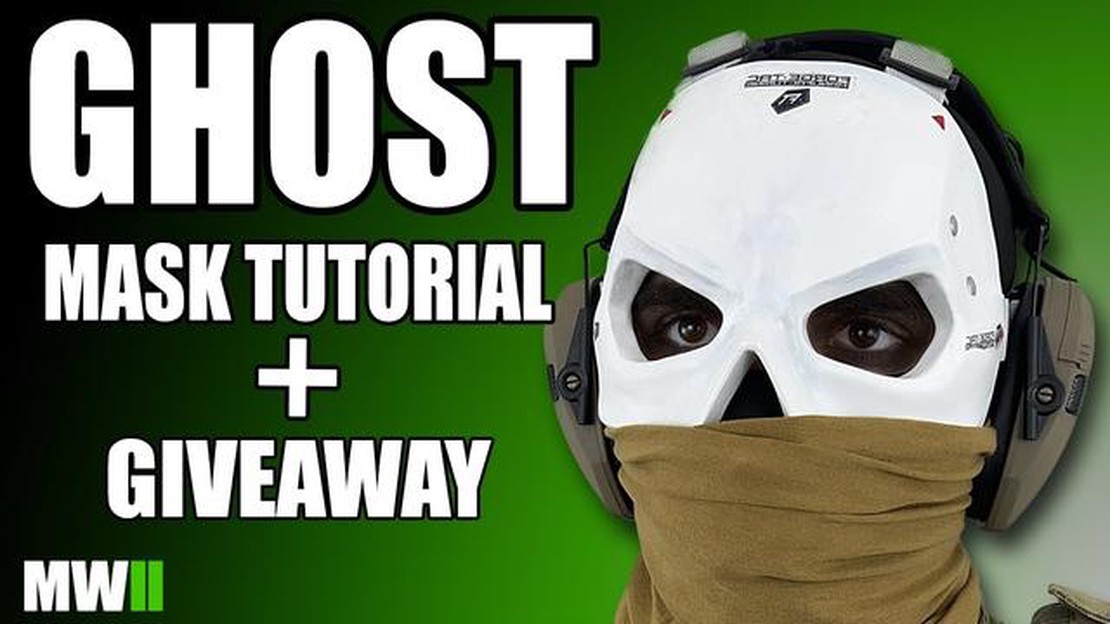
If you’re a fan of the popular video game franchise Call of Duty and want to recreate the iconic Ghosts mask for yourself, look no further! In this step-by-step guide, we will show you how to make your very own Call of Duty Ghosts mask.
Step 1: Gather Your Materials
Before you can begin crafting your Ghosts mask, you’ll need to gather a few essential materials. You will need a white plastic mask, which you can find at your local craft store or online. Additionally, you will need acrylic paint in various shades of gray and black, as well as a paintbrush and some masking tape.
Pro tip: If you want to add some extra detail to your mask, you can also grab a pack of adhesive vinyl decals in the shape of the Ghosts skull logo.
Step 2: Prep Your Mask
Start by prepping your mask for painting. Use some masking tape to cover any areas that you do not want to paint. This will help ensure clean lines and prevent any accidental smudges.
Step 3: Paint the Base
Now it’s time to paint the base of your mask. Using your lightest shade of gray acrylic paint, carefully apply an even coat to the entire surface of the mask. Let it dry completely before moving on to the next step.
Pro tip: If you want to add depth and dimension to your mask, you can mix in a bit of black paint with your gray to create some shading.
Step 4: Add Details
To truly capture the essence of the Ghosts mask, you’ll want to add some key details. Use a finer paintbrush and your darker shades of gray and black paint to create the distinct lines and shapes of the Ghosts skull logo. Take your time and be patient – this step requires precision and attention to detail.
Step 5: Optional Decals
If you opted to use vinyl decals, now is the time to apply them. Carefully peel off the backing and adhere the decals to the designated areas on your mask. Smooth out any air bubbles or wrinkles to ensure a seamless finish.
Step 6: Seal the Paint
Once your mask is fully painted and the decals are in place, it’s important to seal the paint. Using a clear acrylic sealer, apply a thin, even coat to protect your hard work and give your mask a professional finish. Allow it to dry completely before wearing.
And there you have it – your very own Call of Duty Ghosts mask! Whether you’re planning to wear it for Halloween, a cosplay event, or simply as a display piece for your gaming collection, this mask is sure to impress.
Disclaimer: This guide is intended for personal, non-commercial use only. Call of Duty is a registered trademark of Activision. Please be respectful of copyright and trademark laws when creating and sharing your Ghosts mask.
In this step-by-step guide, we will show you how to create a Call of Duty Ghosts mask. This mask is inspired by the popular video game series and can be a great addition to your gaming costume or as a prop for your collection.
Start by creating a template for the mask on a piece of paper. Use reference images of the Call of Duty Ghosts mask to get the shape and proportions right. Once the template is ready, cut it out.
Trace the template onto the EVA foam sheets. Carefully cut out the shape using an Exacto knife. This will be the base of the mask.
Read Also: Discover the Best Hacks for Call of Duty Warzone | Unleash Your Full Potential
Using a heat gun, heat the foam sheet to make it more malleable. Gently bend and shape the foam to give it a curved appearance. Be careful not to overheat the foam, as it may melt.
Use additional foam sheets to create the raised areas and details on the mask. Cut out the shapes and attach them to the base using hot glue. Sand down any rough edges or seams to ensure a smooth surface.
Read Also: How to Raise Cups in Clash of Clans: Ultimate Guide for Success
Start by spraying the entire mask with black spray paint as a base coat. Once dry, use acrylic paint to add the white, gray, and black details. Refer to the reference images for accurate placement of the details. Allow the paint to dry before moving on to the next step.
Apply a clear sealant to protect the paint and give the mask a glossy finish. This will also help to ensure that the paint does not chip or fade over time.
Measure and cut two elastic straps to fit around your head. Attach them to the mask using hot glue or by sewing them securely in place. Make sure the straps are evenly spaced and tight enough to hold the mask in place during use.
Once the mask is complete, try it on to make sure it fits comfortably. Make any necessary adjustments to the straps or foam for a better fit. You can also add additional weathering or distressing to the mask for a more realistic look.
Congratulations! You have successfully created your own Call of Duty Ghosts mask. Now you can wear it for cosplay, Halloween, or simply display it as a cool collectible piece.
To make a Call of Duty Ghosts mask, you will need the following materials and tools:
Once you have gathered all of these materials and tools, you will be ready to start creating your very own Call of Duty Ghosts mask!
To start creating your Call of Duty Ghosts mask, you will first need to gather the necessary materials. Here is a list of what you will need:
Once you have all the materials ready, you can proceed with creating the base for the mask:
With these steps completed, you have successfully created the base for your Call of Duty Ghosts mask. You can now move on to the next steps to add finishing touches and final details to make your mask truly resemble the iconic in-game mask.
Now that you have the basic shape of your Call of Duty Ghosts mask, it’s time to add the details and features that will make it recognizable. Here are the steps to follow:
Remember to take breaks and step back to evaluate your progress as you add details and features to your Call of Duty Ghosts mask. It’s important to be patient and take your time to achieve the desired result.
Once you have completed the previous steps of preparing and shaping the mask, it is time to give it a final touch by painting and finishing it. This step will help bring the mask to life and make it resemble the Call of Duty Ghosts mask more closely.
Once you have finished painting and applying the clear coat, allow the mask to dry thoroughly. It is now ready to be worn or displayed as a unique Call of Duty Ghosts mask.
To make a Call of Duty Ghosts mask, you will need materials like craft foam, black fabric, elastic cord, hot glue gun, scissors, and a pencil.
Yes, you can use a different color of craft foam for the mask if you prefer. The original Call of Duty Ghosts mask is black, but you can customize it to your liking.
There are no specific measurements mentioned in the tutorial, but you can trace the shape of the mask onto the craft foam using a pencil and then adjust it according to your face size.
Yes, the Call of Duty Ghosts mask tutorial is suitable for beginners. The steps are easy to follow, and the materials required are readily available. It’s a fun project for anyone interested in cosplay or fan art.
Best Amazon Prime Day PC gaming deals Amazon Prime Day is an annual event that offers incredible discounts on a wide range of products. PC gamers wait …
Read Article
How to overclock your 60Hz monitor and gain a gaming edge Are you looking to take your gaming experience to the next level? One way to achieve a …
Read Article
How To Play Animal Crossing New Horizons? Animal Crossing New Horizons is a popular life simulation video game developed and published by Nintendo. It …
Read Article
Corsair K100 RGB Optical-Mechanical Gaming Keyboard review The Corsair K100 RGB is the latest addition to Corsair’s line of gaming keyboards, and it’s …
Read Article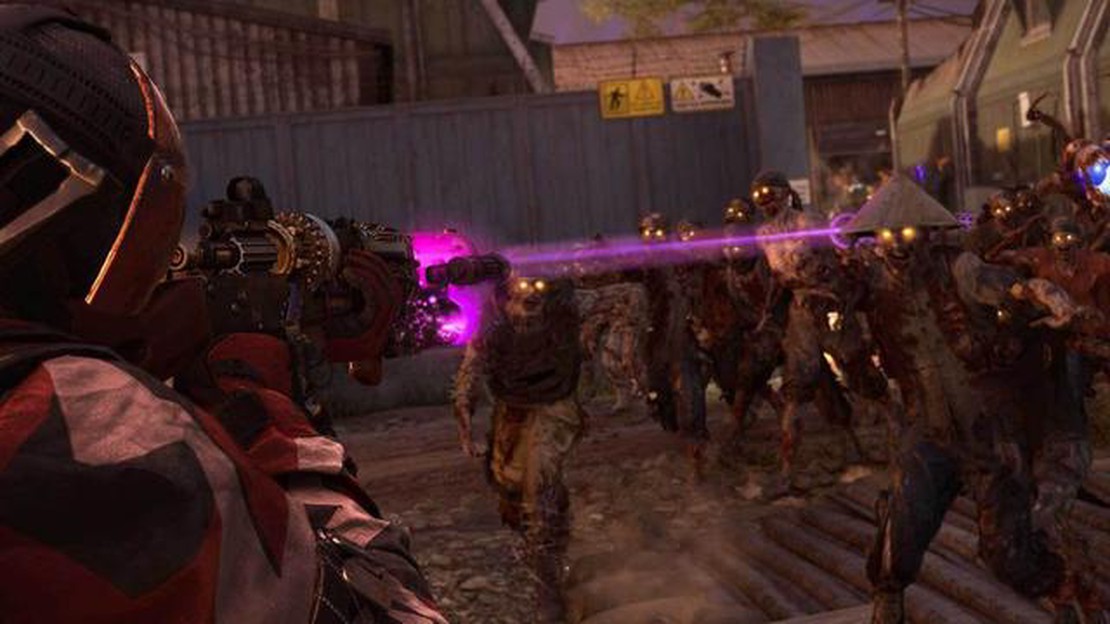
How to get the R.A.I. K-84 Wonder Weapon in Call of Duty: Cold War The R.A.I. K-84 Wonder Weapon is one of the most powerful and sought-after weapons …
Read Article
How To Unban Your Roblox Account? Have you ever been banned from Roblox and wondered how to get your account back? It can be a frustrating experience, …
Read Article


