

Alley Hunter Genshin Impact: The Ultimate Guide | [Website Name]
Alley Hunter Genshin Impact Are you a fan of Genshin Impact and looking to enhance your gaming experience? Look no further! At Alley Hunter Genshin …
Read Article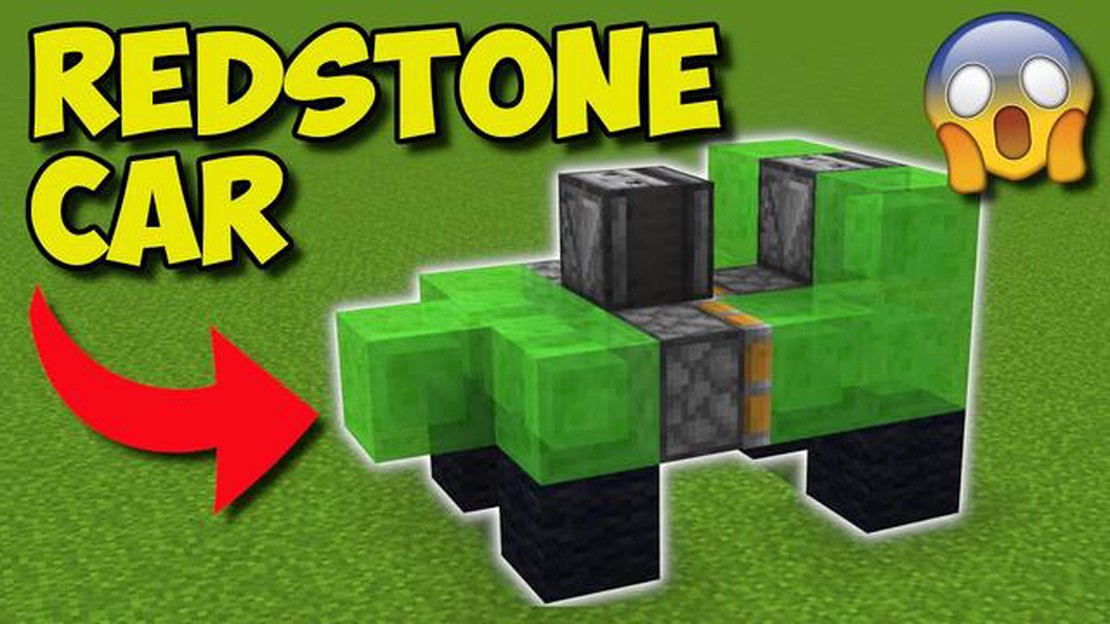
Are you tired of walking or riding horses everywhere in Minecraft? Do you dream of cruising around your virtual world in a stylish and functional car? You’re in luck! In this step-by-step guide, we will show you how to create your very own car in Minecraft, allowing you to travel faster and explore your surroundings with ease.
Creating a car in Minecraft may seem like a daunting task, but with the right materials and a little bit of patience, you’ll be cruising in no time. This guide will walk you through the process from start to finish, teaching you how to gather the necessary resources, build the car’s frame, add wheels, and even customize your vehicle to make it uniquely yours.
Before we dive into the details, it’s important to note that making a car in Minecraft requires some basic knowledge of the game’s mechanics. If you’re new to Minecraft or need a refresher, we recommend familiarizing yourself with the basics before attempting this project. Once you’re ready, grab your pickaxe and let’s get started on our epic journey to create the ultimate Minecraft car!
The first step in making a car in Minecraft is gathering the necessary materials. You will need a variety of items, including wooden planks, iron ingots, and obsidian. These resources can be found by mining, crafting, or trading with villagers. Once you have gathered all the materials, you’ll be ready to move on to the next step of building the car’s frame.
Minecraft is a popular sandbox game that allows players to unleash their creativity and build various structures. One of the most exciting things to create in Minecraft is a car. In this step-by-step guide, we will show you how to make a car in Minecraft.
That’s it! You have successfully created a car in Minecraft. Now you can hop into your car and take it for a ride along the tracks you have built. Remember to fuel the engine with coal or other suitable fuel sources to keep your car running.
Note: This car will only move along the tracks and cannot drive freely like a real car. However, it can still be a fun addition to your Minecraft world!
If you are a fan of Minecraft and love exploring the game’s vast landscapes, you may have wondered if it was possible to create your own vehicles. The good news is that with a few simple steps, you can indeed build your own vehicle to traverse the Minecraft world with ease. Keep reading to learn how!
Before you can start building your vehicle, you’ll need to gather some essential resources. You’ll need a crafting table, wood, iron ingots, a furnace, and any additional materials you want to use for customization. Make sure you have everything you need before moving on to the next step.
In order to create the body of your vehicle, you’ll need to craft a chassis. To do this, place iron ingots in a “U” shape in the crafting table. This will create the base structure of your vehicle.
Next, you’ll need to build the frame for your vehicle using wood. Place wooden planks or logs in a “U” shape on the ground to create the frame. This will serve as the foundation for your vehicle.
Now it’s time to add wheels to your vehicle. Craft wheels using iron ingots and place them on the sides of the frame. You’ll need at least four wheels, but you can add more if you want your vehicle to be larger and more stable.
Once the basic structure of your vehicle is in place, you can start furnishing the interior. Use various materials like wood, iron, or even redstone to create seats, control panels, and any other features you desire. This is your chance to get creative and make your vehicle unique!
If you want to go the extra mile, you can customize your vehicle even further. Use different colors of wool, banners, or even decorative blocks to give your vehicle a personalized look. Don’t be afraid to experiment and make it truly yours!
Once you’re satisfied with the look and functionality of your vehicle, it’s time to take it for a test drive! Hop in and start exploring the Minecraft world in style. Remember to be cautious of any obstacles in your path and enjoy the ride!
Creating your own vehicle in Minecraft may take some time and effort, but the result is definitely worth it. With these simple steps, you’ll be able to build a vehicle that suits your style and makes your Minecraft adventures even more enjoyable. So why wait? Start gathering resources and embark on your vehicle-building journey today!
Minecraft is a popular sandbox game that allows players to build and create their own worlds. One of the many things players can build in Minecraft is a car. Building a car in Minecraft can be a fun and creative project, but it can also be challenging if you’re not sure where to start. In this guide, we’ll walk you through the basics of building a car in Minecraft.
Read Also: Discovering the Charm of Ark's Selective Eater: The Cake-Devouring Giant Snail
The first step in building a car in Minecraft is to gather the necessary materials. You’ll need:
Make sure to gather enough materials to create the size and style of car you want.
Read Also: Complete Guide: How to Access Chelona's Rise in Elden Ring
Before you start building, it can be helpful to plan out your car design. Consider the size, shape, and style of car you want to create. You can sketch out your design on paper or use a program like Minecraft Blueprint to create a digital blueprint.
Start by building the frame of your car. Use the blocks you gathered to create a rectangular shape for the body of the car. Make sure to leave space for the wheels and any other details you want to add.
Next, add the wheels to your car. You can use blocks or items like minecarts to create the wheels. Place them in the appropriate spots on the car frame.
Once you have the basic structure of your car, you can start adding details. Use additional blocks to create windows, seats, and any other features you want. Get creative and make your car unique!
Once you’ve finished building your car, it’s time to test it out. Get inside the car and move it around to make sure it functions as expected. You can use a mod like Movecraft to add movement capabilities to your car.
And that’s it! With these basic steps, you can start building your own cars in Minecraft. Remember to have fun and let your creativity shine.
Minecraft is a popular sandbox game where players can build and create their own virtual worlds. One of the many things you can do in Minecraft is build vehicles, including cars. However, before you dive in and start building your dream car, there are a few things you need to know:
Now that you have a better understanding of what it takes to build a car in Minecraft, you’re ready to get started. Gather your materials, plan your design, and let your imagination run wild as you create your very own vehicle in this virtual world!
To start building your car in Minecraft, follow these step-by-step instructions:
Remember, building a car in Minecraft is a creative process, so don’t be afraid to experiment with different designs and materials to make your car unique. Happy building!
To make a car in Minecraft, you will need the following materials: 5 iron ingots, 4 iron blocks, 1 furnace, and 4 wheels (made from 4 wooden slabs and 4 sticks).
To craft the wheels for the car, you will need 4 wooden slabs and 4 sticks. Place the wooden slabs in a two by two grid in your crafting table, leaving the center empty. Then, place a stick in the top, bottom, left, and right slots outside of the grid. This will create 4 wheels that you can use for your car.
Yes, you can customize the color of your car in Minecraft. You can use dyes to change the color of the wool blocks used in the car’s construction. Simply place the dye in the same slot as the wool block in your crafting table to change its color. You can experiment with different dyes to create a car in any color you like.
The furnace in the car acts as its engine. Once you have constructed the car, you can place the furnace inside it to power it. When you fuel the furnace with coal or any other fuel source, the car will move forward. The more fuel you add, the longer the car will travel. The furnace is an essential component for making your car functional.
Yes, there are some limitations to the car’s movement in Minecraft. The car can only move on a flat surface, as it is not able to jump or climb hills. Additionally, the car cannot swim, so it will sink if you try to drive it in water. The car also has a limited durability and will break if it collides with blocks or other entities at high speeds. It is important to be cautious while driving the car to avoid damaging it.
Alley Hunter Genshin Impact Are you a fan of Genshin Impact and looking to enhance your gaming experience? Look no further! At Alley Hunter Genshin …
Read Article
Animal Crossing How To Get Turnips? Are you a fan of Animal Crossing? Have you ever wondered how to get turnips in the game? Look no further, because …
Read Article
Hearthstone’s Un’Goro gameboard has a neat little secret Hearthstone, the popular digital card game by Blizzard Entertainment, has released a new …
Read Article
Animal Crossing Where To Get Iron Nuggets? In Animal Crossing: New Horizons, iron nuggets are a valuable resource that players need to gather in order …
Read Article
How To Get Peach Trees In Animal Crossing? In Animal Crossing, one of the most popular activities is planting and growing fruit trees. One of the most …
Read Article
How To Get Toca Boca For Free On Android? Are you a fan of Toca Boca games but don’t want to spend any money? Well, you’re in luck! We have the …
Read Article


