

Step by Step Guide: How to Make a Wooden Sword in Minecraft
How to Make a Wooden Sword in Minecraft Minecraft is a popular sandbox game that allows players to create and explore virtual worlds. One key aspect …
Read Article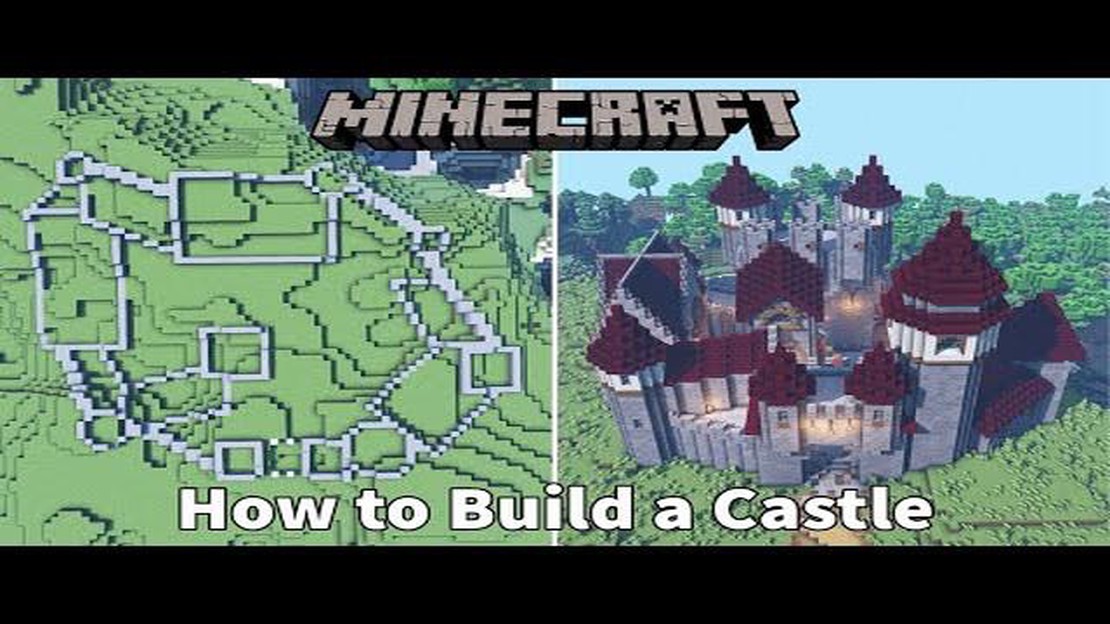
If you’re a fan of Minecraft and want to build an impressive castle, you’ve come to the right place. Whether you’re a beginner or an experienced player, this step-by-step guide will teach you how to create a magnificent castle that will stand out in your Minecraft world.
Step 1: Planning your castle
Before you start building, it’s important to have a clear idea of what you want your castle to look like. You can start by sketching out a design on paper or using a digital design tool. Think about the style of castle you want - medieval, fantasy, or modern - and consider the size and features you want to include.
Pro tip: Take inspiration from real-life castles or other Minecraft builds to help you design your own unique castle.
Step 2: Gathering materials
Once you have a plan in place, it’s time to gather the necessary materials. You’ll need a variety of blocks, such as stone, wood, and brick, along with decorative elements like glass and banners. Make sure you have enough of each material to complete your castle.
Step 3: Building the foundation
Start by clearing a space and marking out the boundaries of your castle. Lay the foundation using stone or a strong, durable material. This will serve as the base for the rest of your castle. Use a combination of regular and upside-down stairs to create a realistic castle entrance.
Pro tip: Consider building a moat or adding a drawbridge for an extra touch of authenticity.
Step 4: Constructing the walls
Next, it’s time to build the walls of your castle. Use a mix of different block types and textures to add depth and detail. Don’t forget to leave spaces for windows and doors. Experiment with different shapes and designs to create a visually interesting castle.
Pro tip: Try adding battlements or towers to give your castle a more fortress-like appearance.
By following these steps, you’ll be well on your way to creating an impressive castle in Minecraft. Don’t be afraid to get creative and make your castle unique to your own style and preferences. Happy building!
Building a castle in Minecraft is an exciting and challenging task that allows players to showcase their creativity and imagination. Whether you’re a beginner or an experienced player, this step-by-step guide will help you build your very own Minecraft castle.
The first step in building a castle is to gather the necessary resources. You will need materials such as wood, stone, and glass to construct your castle walls, floors, and windows. Make sure to collect enough resources before starting the building process.
Next, find a suitable location for your castle. Look for a flat area with enough space to accommodate your desired castle size. It’s also important to consider the terrain and surroundings to make your castle look more realistic and aesthetically pleasing.
Begin by laying the foundation of your castle walls. Use stone blocks or any other material of your choice to create a solid base. Build the walls upward, layer by layer, using the same material. You can add windows, battlements, and other decorative elements as you go.
To make your castle more impressive, add towers and turrets along the walls. Use slabs or stairs to create a gradual incline for the towers. You can also build taller towers and cap them with cone-shaped roofs for a more traditional castle look.
Now it’s time to add interior rooms to your castle. Decide on the purpose of each room, whether it’s a grand hall, living quarters, dungeons, or a throne room. Use different materials and furnishings to give each room a unique and distinct atmosphere.
Add furniture, decorations, and details to bring your castle to life. Place tables, chairs, beds, and other furnishings in the appropriate rooms. Use paintings, banners, and carpets to add color and character to the castle’s interior.
No castle is complete without a courtyard. Clear an area near the castle and add paths, gardens, and other landscaping elements. You can also construct a stable, well, or any other feature you desire to make your castle more realistic.
Read Also: Why Does Roblox Not Work? - Reasons and Solutions
Lastly, add lighting fixtures to your castle to ensure it’s well-lit at night. You can use torches, lanterns, or redstone-powered lights for a more modern touch. Incorporate redstone mechanisms, such as hidden doors or traps, to make your castle more functional and interactive.
Following these step-by-step instructions, you’ll be able to create your own Minecraft castle. Remember to let your imagination run wild and add your personal touch to make it truly unique. Happy building!
Before you can start building your castle in Minecraft, you’ll need to gather the necessary resources. Here’s a list of materials you’ll need:
Once you have gathered these resources, you’ll be ready to start building your castle in Minecraft. Make sure to also gather any additional materials you may want to incorporate into your castle’s design.
Read Also: Razer Nari Ultimate Review: Is It Worth the Hype?
Once you have chosen the location for your castle, it’s time to start designing the layout. This step is crucial as it will determine the overall structure and functionality of your castle.
1. Decide on the size and shape: Before you start building, think about how big you want your castle to be and what shape it should take. You can go for a traditional square or rectangular shape, or get creative with different shapes like circular or triangular.
2. Plan the rooms and features: Consider what rooms and features you want to include in your castle. Common rooms include a grand entrance hall, bedrooms, a dining room, a kitchen, a library, and a throne room. You may also want to add features like towers, a moat, a drawbridge, and secret passages.
3. Create a floor plan: Start by sketching a rough floor plan on paper or using a digital design tool. This will help you visualize how the rooms and features will be arranged and connected. Pay attention to the flow and accessibility of the different areas of the castle.
4. Consider the terrain: Take into account the terrain and landscape around your castle. If there are hills, cliffs, or bodies of water, you can incorporate them into the design. For example, you could place towers on higher ground for a better vantage point or build a bridge over a river.
5. Research architectural styles: If you want to add more detail and authenticity to your castle, research different architectural styles and incorporate elements from them. You can draw inspiration from medieval castles, gothic architecture, or even fantasy castle designs.
6. Gather building materials: Once you have a clear idea of the layout, make a list of the building materials you will need. This can include blocks like stone, wood, and glass, as well as decorative elements like banners, paintings, and furniture.
7. Start building: Finally, it’s time to start building! Use your floor plan as a guide and begin constructing the rooms and features according to your design. This step requires creativity, patience, and attention to detail. Don’t be afraid to make adjustments or improvise as you go along.
By following these steps, you will be able to design a customized and unique castle in Minecraft. Have fun exploring different layouts and experimenting with different architectural elements!
Now that you have your castle foundation and floor plan in place, it’s time to start building the walls of your castle. The walls will provide protection and give your castle its distinct shape and structure. Follow these steps to build the castle walls in Minecraft:
Building the castle walls may take some time and effort, but it’s an essential step in creating a realistic and impressive castle in Minecraft. Take your time, be creative, and enjoy the process of bringing your castle to life.
Once you have completed the walls and the gatehouse, it’s time to start building the towers of your castle. The towers will not only provide additional defense, but also add an impressive visual element to your castle.
To construct the towers, follow these steps:
Repeat these steps for each tower you want to include in your castle. Remember to be creative and experiment with different designs to make your castle unique. Don’t forget to take breaks and step back to admire your progress as you build!
To make a castle in Minecraft, you will need materials such as cobblestone, stone bricks, wood, glass, and iron. You can also use other materials depending on the design and style of your castle.
To start building a castle in Minecraft, you should first choose a suitable location. Then, gather the necessary materials and plan out the design of your castle. You can start by building the outer walls and then add in the different rooms and features of the castle.
Yes, you can definitely customize the design of your castle in Minecraft. You can choose different materials, sizes, and styles to create a unique and personalized castle. There are also various mods and texture packs available that can enhance the design options.
Yes, you can add defenses to your castle in Minecraft. Some ideas include building a moat around the castle, adding arrow slits or balconies for archers, or creating traps and secret passages. You can also use iron golems or other mobs to protect your castle.
The time it takes to build a castle in Minecraft can vary depending on the size, complexity, and your building skills. It can take anywhere from a few hours to several days or even weeks. It is a creative process that can be enjoyable and rewarding.
You can find inspiration for castle designs in Minecraft from various sources such as online forums, YouTube tutorials, and Minecraft community websites. You can also take inspiration from real-life castles or other fantasy games and movies.
How to Make a Wooden Sword in Minecraft Minecraft is a popular sandbox game that allows players to create and explore virtual worlds. One key aspect …
Read Article
What Are Star Levels In Clash Royale? Star Levels are a unique feature in the popular mobile game Clash Royale that allow players to further enhance …
Read Article
How Much Is A Brawl Stars Account Worth? Are you a fan of Brawl Stars? Ever wondered how much your account is worth? Look no further! We have the …
Read Article
As Twitter and Reddit wrestle with their own users, the future of the web feels up in the air In recent months, popular social media platforms Twitter …
Read Article
When Did Mobile Legends Come Out? Mobile Legends is a massively popular mobile game that was first released on July 11, 2016. Developed and published …
Read Article
Need for Speed Unbound system requirements and unlock times revealed The highly anticipated racing game, Need for Speed Unbound, is set to release …
Read Article


