

Learn How to Tame a Raccoon in Minecraft - Step-by-Step Guide
How to Tame a Raccoon in Minecraft Minecraft is a popular sandbox game that allows players to explore, build, and interact with a virtual world. One …
Read Article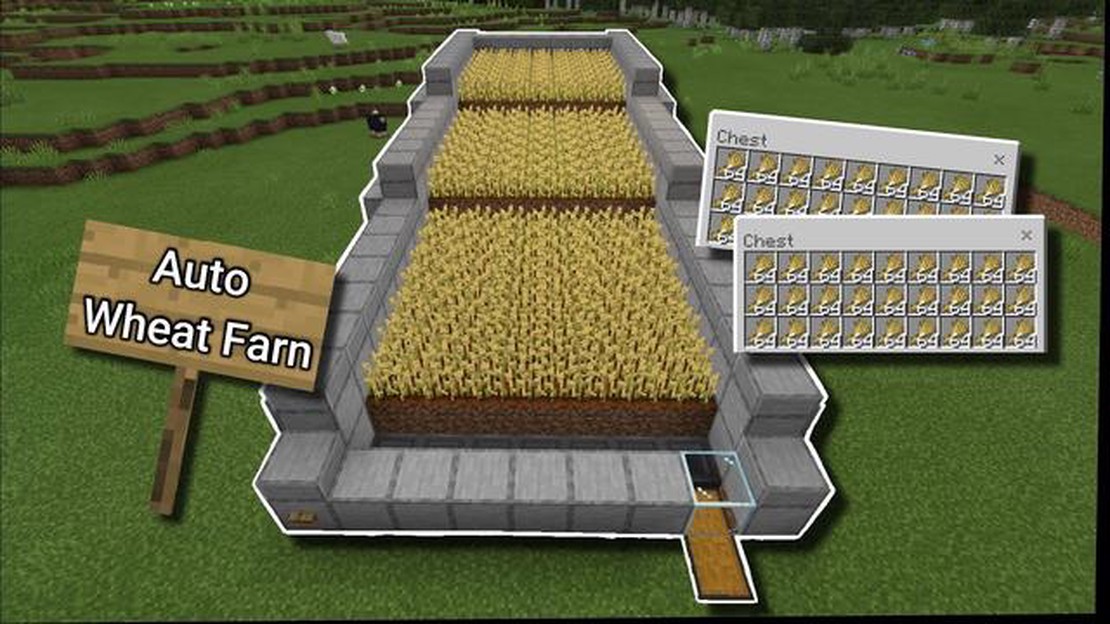
Are you a Minecraft player looking to create a sustainable food source in the game? Making a farm is essential for ensuring a steady supply of food, as well as crafting materials like wool and leather. In this step-by-step guide, we will walk you through the process of creating a farm in Minecraft, along with some tips and tricks to maximize your farming efficiency.
First, you’ll need to find a suitable location for your farm. Look for a flat area with plenty of space to plant and grow crops. Avoid building your farm near water sources, as they can flood your crops. It’s also a good idea to build fences around your farm to keep out any unwanted visitors, such as zombies or animals that might trample your crops.
Next, gather the necessary materials to start your farm. You’ll need a hoe to till the soil, seeds to plant, and a bucket to gather water. If you plan on cultivating animals, you’ll also need fences, gates, and animal spawns, such as eggs or wheat to lure animals to your farm. Make sure to have enough of everything to sustain your farm and expand it in the future.
Minecraft is a game that allows players to build and create their own virtual world. One popular aspect of the game is farming, where players can grow crops and raise animals. In this step-by-step guide, we will walk you through the process of creating your own farm in Minecraft.
Congratulations! You have now created your own farm in Minecraft. Enjoy the process of growing crops, raising animals, and building a thriving virtual farm in the game.
Before you start building your farm, it’s important to choose the right location. The location you choose will greatly impact the success and efficiency of your farm. Follow these steps to find the perfect spot:
By following these guidelines, you can ensure that your farm is set up for success from the start. Once you have chosen the perfect location, you can move on to the next steps in building your farm.
In Minecraft, farming is a crucial aspect of survival as it provides a sustainable source of food. In this section, we will guide you on how to build a farm and plant crops to ensure a steady food supply.
Read Also: Understanding the Importance of Physical Defense in Mobile Legends
Before you start building your farm, you need to find a suitable location. Look for a flat area with plenty of space to accommodate your crops. It’s also essential to consider proximity to a water source, as crops require water to grow.
Once you have a location, clear the area of any obstacles such as trees, rocks, or grass. Use a suitable tool, such as an axe or a shovel, to remove these obstacles and make space for your farm.
Next, you need to create farmland for your crops. Farmland can be created by tilling grass or dirt blocks using a hoe. Right-click on the grass or dirt block with your hoe to turn it into farmland. Ensure that the farmland is in close proximity to water as it will hydrate the soil and help the crops grow.
Now it’s time to choose the crops you want to plant. In Minecraft, there are various crops available, such as wheat, carrots, potatoes, and beetroot. Each crop requires different conditions to grow, so make sure to check their specific requirements.
Read Also: 10 Fun Activities to Explore on Animal Crossing New Horizons
To plant crops, simply right-click on the prepared farmland with the seeds or vegetables in your hand. This will plant the crop in the farmland. Remember to leave enough space between each plant to allow them to grow properly.
Some crops, like wheat, require sufficient light to grow properly. Place torches or other light sources near your farm to provide adequate light. This will ensure that your crops grow at an optimal rate.
Once your crops are planted, they will require care and attention. Make sure to regularly check on your farm to remove any weeds or unwanted plants that may hinder the growth of your crops. Additionally, keep an eye out for any crop-specific requirements, such as using bone meal on certain crops to speed up their growth.
By following these steps, you can successfully build and plant crops in Minecraft, creating a sustainable source of food for your survival adventures. Remember to regularly harvest your crops when they are fully grown to enjoy a bountiful harvest!
Once you have set up your basic farm, it’s time to start harvesting your crops and expanding your farm to increase your yield. Here are some steps to help you make the most out of your farm:
By following these steps, you can ensure that your farm remains productive and continues to grow. Remember to always experiment and adapt your farming techniques to find what works best for you in the Minecraft world.
How to Tame a Raccoon in Minecraft Minecraft is a popular sandbox game that allows players to explore, build, and interact with a virtual world. One …
Read Article
How To Get More Refunds In Fortnite? Fortnite is one of the most popular online video games, with millions of players around the world. One of the key …
Read Article
Where to find Moondew Nectar in Slime Rancher 2 If you’re a fan of the popular game Slime Rancher, then you’re probably already familiar with the …
Read Article
What To Name Your Animal Crossing Island? Animal Crossing: New Horizons has taken the gaming world by storm, giving players the opportunity to create …
Read Article
How to romance Leah in Stardew Valley If you’ve found yourself enamored by the talented artist Leah in Stardew Valley, you’re not alone. With her …
Read Article
Where Is The Server In Mobile Legends? If you are a Mobile Legends player, you might have wondered about the location of the server that you are …
Read Article


