


Italian Senate Meeting Interrupted by Controversial Final Fantasy Hentai Scene
Italian senate meeting interrupted by Final Fantasy hentai In an unexpected turn of events, an Italian Senate meeting was abruptly interrupted when a …
Read Article
In the world of Minecraft, item frames are a useful tool that allow players to display their prized possessions for all to see. Whether you want to showcase a rare item, a valuable treasure, or simply add some decorative flair to your home, creating an item frame is a simple process that can be done with just a few materials.
To make an item frame, you will need the following:
Start by collecting the necessary materials. Sticks can be obtained by breaking tree branches, while leather and iron nuggets can be obtained by killing cows and zombies, respectively. Once you have gathered all the materials, you can begin crafting your item frame.
To craft an item frame, open your crafting table and arrange the materials as follows:
Congratulations! You have successfully crafted an item frame in Minecraft. To use the item frame, simply place it on a wall, right-click it, and then right-click on the item you want to display. The item will then appear inside the frame, allowing you to showcase it to other players or simply enjoy its presence in your own home.
Remember, item frames can be a great way to add a personal touch to your Minecraft world. Whether you want to show off your collection of rare items or create a decorative display, item frames offer endless possibilities for customization. So go ahead and get creative – start crafting your own item frames today!
In Minecraft, an item frame is a decorative block that can be used to display items such as maps, paintings, and other objects. It is a simple and easy way to showcase your collection or highlight important items. Here’s a step-by-step guide on how to make an item frame in Minecraft:
That’s it! Now you know how to make an item frame in Minecraft. Get creative and try displaying different items to enhance your builds and showcase your collection.
Before you can make an item frame in Minecraft, you will need to gather the following materials:
Once you have gathered these materials, you are ready to start crafting an item frame in Minecraft.
Read Also: How To Get Flareon In Pokemon Go: Step-By-Step Guide | Pokémon Tips
To craft an item frame in Minecraft, follow these steps:
| Stick | ||
| Stick | Leather | Stick |
| Stick |
Read Also: Step-by-Step Guide: How To Play The Airship Map In Among Us
Make sure the items are placed in the exact pattern as shown above.
The item frame can be used to display items and can be placed on walls or on the ground.
After crafting the item frame, you can place it in your Minecraft world and use it to display items or maps. Here’s how:
Now that you know how to place and use an item frame in Minecraft, you can get creative and decorate your world with all sorts of custom displays!
An item frame in Minecraft is a decorative item that allows players to display and showcase different items on walls or in their homes.
To make an item frame in Minecraft, you will need 8 sticks and 1 leather. Arrange the sticks in a square shape in the crafting table, leaving the center empty. Place the leather in the center to create an item frame.
Yes, you can place almost any item in an item frame. This includes tools, weapons, armor, blocks, food, and more. However, some items may not fit properly or may look too small in the frame.
To place an item in an item frame, right-click on the frame with the item in your hand. The item will then be displayed in the frame, and you can rotate it by right-clicking on the frame again.
Italian senate meeting interrupted by Final Fantasy hentai In an unexpected turn of events, an Italian Senate meeting was abruptly interrupted when a …
Read Article
The funniest, silliest, most uplifting games on PC When it comes to gaming, there is no shortage of serious, action-packed titles that will keep you …
Read Article
What Was This Again Animal Crossing? Animal Crossing is a popular video game franchise that was first introduced by Nintendo in 2001. It quickly …
Read Article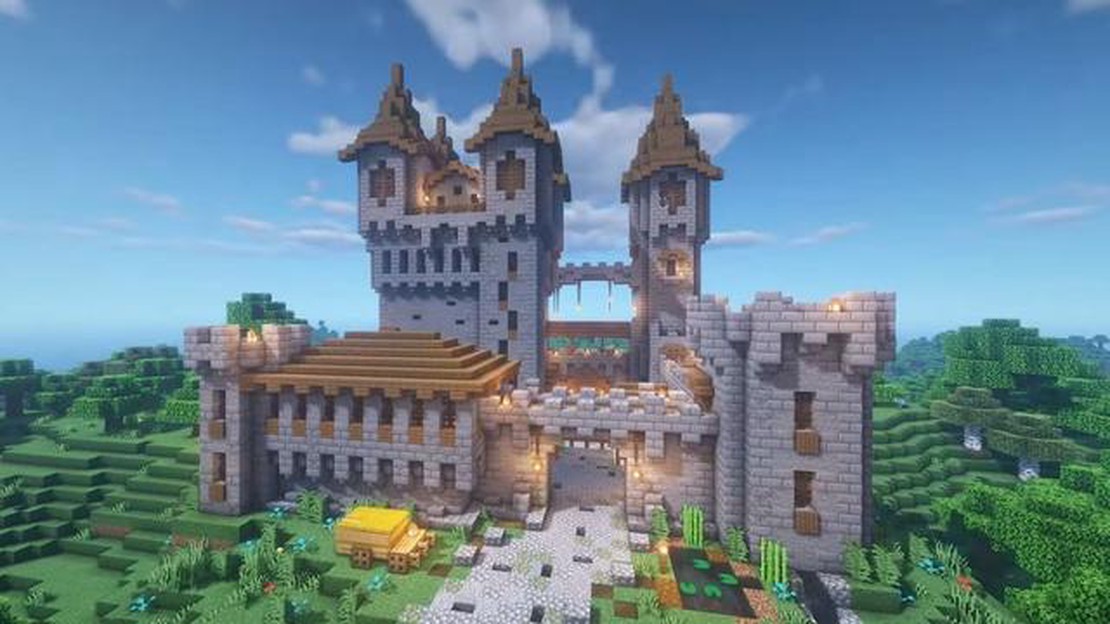
The best Minecraft castle ideas Minecraft, the popular sandbox game, offers players a world of endless possibilities. Whether you’re a creative …
Read Article
How To Push In Clash Royale? Clash Royale is a popular mobile game that requires strategic thinking and quick decision-making. One of the key …
Read Article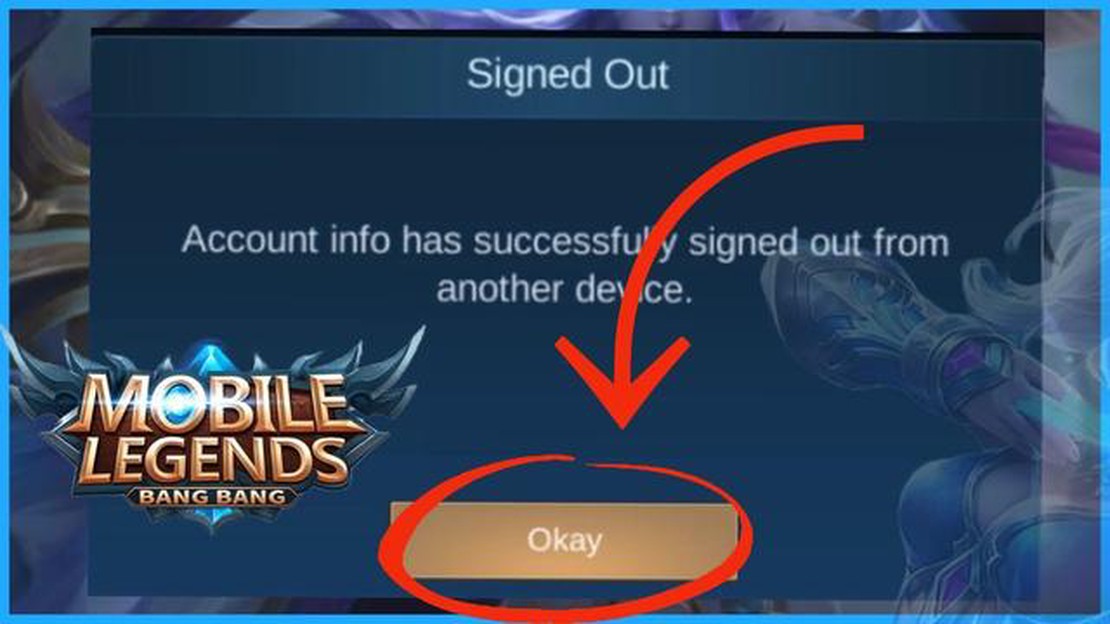
How To Log Out On Mobile Legends? Mobile Legends is a popular mobile multiplayer online battle arena (MOBA) game that allows players to engage in …
Read Article


