


Find Out the Value of Your Pokemon Card: What Is My Pokemon Card Worth?
What Is My Pokemon Card Worth? If you grew up in the 90s, then chances are you collected Pokemon cards. These trading cards featuring different …
Read Article
If you’re a Minecraft enthusiast and want to play the game with your friends, creating your own Minecraft server is the way to go. By having your own server, you can control the gameplay, invite friends to join, and create your own customized world. The best part? You can do it all for free! In this step-by-step guide, we’ll walk you through the process of setting up a Minecraft server without spending a dime.
Step 1: Download the Minecraft Server Software
The first step in creating a Minecraft server is to download the server software. You can find the latest version of the software on the official Minecraft website. Make sure to choose the correct version for your operating system (Windows, Mac, or Linux).
Step 2: Set Up the Server
Once you’ve downloaded the server software, it’s time to set it up. Open the downloaded file and follow the installation instructions. You may need to create a new folder to store the server files. Once the installation is complete, you’ll have a folder with all the necessary files to run the server.
Step 3: Configure the Server
After setting up the server, you’ll need to configure it to your liking. Open the server properties file (it should be called “server.properties”) and modify the settings according to your preferences. You can change the server name, set the maximum number of players, enable or disable certain features, and more.
Step 4: Start the Server
Once you’ve configured the server, it’s time to start it up. Open the server folder and run the server file. You may need to allow the program through your firewall. The server will start running, and you’ll be able to see the console output.
Step 5: Invite Friends to Join
Now that your Minecraft server is up and running, it’s time to invite your friends to join. Share the IP address of your server with them, and they’ll be able to connect to it through the Minecraft game. You can also customize the server further by installing plugins or mods to enhance the gameplay.
That’s it! You’ve successfully created your own Minecraft server for free. Enjoy playing with your friends and exploring the endless possibilities that Minecraft has to offer.
In this step-by-step guide, we will walk you through the process of setting up a Minecraft server for free. By following these instructions, you will be able to create a server and enjoy playing Minecraft with your friends or other players online.
The first step is to download the Minecraft server software. You can find the official server software on the Minecraft website. Make sure to download the version that corresponds to the version of Minecraft you want to play.
Once the server software is downloaded, create a new folder on your computer where you want to store the server files. Extract the server software files into this folder.
Open the server folder and locate the “server.properties” file. Open this file with a text editor and customize the server settings according to your preferences. You can set the server name, maximum number of players, and other options.
If you want to make your server accessible to players outside your local network, you will need to set up port forwarding on your router. This process varies depending on your router model, so consult the router manual or search online for specific instructions.
Read Also: Xiao Genshin Impact: All You Need to Know About this Powerful Character
To start the server, double-click the “server.jar” file. A command prompt window will open, and the server will begin loading. Wait for the server to finish loading, which may take a few moments.
Once the server is running, you can connect to it by opening Minecraft and selecting “Multiplayer” from the main menu. Click “Add Server” and enter the server’s IP address and port. If you are connecting on the same computer, you can use “localhost” as the IP address.
You can invite your friends to join your Minecraft server by sharing the server’s IP address and port with them. They can then connect to the server using the same method described in step 6.
Once your server is up and running, you can manage and customize it further. You can install plugins, modify server settings, and even add custom mods to enhance your Minecraft gameplay. There are many resources available online to help you with server management and customization.
That’s it! You now have a Minecraft server set up for free. Enjoy playing Minecraft with your friends and have fun exploring the endless possibilities of the game!
When it comes to hosting your own Minecraft server, choosing the right hosting platform is crucial. The hosting platform you choose will determine the performance, stability, and availability of your server. Here are a few factors to consider when selecting a hosting platform:
Read Also: Complete the Fortnite Fast: Battle Pass Tips & Tricks
Take your time to research and compare different hosting platforms before making a decision. Choosing the right hosting platform will ensure that your Minecraft server runs smoothly and provides an enjoyable gaming experience for you and your friends.
Setting up the server software is an important step in creating your own Minecraft server. Follow these steps to get started:
Setting up the server software requires attention to detail, but with these steps, you’ll have your own Minecraft server up and running in no time!
Once you have successfully set up your Minecraft server, it’s time to configure it and invite your friends to join.
Now your friends should be able to join your Minecraft server and play together. Make sure that you have configured the server to allow connections from external IP addresses if you want to play with friends who are not on the same network as you.
Remember to share any necessary additional information with your friends, such as server rules or mods they need to install to join your server.
Minecraft is a popular sandbox video game that allows players to build and explore virtual worlds made up of blocks.
Yes, you can create your own Minecraft server for free by following a step-by-step guide.
Hosting your own Minecraft server allows you to have complete control over your gameplay experience, including the ability to customize the server settings, play with friends, and install mods or plugins.
Creating a Minecraft server requires basic technical knowledge, such as being able to navigate through the server files and perform basic commands in the command prompt or terminal.
No, you don’t need a powerful computer to host a Minecraft server. As long as your computer meets the minimum requirements for running Minecraft, it should be capable of hosting a server.
Yes, you can customize the server settings and gameplay on your Minecraft server. You can adjust things like difficulty level, game mode, player permissions, and more.
Yes, you can invite your friends to play on your Minecraft server. They will need the server IP address and any other necessary login information in order to connect to your server.
What Is My Pokemon Card Worth? If you grew up in the 90s, then chances are you collected Pokemon cards. These trading cards featuring different …
Read Article
How To Download Pokemon On Iphone? If you’re a fan of Pokemon and you own an iPhone, you’ll be delighted to know that you can download and play …
Read Article
The Tree Who Stands Alone Quest Genshin Impact? Genshin Impact is an open-world action role-playing game developed by miHoYo. The game features a vast …
Read Article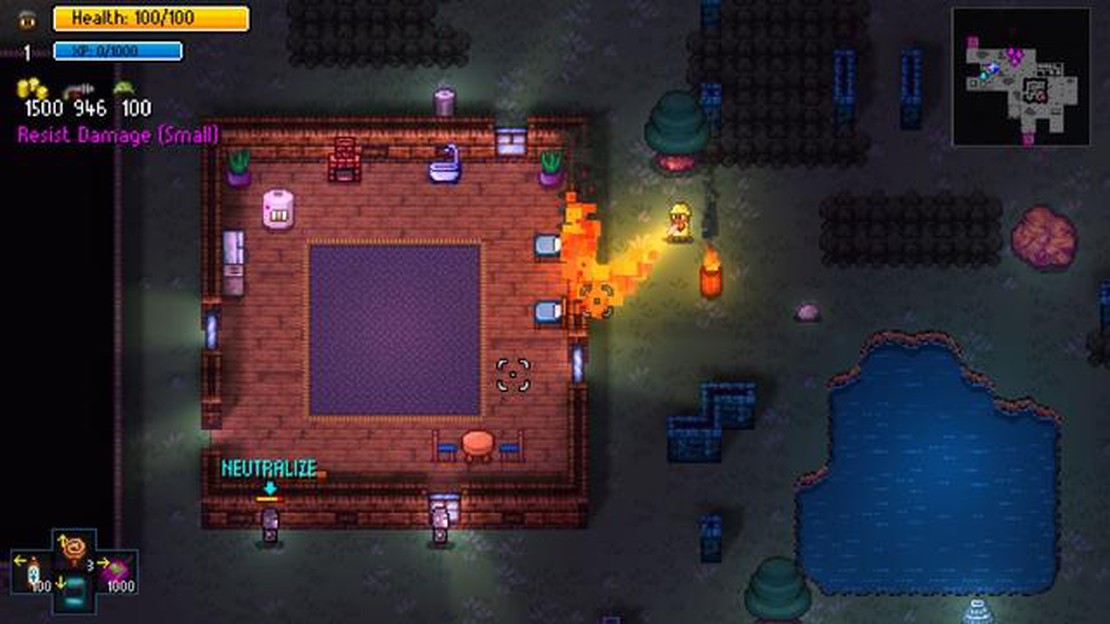
Streets of Rogue review Streets of Rogue is a roguelike indie game that offers a unique blend of action, role-playing, and stealth gameplay. Developed …
Read Article
Why Does Roblox Tag? Roblox is a popular online gaming platform that allows users to create and play games created by other users. One of the unique …
Read Article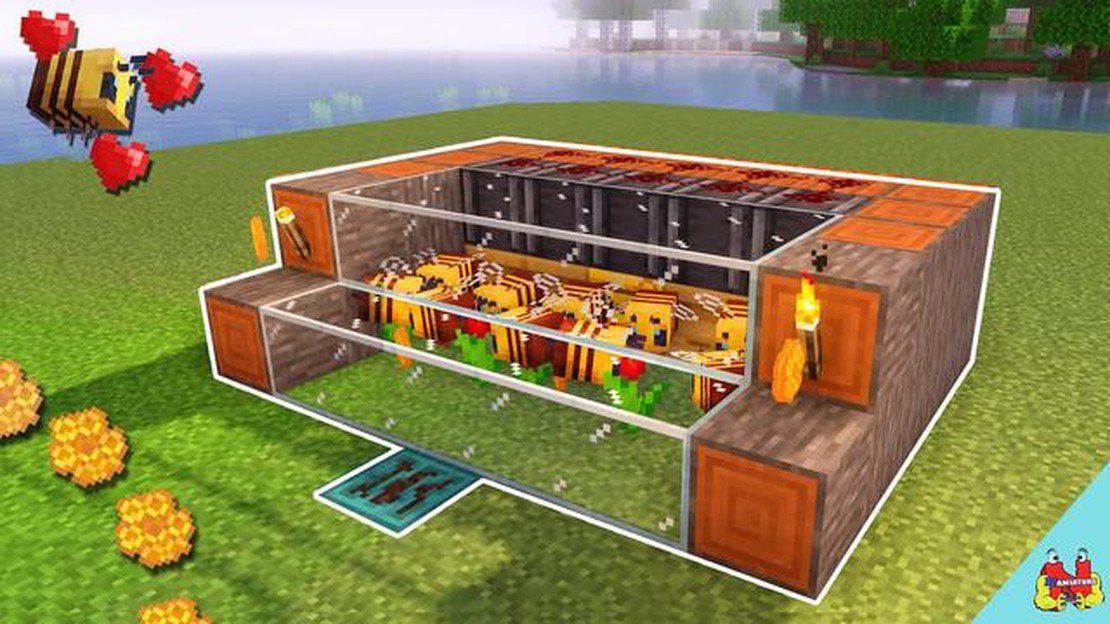
How To Make A Bee Farm In Minecraft? Welcome to the beginner’s guide on how to create a bee farm in Minecraft! Bee farms are a fantastic addition to …
Read Article


