
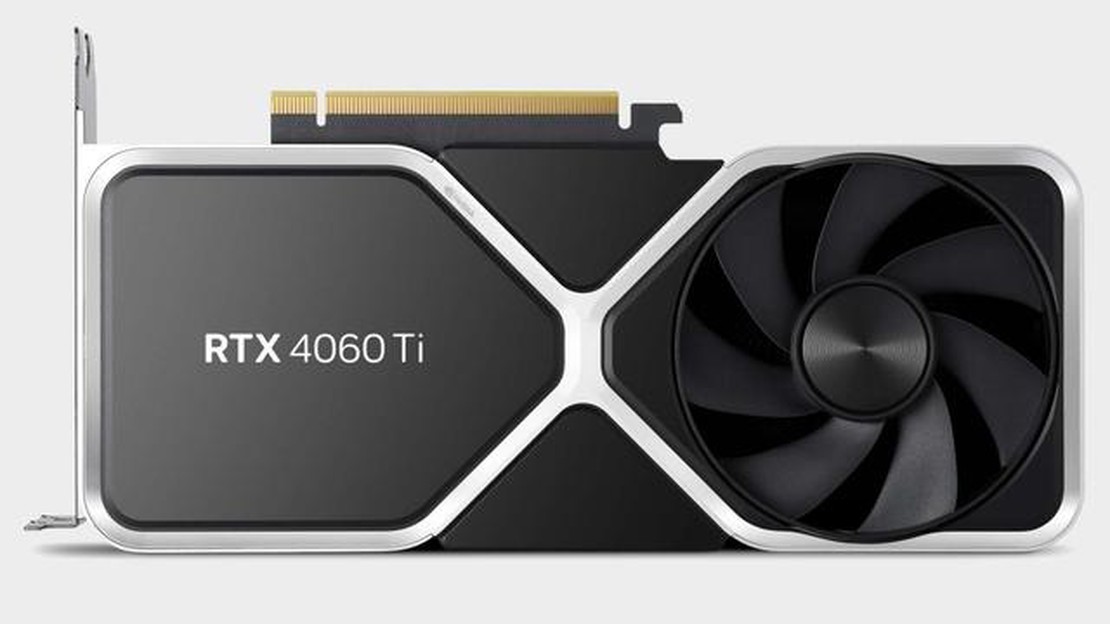

The Nvidia RTX 4060 Ti 16GB: Launching on July 18 with Minimal Excitement
The Nvidia RTX 4060 Ti 16GB is set launch on July 18, to little enthusiasm The highly anticipated release of the Nvidia RTX 4060 Ti 16GB graphics card …
Read Article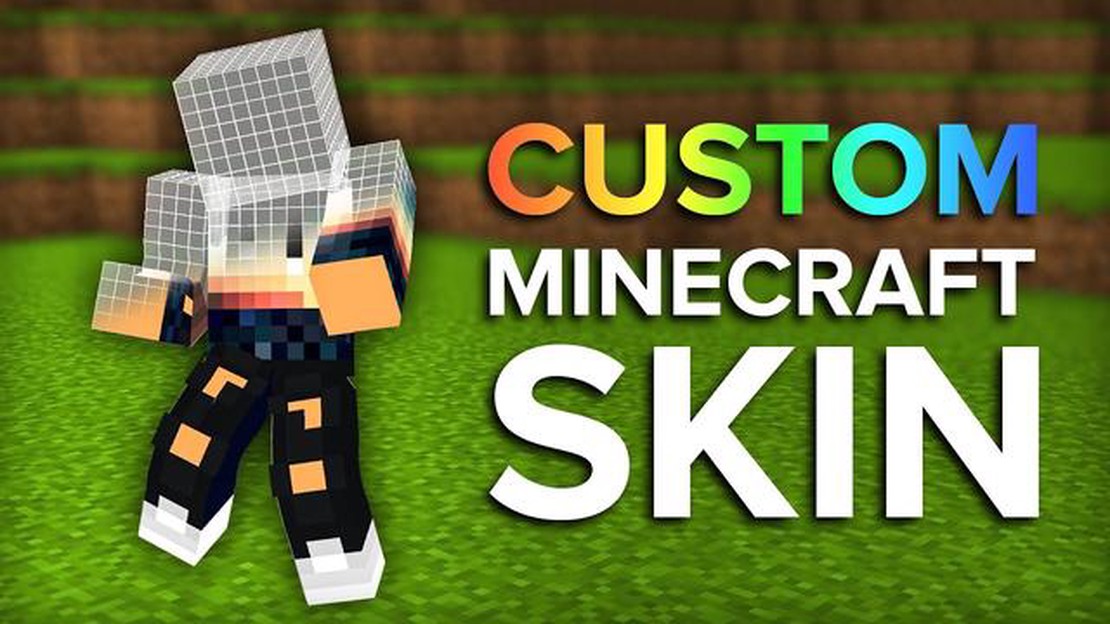
If you’re a fan of Minecraft and want to personalize your gaming experience, creating your own Minecraft skin is a great way to do so. Minecraft skins allow you to customize the appearance of your character in the game, giving it a unique look that reflects your style and creativity. Whether you want to recreate a favorite character or design something entirely original, the process of making a Minecraft skin is simple and fun.
The first step in making a Minecraft skin is deciding on a concept or design. You can draw inspiration from your favorite video games, movies, or even real-life objects. Think about what kind of character or theme you want your skin to have. Do you want it to be cute and colorful or dark and mysterious?
Once you have a clear idea of what you want your Minecraft skin to look like, you can start creating it using a skin editor. There are many online tools and software available that allow you to design and customize Minecraft skins. These editors provide a blank canvas where you can add and edit different pixels to create your desired look. You can change the color, shape, and size of each pixel to achieve the desired effect.
Minecraft is a popular sandbox video game where players have the freedom to create and explore their own virtual worlds. One of the unique aspects of Minecraft is the ability to customize your character’s appearance by creating your own Minecraft skin. In this step-by-step guide, we will walk you through the process of making your very own Minecraft skin.
That’s it! By following these steps, you now know how to make your very own Minecraft skin. Get creative, experiment with different designs, and show off your unique character to other players in the Minecraft community!
When creating a Minecraft skin, the first step is to choose a skin template. The skin template is a base image that you’ll use as a reference while designing your Minecraft character’s appearance.
There are several websites and resources available where you can find Minecraft skin templates. You can search for “Minecraft skin template” on your preferred search engine and browse through the options available.
Read Also: What Can I Play Fortnite On? Find Out the Platforms Supported
Here are a few things to consider while choosing a skin template:
Once you have chosen a skin template, download it to your computer and save it in a location where you can easily access it for later use.
Remember, the skin template is just a starting point for your creativity. You can modify and customize the design to make it unique and truly reflect your personal style. So let’s move on to the next step and start creating your Minecraft skin!
Once you have a clear vision of what you want your Minecraft skin to look like, it’s time to start creating the design. Here are the steps to help you create the perfect skin:
Remember, creating a Minecraft skin takes time and practice. Don’t be afraid to experiment and iterate on your design until you are happy with the result. Good luck!
After creating your custom Minecraft skin, you’ll need to apply it in the game to see it in action. Here are the steps to follow:
Read Also: Find out the launch time of Wrath of the Lich King Classic in your time zone
Once you have successfully applied your custom skin, you can join a Minecraft server or start a single-player game to see your new skin in action. Other players will also be able to see your custom skin when playing multiplayer.
A Minecraft skin is a custom texture or appearance that changes the appearance of the player’s character in the game.
You can make a Minecraft skin by using a skin editor or by manually editing the skin file using an image editing program.
Yes, there are several online skin editors available that allow you to create and edit Minecraft skins directly in your web browser.
A Minecraft skin has dimensions of 64 pixels wide and 32 pixels tall.
Yes, there are certain guidelines and restrictions for creating a Minecraft skin. The skin should be in PNG format, have a transparent background, and follow the general design style of the game.
The Nvidia RTX 4060 Ti 16GB is set launch on July 18, to little enthusiasm The highly anticipated release of the Nvidia RTX 4060 Ti 16GB graphics card …
Read Article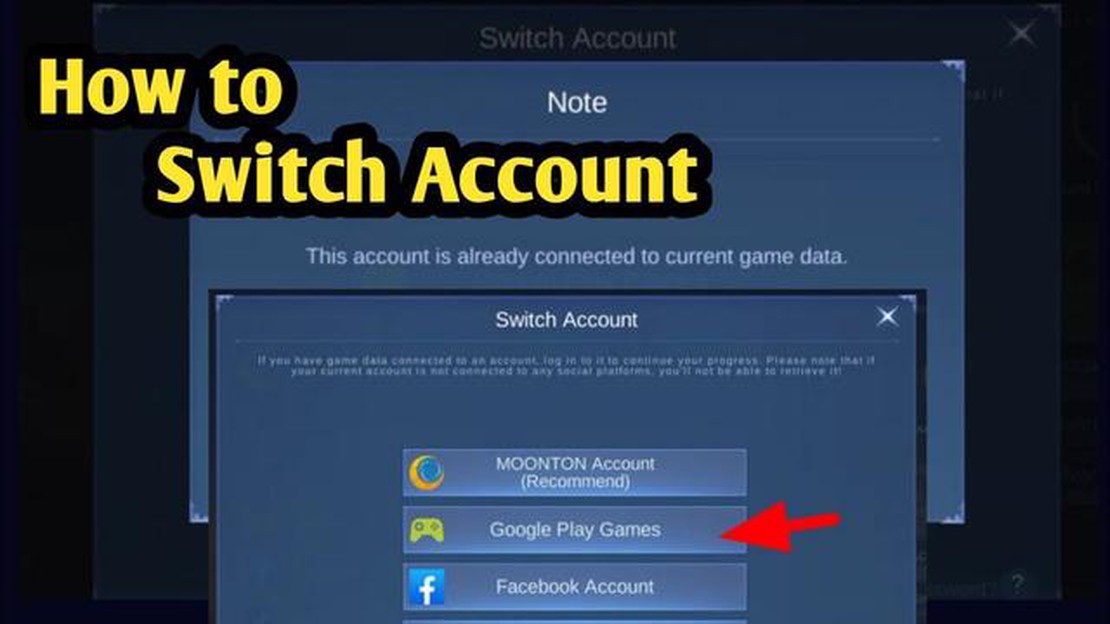
How To Switch Accounts In Mobile Legends? Mobile Legends is a popular multiplayer online battle arena (MOBA) game that allows players to team up and …
Read Article
When Is Clash Of Clans 2 Coming Out? Clash of Clans is one of the most popular mobile games ever created, with millions of players around the world. …
Read Article
What Is The Rarest Skin In Fortnite? Fortnite, the massively popular battle royale game developed by Epic Games, has become known for its diverse …
Read Article
How To Turn On Aimbot In Fortnite? Are you tired of struggling to hit your shots in Fortnite? Do you wish you had the aim of a professional player? …
Read Article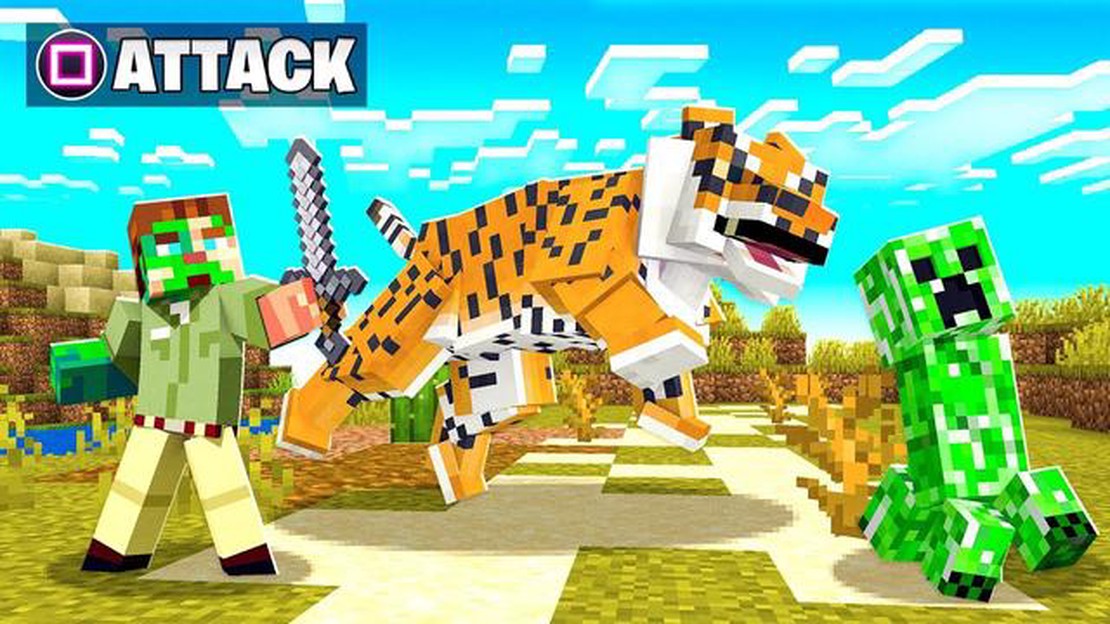
How to tame a tiger in Minecraft In the world of Minecraft, players have the opportunity to tame and befriend various creatures. One of the most …
Read Article


