

Understanding Call of Duty: Warzone Skill-Based Matchmaking
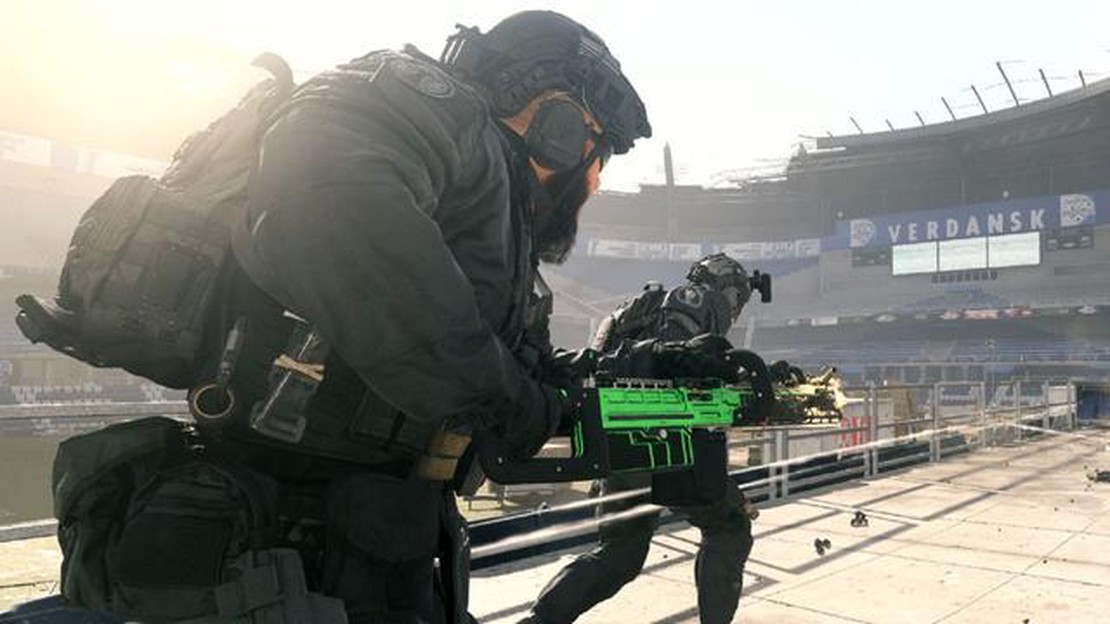
Call of Duty: Warzone skill-based matchmaking, explained Call of Duty: Warzone is one of the most popular free-to-play battle royale games in the …
Read Article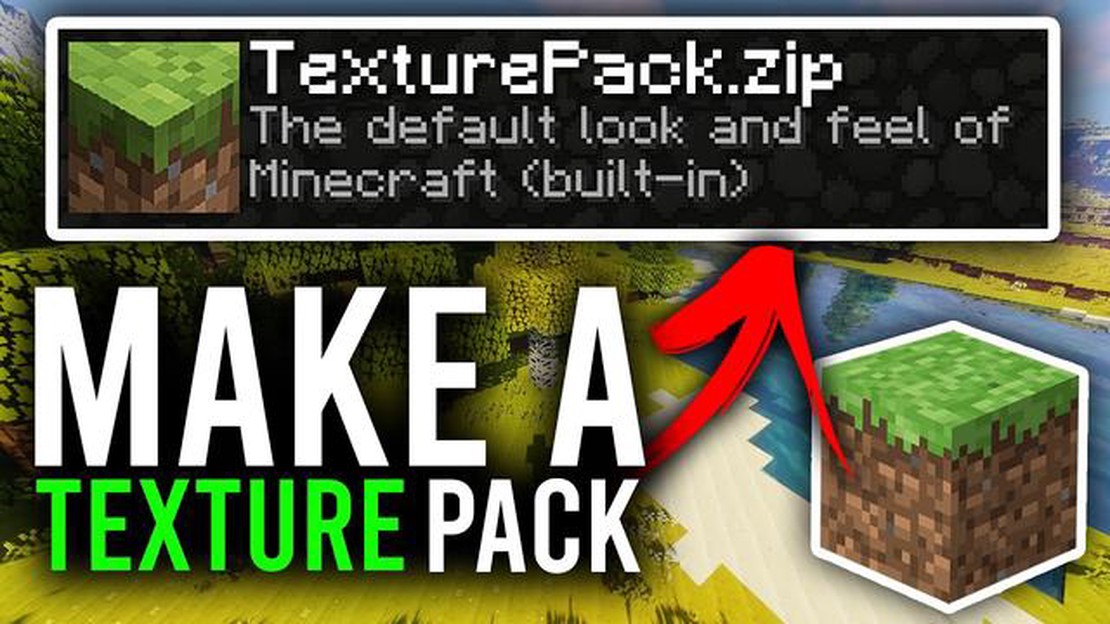
Are you tired of the default textures in Minecraft and want to give your game a unique look? Or maybe you’re a creative person who wants to show off your artistic skills to the Minecraft community? Whatever your motivation, creating a texture pack for Minecraft can be a fun and rewarding experience. In this step-by-step guide, we’ll walk you through the process of making your own Minecraft texture pack.
Step 1: Get Inspired
Before diving into the world of texture pack creation, it’s important to gather some inspiration. Take a look at existing texture packs and see what elements you like or dislike. Think about the style, color palette, and overall aesthetic that you want to achieve in your texture pack. Having a clear vision will help guide you through the rest of the process.
Pro tip: Don’t be afraid to experiment and think outside the box. Minecraft is a game that encourages creativity, so let your imagination run wild!
Step 2: Choose a Resolution
Next, you’ll need to decide on the resolution of your texture pack. Minecraft supports a variety of resolutions, ranging from 16x16 to 512x512. Keep in mind that higher resolutions will result in more detailed and visually appealing textures, but they will also require more computer resources to run smoothly. Choose a resolution that fits your artistic abilities and computer’s capabilities.
Fun fact: Many popular texture packs for Minecraft, such as Faithful and Sphax PureBDcraft, use a resolution of 32x32.
Step 3: Edit Textures
Now comes the fun part - editing the textures! You can use any image editing software that you’re comfortable with, such as Photoshop, GIMP, or Paint.net. Start by opening the default Minecraft textures and make the desired changes. This can include altering the colors, adding new textures, or even creating completely new designs. Let your creativity shine through!
Tip: Pay attention to the different folders in the Minecraft texture pack structure, as each folder contains textures for specific elements in the game, such as blocks, items, and mobs.
Step 4: Test and Refine
Once you’ve finished editing the textures, it’s time to test them in-game. Load up Minecraft with your newly created texture pack and explore the world to see how everything looks. Pay attention to the details and make any necessary adjustments to ensure that everything fits together seamlessly. Don’t forget to also gather feedback from friends or the Minecraft community to gain valuable insights and suggestions for improvement.
Keep in mind that making a high-quality texture pack can be a time-consuming process, so be patient and willing to iterate and refine your work.
By following these steps, you’ll be well on your way to creating your very own custom texture pack for Minecraft. Remember to have fun and let your creativity flow as you bring a fresh new look to the blocky world of Minecraft!
In this step-by-step guide, we will walk you through the process of creating a custom texture pack for Minecraft. Follow these instructions to customize the look and feel of the game to your liking.
By following these steps, you can create your own unique Minecraft texture pack and enhance your gaming experience with custom textures and sounds.
In order to create a Minecraft texture pack, you will need several materials:
Read Also: When Does The Call Of Duty Vanguard Beta End? | Get the Latest Updates
Make sure you have the latest version of Minecraft installed on your computer. You can download it from the official Minecraft website.
Once you have Minecraft installed, you will need an image editing software to create and modify the textures. GIMP is a free and popular option, while Photoshop is a more advanced option that requires a paid subscription. Choose the software that best suits your needs and install it on your computer.
Create a new folder on your computer where you will store the files for your texture pack. This folder will serve as your workspace for organizing and managing your textures and other resources.
With these materials gathered, you are now ready to move on to the next step: Creating the Base Pack.
Now that we have our base files set up, it’s time to start creating our textures. Minecraft texture packs are made up of a collection of images, or textures, that replace the default block and item appearances in the game.
Before you can create a texture, you’ll need to decide which block or item you want to change the appearance of. This can be anything from a simple block like dirt or stone, to a more complex item like a sword or bow.
Read Also: When Is The Next Fortnite Live Event 2022? Find Out Here!
Next, you’ll need to find or create the texture for your chosen block or item. There are several resources available online where you can find pre-made textures, or you can create your own using image editing software like Photoshop or GIMP.
Minecraft has specific requirements for texture size and formatting. The dimensions of a Minecraft texture should be a power of 2 (16x16, 32x32, 64x64, etc.) and the file should be saved in the .png format. Use your image editing software to resize the texture and ensure it meets these requirements.
Once your texture is ready, add it to the appropriate folder in your texture pack. The folder structure of a texture pack is similar to that of the Minecraft game files. Create a subfolder for the type of texture you’re adding (e.g. “blocks” for block textures, “items” for item textures) and place your texture file inside.
If you want to texture multiple blocks or items, repeat steps 1-4 for each one. Remember to save each texture with a unique name and place them in the appropriate folder within your texture pack.
Once you’ve finished creating your textures, it’s time to test your texture pack in Minecraft. Open the game and go to the “Options” menu. In the “Resource Packs” section, select your texture pack from the list and click “Done”. Minecraft will apply the texture pack and you can see how your textures look in the game.
Congratulations! You’ve now learned how to create textures for your Minecraft texture pack. Experiment with different designs and have fun customizing the game to your liking!
Once you have created your custom texture pack, you will need to install it in order to see the changes in the game. Follow these steps to install the texture pack in Minecraft:
If you want to switch back to the default Minecraft texture pack, simply select “Default” in the Resource Packs menu.
Remember that texture packs only change the appearance of the game and do not add any new features or gameplay elements. Use texture packs to personalize your Minecraft experience and make the game look how you want it to!
A Minecraft texture pack is a collection of files that modify the visual appearance of the game’s textures, including blocks, items, mobs, and more.
Creating your own texture pack allows you to personalize the look and feel of Minecraft to better suit your preferences or create a unique visual experience for your gameplay.
You will need an image editing software, such as Photoshop or GIMP, to create and edit the textures. You will also need a file compression tool, such as WinRAR or 7-Zip, to package the texture pack files.
Yes, you can use any image editing software that supports creating and editing pixel art and saving images in the appropriate file format, such as PNG.
Some important considerations when making a texture pack include consistency in style, ensuring the textures are visually appealing, and keeping in mind the overall theme or aesthetic you want to achieve.
Yes, it is possible to customize specific textures in Minecraft by locating the file for the respective texture and replacing it with your own modified version.
Yes, you can share your texture pack with others by packaging the files into a compressed format, such as a ZIP file, and distributing it online or through other means.
Call of Duty: Warzone skill-based matchmaking, explained Call of Duty: Warzone is one of the most popular free-to-play battle royale games in the …
Read Article
How To Make Cake In Toca Boca? If you are a fan of Toca Boca’s fun and interactive games, you might be wondering how to make a cake in Toca Boca. …
Read Article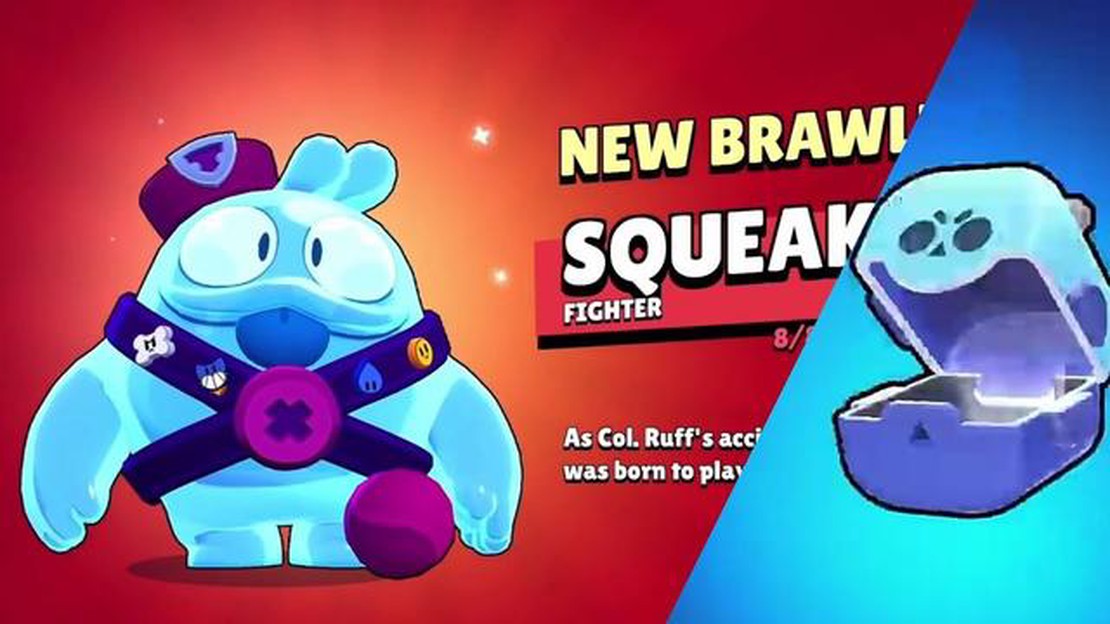
How To Get Squeak In Brawl Stars? Are you a Brawl Stars player and want to know how to unlock Squeak, the latest brawler in the game? Look no further! …
Read Article
How To Link Devices On Clash Of Clans? Clash of Clans is a popular mobile strategy game that allows players to build and defend their own villages, …
Read Article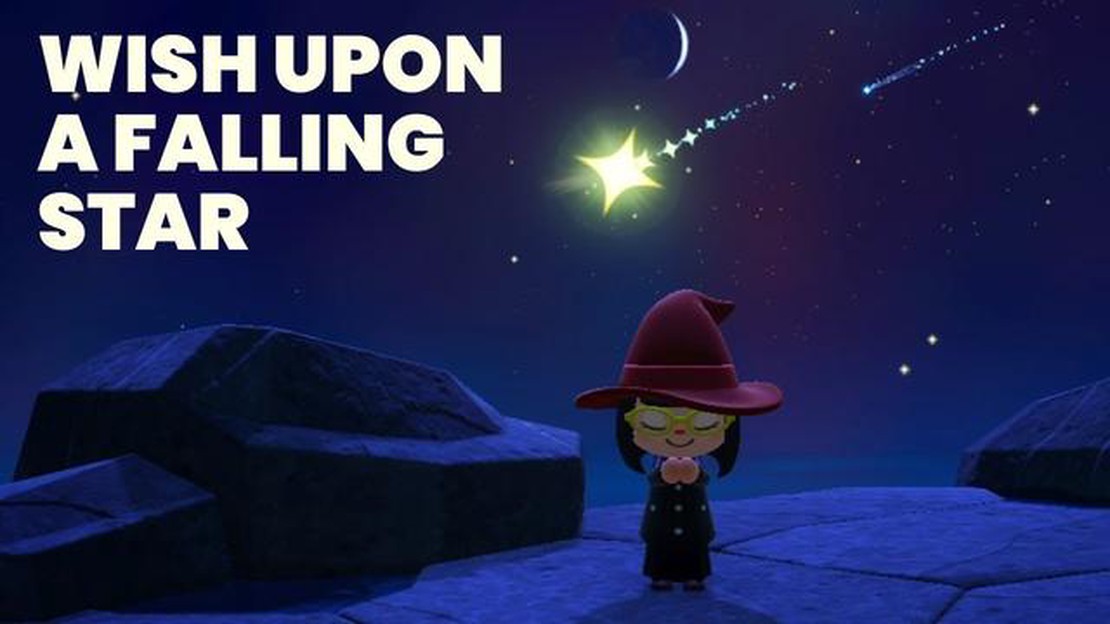
What Does Wishing On A Star Do In Animal Crossing? If you’ve ever played the beloved game Animal Crossing, you know that the night sky is a beautiful …
Read Article
What Does A Joker Card Do In Coin Master? What Does a Joker Card Do in Coin Master? If you are an avid player of Coin Master, you must have come …
Read Article


