
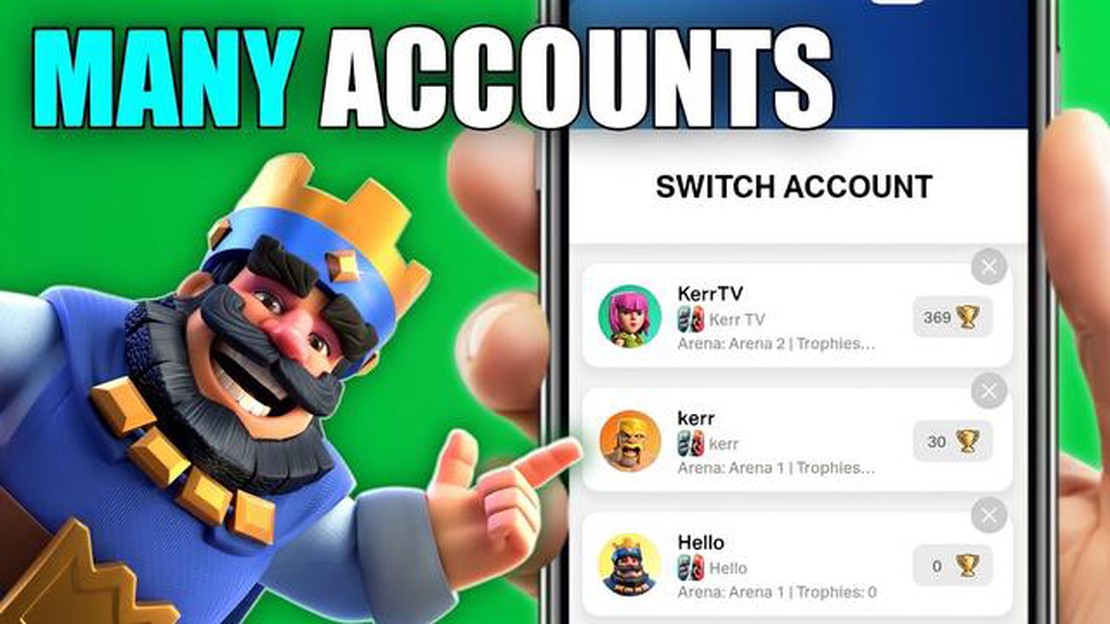

How to Create Two Accounts on Clash Royale: A Step-by-Step Guide
How To Have Two Accounts On Clash Royale? If you’re an avid Clash Royale player, you may have found yourself wishing that you could have multiple …
Read Article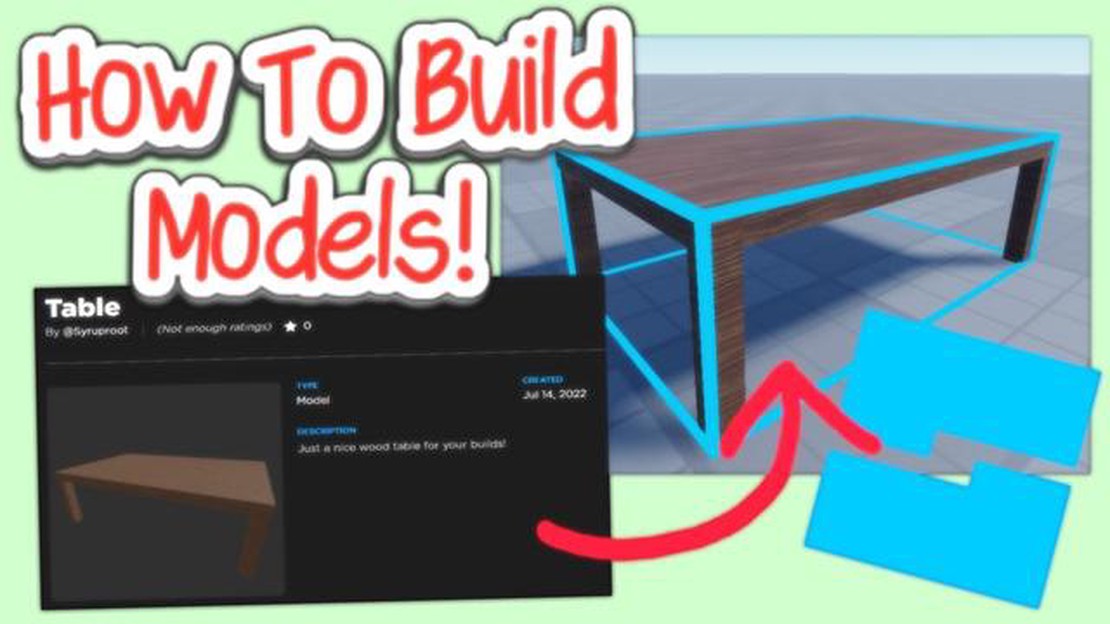
Roblox is a popular online platform where users can create, play, and share games. One of the key features of Roblox is the ability to create and build your own models, which are essentially objects or structures that can be placed and interacted with within a game. If you’ve ever wanted to learn how to create a model in Roblox, this step-by-step guide will take you through the process from start to finish.
To begin, you’ll need to have Roblox Studio installed on your computer. This is a free program that allows you to create and edit Roblox games and models. Once you have Roblox Studio open, you can start by selecting the “View” tab and then clicking on the “Toolbox” option. The Toolbox is where you’ll find all of the different parts and objects that you can use to create your model.
Next, you’ll want to decide on the type and purpose of your model. Are you creating a building, a vehicle, or perhaps a character? Once you have a clear idea, you can start selecting the appropriate parts from the Toolbox. You can choose from a variety of shapes, sizes, and materials to customize your model to your liking. You can also add textures and colors to make your model visually appealing.
Once you have all the parts in place, you can begin assembling your model. This is where you can get creative and experiment with different arrangements and configurations. You can use the “Move” and “Rotate” tools to position your parts precisely and create the desired look. Don’t be afraid to try different combinations and iterations until you’re satisfied with the result.
Finally, when you’re happy with your model, you can save it and use it in your Roblox games. You can also choose to publish your model to the Roblox library, where other users can download and incorporate it into their own creations. This way, you can contribute to the Roblox community and inspire others with your designs.
Creating and building a model in Roblox can be a rewarding and enjoyable experience. Whether you’re a beginner or an experienced Roblox developer, this step-by-step guide will help you navigate the process with ease. So why not unleash your imagination and start creating your own models in Roblox today?
Roblox is an online platform where users can create and play games. It was created by David Baszucki and Erik Cassel in 2004 and officially launched in 2006. Roblox allows users to design their own virtual worlds and games using a programming language called Lua. The platform provides a wide range of tools and features for users to create and build their own games, including 3D modeling, scripting, and physics simulation.
Users can also play games created by other users on Roblox. There are millions of games available on the platform, covering various genres such as role-playing games, simulation games, racing games, and more. Players can also interact with each other through chat, join virtual communities, and participate in virtual events hosted by the Roblox community.
Roblox is free to play and offers in-game purchases, known as “Robux”, which can be used to buy virtual items, accessories, and upgrades for avatars. Users can earn Robux by participating in the Roblox economy, creating and selling virtual items, and by purchasing them with real currency. Roblox has a strong focus on user-generated content and encourages creativity and collaboration among its users.
Roblox has gained immense popularity over the years, especially among younger audiences. It has become a global phenomenon, with millions of active users and a vibrant community of players and developers. The platform continues to evolve and expand, with new features and updates being regularly released to enhance the user experience. Whether you want to create your own games or simply play and explore the vast library of user-created content, Roblox offers endless possibilities and entertainment.
To get started with Roblox Studio, you will first need to download and install it on your computer. Roblox Studio is available for free on the Roblox website.
Once you have installed Roblox Studio, open it up and sign in to your Roblox account. If you don’t have an account, you can create one for free.
When you first open Roblox Studio, you will be greeted with a series of tutorials and templates to help you get started. These tutorials will teach you the basics of creating and building in Roblox.
Before you start building, it’s important to familiarize yourself with the different tools and features in Roblox Studio. Here are some key features and tools you should know:
Once you are familiar with the basic layout of Roblox Studio, you can start building your game. There are several ways to build in Roblox Studio:
As you build your game, make sure to save your progress regularly. You can do this by clicking on the File menu and selecting Save or by using the Ctrl + S keyboard shortcut.
Remember to test your game frequently by clicking on the Play button in Roblox Studio. This will allow you to see how your game plays and make any necessary adjustments.
Once you are satisfied with your game, you can publish it to the Roblox platform and share it with others. This will allow players from around the world to play your game and provide feedback.
Read Also: GTA: San Andreas Cheats - Unlock Every Vehicle, Weapon, and Stat Boost Code
Creating and building in Roblox Studio can be a fun and rewarding experience. Don’t be afraid to experiment and try new things. With practice, you’ll become a skilled game developer in no time!
Roblox Studio is a powerful development tool that allows you to create and build your own games and experiences in the Roblox platform. To get started with creating your own models in Roblox, you’ll first need to install Roblox Studio. Here’s a step-by-step guide on how to do that:
Congratulations! You have successfully installed Roblox Studio on your computer. Now you can start creating and building your own models in Roblox and bring your imagination to life.
Roblox Studio is a powerful tool that allows users to create and build their own games and models in Roblox. Understanding the Roblox Studio interface is essential to fully utilize its features and create amazing creations. Here is a breakdown of the different components of the Roblox Studio interface:
The menu bar is located at the top of the Roblox Studio window and contains various options and commands. It includes options like File, Edit, View, Plugins, and more. The menu bar is where you can access different features and settings of Roblox Studio.
The toolbar is located below the menu bar and provides easy access to frequently used tools and commands. It includes buttons for actions like selecting, moving, scaling, and rotating objects, as well as buttons for terrain manipulation and modeling tools.
Read Also: Unlock the Secrets of the Debate Club in Genshin Impact
The Explorer window is located on the left side of the Roblox Studio interface. It displays a hierarchical view of the objects in your game or model. You can use the Explorer to navigate through the different parts of your creation, organize your objects in folders, and access their properties.
The Properties window is located on the right side of the Roblox Studio interface. It displays the properties of the selected object in the Explorer or the properties of the active tool. You can use the Properties window to modify the appearance, behavior, and other attributes of objects in your game or model.
The Viewport is the main area of the Roblox Studio interface where you can view and manipulate your game or model. It displays a 3D view of your creation and allows you to interact with objects using various tools, such as selecting, moving, rotating, and scaling.
The Output window is located at the bottom of the Roblox Studio interface. It displays information and messages related to the current session, such as errors, warnings, and debugging information. The Output window is useful for identifying and troubleshooting issues in your game or model.
The Command Bar is located at the top of the Roblox Studio interface, below the menu bar. It allows you to enter commands and scripts directly into Roblox Studio. The Command Bar is useful for executing custom scripts, running commands, and performing advanced actions.
The Toolbox window is located on the right side of the Roblox Studio interface, below the Properties window. It provides access to a wide range of pre-made models, scripts, assets, and other resources that you can use in your game or model. The Toolbox is a great way to quickly add ready-made content to your creations.
Understanding the Roblox Studio interface is the first step towards creating and building your own games and models in Roblox. By familiarizing yourself with the different components and their functionalities, you can efficiently navigate through Roblox Studio and unleash your creativity.
Roblox is a popular online platform that allows users to design and create their own games and virtual worlds. One of the key features of Roblox is the ability to create and build models, which are objects or structures that can be placed in the virtual world.
To create and build a model in Roblox, follow these steps:
Once you have created and built your model, you can use it in your games or share it with other Roblox users. Models can also be scripted to add interactive features and functionality to your games.
Building models in Roblox is a great way to unleash your creativity and create unique experiences for yourself and others. Whether you want to build a house, a car, or a whole city, Roblox provides the tools and resources to bring your ideas to life.
Before you start building a model in Roblox, it’s important to have a clear plan and design in mind. Designing your model will help you determine the look, functionality, and purpose of your creation. Here are some steps to follow to design your model:
Remember, the design phase is crucial for creating a successful model in Roblox. Take your time to plan and design your model thoroughly before moving on to the next steps.
Roblox is an online platform that allows users to create and play games. It provides a virtual world where players can build and design their own games using a variety of tools and programming languages.
To create a model in Roblox, you need to start by opening Roblox Studio, which is a software application used for building and designing games. Once you have Roblox Studio open, you can use the various tools and features to create and customize your model. You can add different objects, textures, and scripts to bring your model to life.
Building a model in Roblox involves several steps. First, you need to plan and design your model by deciding on its purpose and appearance. Then, you can start creating the model in Roblox Studio by adding and arranging different parts and objects. You can also apply textures and colors to your model to make it visually appealing. Finally, you can add scripts to make your model interactive and functional.
Yes, it is possible to make money by creating and building models in Roblox. Roblox has a feature called the Developer Exchange (DevEx) program, which allows developers to exchange their Robux (in-game currency) for real money. However, to be eligible for the DevEx program, you need to meet certain requirements and have a minimum balance of Robux in your account. Additionally, you can also make money by selling your models or offering them as paid assets in the Roblox marketplace.
How To Have Two Accounts On Clash Royale? If you’re an avid Clash Royale player, you may have found yourself wishing that you could have multiple …
Read Article
How To Check Api Token In Clash Royale? Clash Royale is an immensely popular mobile game developed by Supercell, where players can battle each other …
Read Article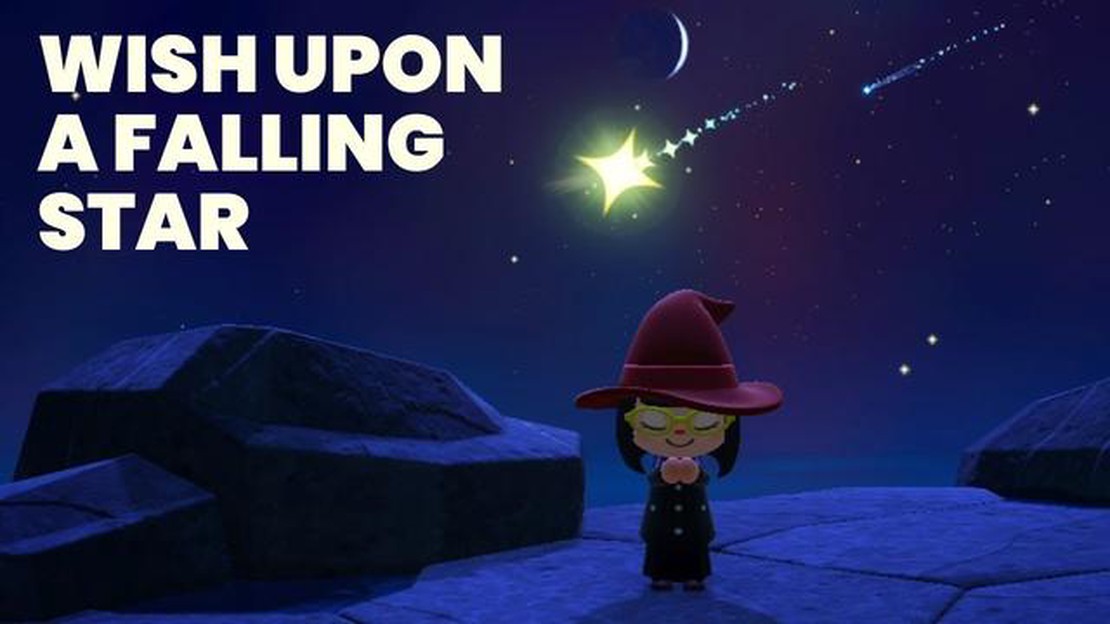
How To Make A Wish On Animal Crossing? Animal Crossing is a popular video game that allows players to create their own virtual world and interact with …
Read Article
My Friend Pedro review If you’re a fan of adrenaline-pumping action games, then My Friend Pedro might just be the game for you. Developed by indie …
Read Article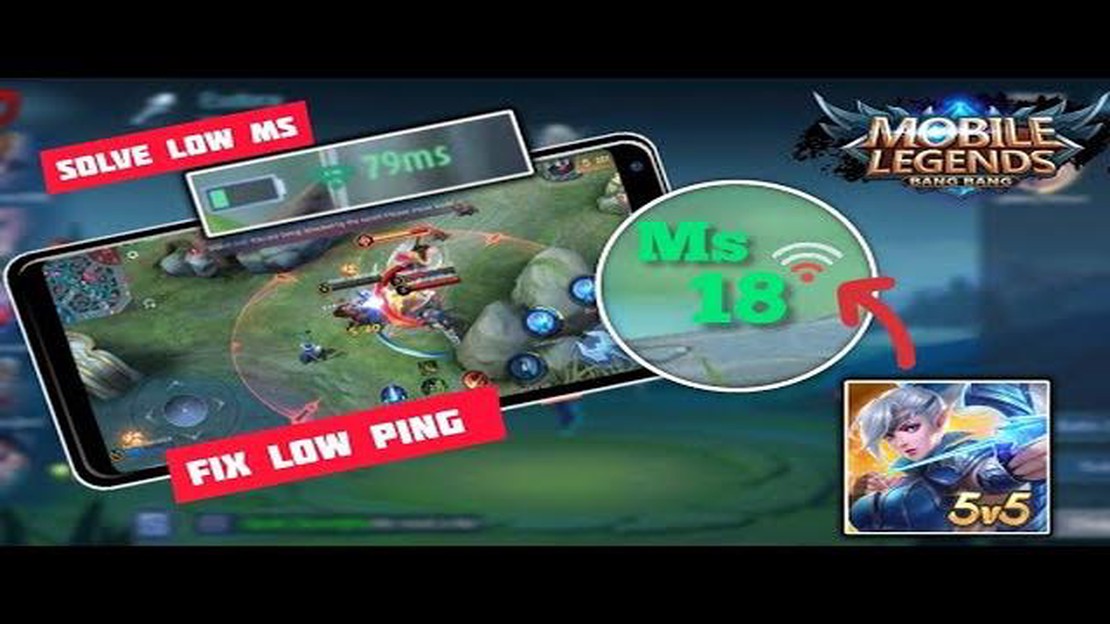
How To Improve Connection For Mobile Legends Game? Mobile Legends is a massively popular multiplayer online battle arena (MOBA) game that has taken …
Read Article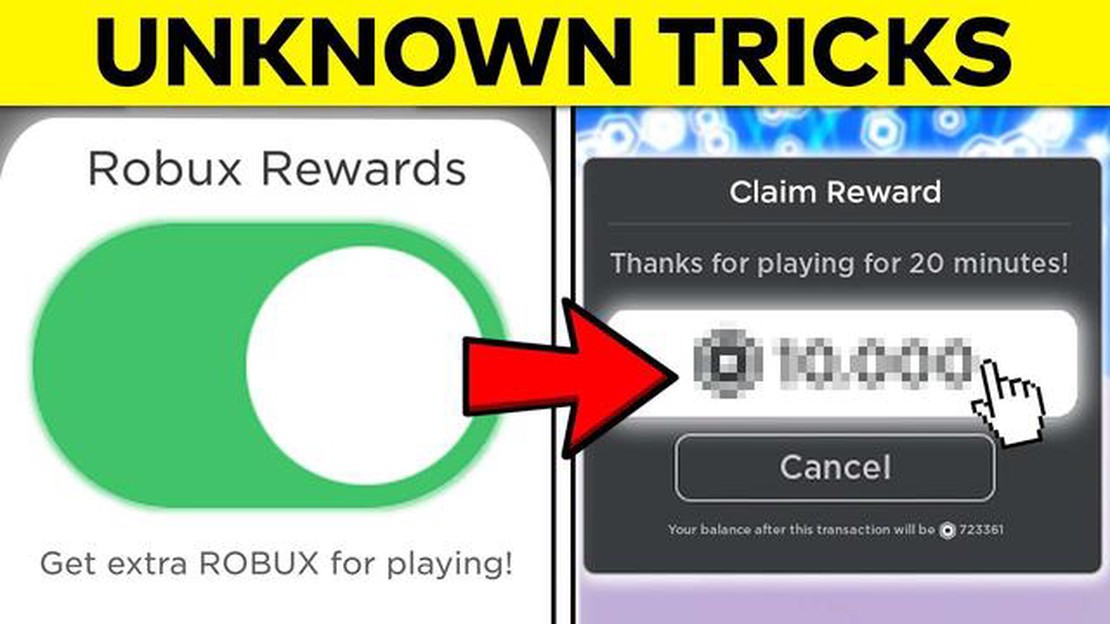
How To Get Roblox Credit For Free? If you’re an avid Roblox player, you know that Robux (Roblox’s virtual currency) can be quite pricey. Luckily, …
Read Article


