
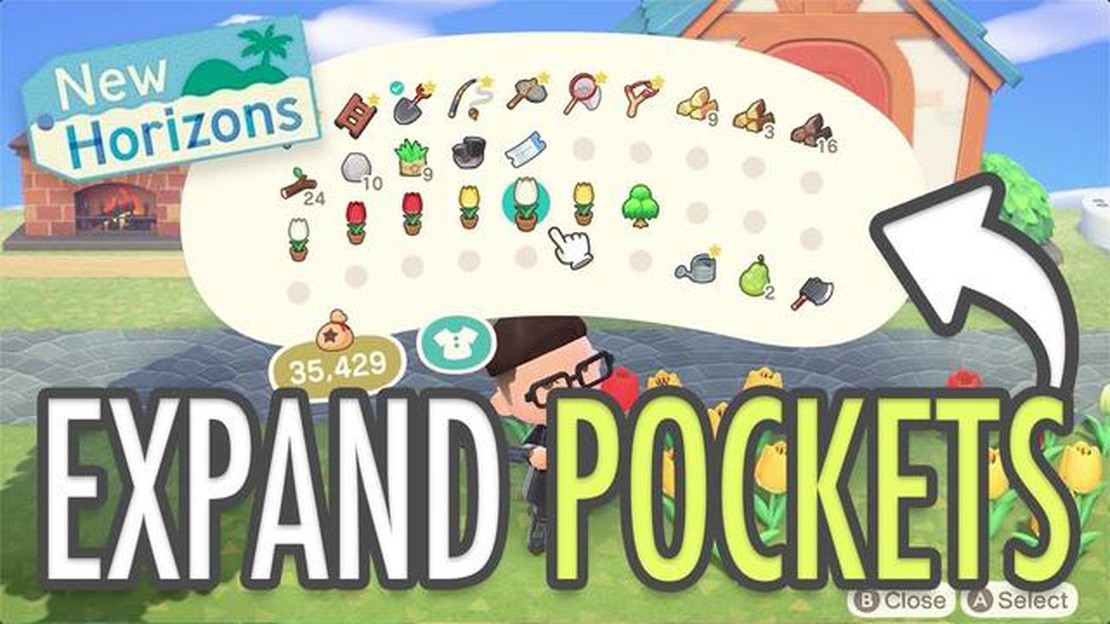
Step-by-Step Guide: How to Enlarge the Pocket in Animal Crossing
How to Enlarge the Pocket in Animal Crossing In the popular video game Animal Crossing, one of the most important features is the player’s pocket. The …
Read Article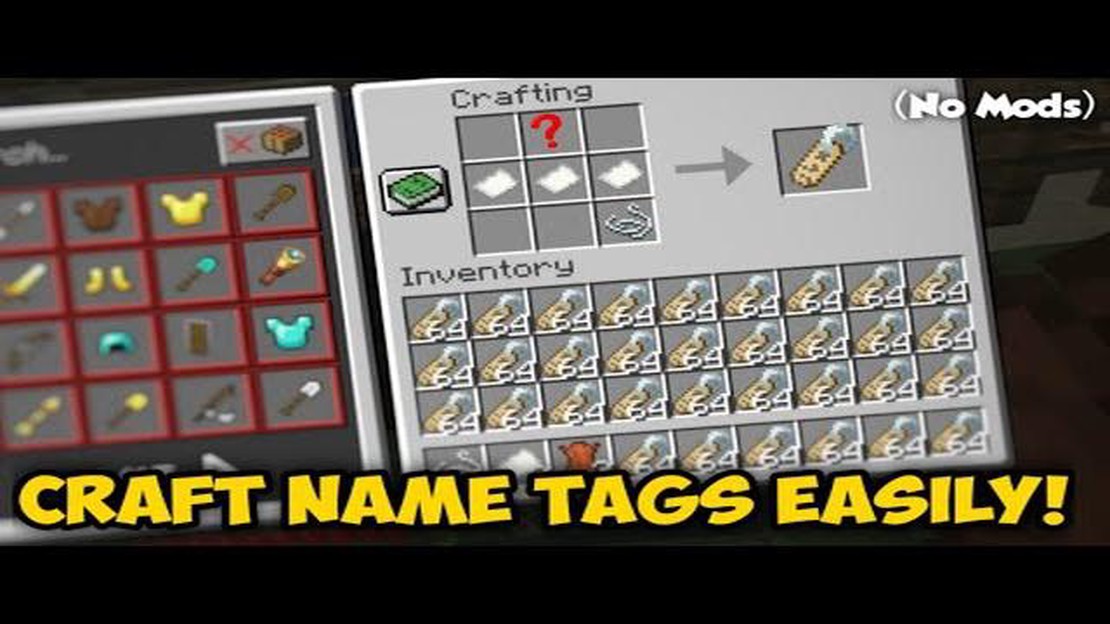
Minecraft is a popular sandbox game that offers endless possibilities for creative gameplay. One of the many features in Minecraft is the ability to make nametags, which can be used to label and personalize your in-game items and creatures. In this step-by-step guide, we will show you how to make a nametag in Minecraft.
Step 1: Gather the necessary materials. To make a nametag, you will need one iron ingot and one piece of paper. Iron ingots can be obtained by smelting iron ore in a furnace, while paper can be crafted using sugar cane.
Step 2: Open your crafting table. Once you have the required materials, open your crafting table. The crafting table is a 3x3 grid that allows you to combine items and craft new ones.
Step 3: Place the iron ingot and paper in the crafting table. In the crafting table, place the iron ingot in the left column and the paper in the center slot of the middle row. This will create a nametag in the right slot of the middle row.
Step 4: Collect your nametag. Once you have placed the iron ingot and paper in the crafting table, the nametag will appear in the right slot of the middle row. Click on the nametag to collect it.
Step 5: Use the nametag. Now that you have a nametag, you can use it to label and personalize your in-game items and creatures. To use the nametag, right-click on the item or creature you want to name, then type the desired name in the text box that appears.
That’s it! You now know how to make a nametag in Minecraft. Use your nametag to add a personal touch to your Minecraft world and make your items and creatures stand out.
Creating a nametag in Minecraft can be very useful in customizing your world and identifying your pets and mobs. Here is a step-by-step guide to help you make a nametag in Minecraft:
To craft a fishing rod, place 3 sticks in a diagonal line in the middle column of the crafting table. Put 2 sticks in the first and third square of the row, and 2 in an angle on the second square of the row.
Follow these steps, and you will be able to create and use nametags in Minecraft to personalize your world and identify your pets and mobs.
Before you can make a nametag in Minecraft, you will need to gather the following materials:
You can obtain these materials by crafting or searching for them in the game. A crafting table can be made by placing 4 wooden planks in a square on your crafting grid.
Read Also: When Does Superman Come Out In Fortnite? | Find Out the Release Date
Sticks can be crafted by placing two wooden planks vertically in your crafting grid. Each craft of sticks will yield 4 sticks.
Strings can be obtained by killing spiders in the game. Spiders have a chance to drop strings upon death.
Read Also: Learn How To Make A Beacon In Minecraft - Step-by-Step Guide | Minecraft Tutorials
Once you have all the required materials, you can proceed to the next step in creating a nametag in Minecraft.
In Minecraft, a nametag is an item that allows you to rename mobs or name items with custom names. To craft a nametag, you’ll need the following materials:
Here’s how you can craft a nametag:
| Materials | Crafting Recipe |
|---|---|
| 3 Iron Blocks | 0 0 01 1 11 1 1 |
| 4 Iron Ingots | 0 1 00 1 00 1 0 |
Note: Only certain mobs can be renamed, and they must be in close proximity to the anvil when renaming them.
Once you have crafted a nametag in Minecraft, you can use it to name different entities in the game. This can be helpful for easily identifying and keeping track of pets, villagers, or any other mob you come across.
Here are the steps to use a nametag in Minecraft:
It’s important to note that not all entities in Minecraft can be renamed. Some passive mobs like cows or chickens cannot be given names, while others like villagers or horses can.
Additionally, nametags can also be used to rename items or rename certain blocks like chests or signs, adding a personalized touch to your creations.
Using nametags can be a fun and practical way to organize and keep track of different entities in the game, making it easier to identify them among others and personalize your Minecraft experience.
A nametag in Minecraft is an item that players can use to name their pets or rename certain mobs. It can also be used to display a custom name above an item or a block.
You cannot craft a nametag in Minecraft. Instead, you can find them as rare loot in dungeons, mineshafts, chests, or by fishing.
Yes, you can rename your pet in Minecraft using a nametag. Simply use the nametag on the pet and you will be prompted to enter a new name.
To name a mob in Minecraft, you need to right-click on the mob while holding the nametag. This will open a renaming interface where you can enter a new name for the mob.
Yes, you can use a nametag to name an item or a block in Minecraft. Simply hold the nametag and right-click on the item or block to open the renaming interface.
How to Enlarge the Pocket in Animal Crossing In the popular video game Animal Crossing, one of the most important features is the player’s pocket. The …
Read Article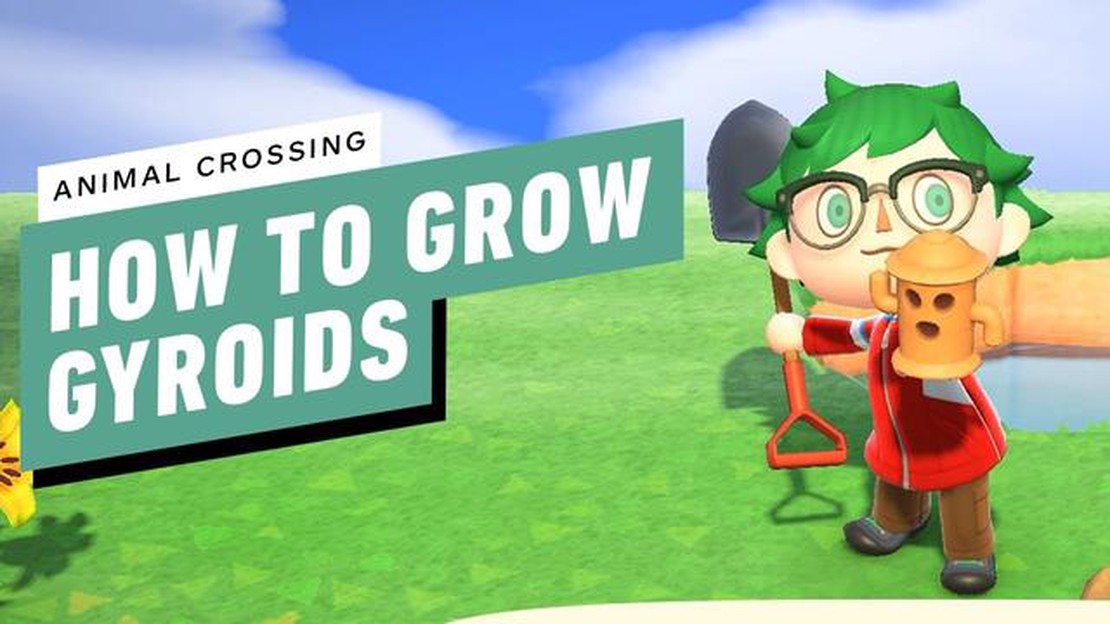
How To Grow Gyroids In Animal Crossing? Animal Crossing: New Horizons is a popular video game that allows players to create and design their own …
Read Article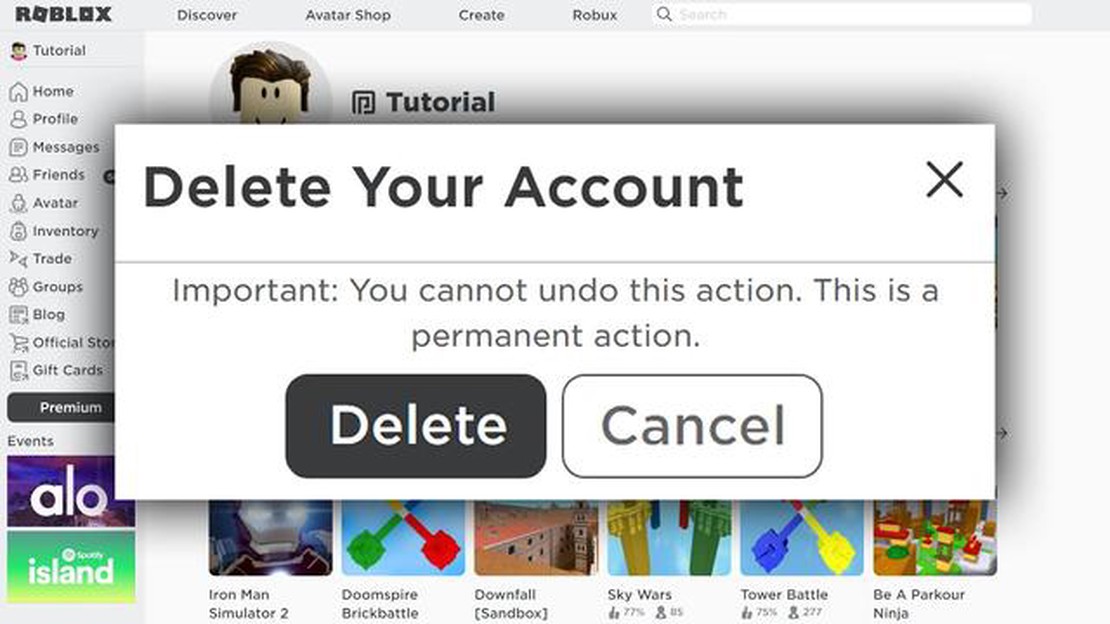
How To Delete A Roblox Account? If you’re no longer interested in using your Roblox account or simply want to take a break from the platform, deleting …
Read Article
How Do You Get Bamboo In Animal Crossing? Animal Crossing: New Horizons is a popular game that allows players to create their own virtual island and …
Read Article
How To Tame Cats In Minecraft? If you’re a Minecraft player, you know that cats can be incredibly helpful companions in the game. Not only can they …
Read Article
Clash Royale How To Find A Tournament? Clash Royale is an immensely popular mobile game that is known for its competitive nature. Players from all …
Read Article


