


Who Is The Creator Of Brawl Stars? Unveiling the Genius Behind the Popular Game
Who Is The Creator Of Brawl Stars? When it comes to mobile gaming, Brawl Stars has captivated millions of players worldwide. The addictive gameplay, …
Read Article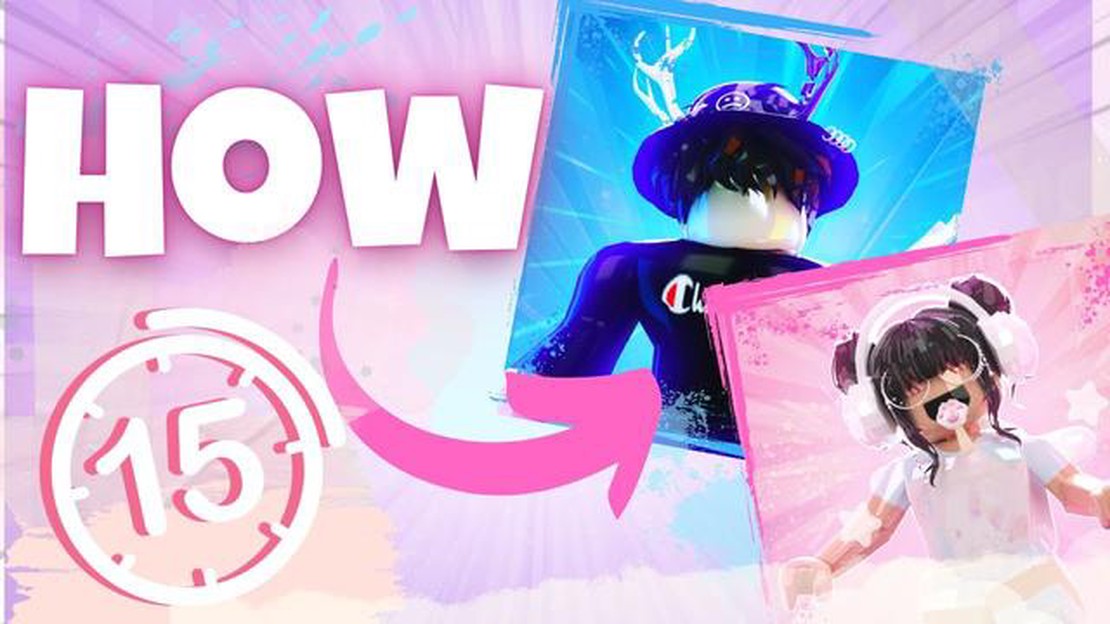
Roblox is an incredibly popular online platform where users can create, play, and share games. One of the most exciting aspects of Roblox is the ability to create personalized character graphics, known as GFX. These eye-catching visuals are often used as profile pictures, in game thumbnails, or for promotional purposes.
If you’re interested in making your own Roblox GFX, you’ve come to the right place. In this step-by-step guide, we’ll walk you through the process of creating stunning GFX using a variety of tools and techniques. Whether you’re a beginner or an experienced artist, this guide will provide you with the knowledge and inspiration you need to bring your Roblox characters to life.
To start creating your Roblox GFX, you’ll need a few essential tools. Firstly, you’ll need photo editing software, such as Adobe Photoshop or GIMP, to manipulate and enhance your images. These programs offer a wide range of features and options to help you create professional-looking GFX. Additionally, you’ll need access to Roblox Studio, the platform’s game development software, to export your characters and assets.
Once you have your tools ready, the next step is to choose a concept or theme for your GFX. Are you looking to create a realistic portrait of your Roblox character, or do you want to design a vibrant and imaginative scene? It’s essential to have a clear vision in mind before starting the creation process. Take some time to gather inspiration by browsing through popular GFX artists’ portfolios and studying different art styles.
Now that you have a concept in mind, it’s time to bring your Roblox GFX to life. Begin by selecting your Roblox character or characters and exporting them from Roblox Studio. You can also import additional assets, such as props, backgrounds, or effects, to enhance the overall composition. Once your characters and assets are ready, import them into your chosen photo editing software.
Roblox GFX (Graphics Effects) are popular images or animations created using Roblox characters and scenery. They can be used for promotional purposes, YouTube thumbnails, profile pictures, and more. In this step-by-step guide, we will walk you through the process of making a Roblox GFX, along with some tips and tools to enhance your creations.
Before you start creating your Roblox GFX, it’s important to plan your concept. Decide on the theme, pose, and any additional elements you want to include. This will help you stay organized and focused throughout the design process.
To create a Roblox GFX, you will need the following tools:
Open Roblox Studio and create a new place or open an existing one. Set up the scenery, characters, and any other elements you planned in Step 1. Experiment with lighting, camera angles, and effects to enhance the visual appeal of your GFX.
To capture the scene in Roblox Studio, you have a few options:
Open the captured image in your image editing software and make any necessary adjustments. This includes cropping, color grading, adding text or effects, and more. Experiment with different tools and techniques to achieve the desired outcome.
If you want to take your GFX to the next level, consider adding extra effects. This can include things like particle effects, motion blur, depth of field, or even adding additional elements through compositing.
Once you are satisfied with your edited GFX, save the final image as a high-quality file format, such as PNG or JPEG. This will ensure the best possible resolution and clarity.
Now that your Roblox GFX is complete, it’s time to share it with others or use it for your desired purpose. You can upload it as a YouTube thumbnail, share it on social media, or even use it as your Roblox avatar.
Read Also: Best Pokemon Counters for Electric Types - Find Your Advantage!
With the right tools, techniques, and creativity, you can create stunning Roblox GFX that will impress your friends and followers. Follow this step-by-step guide and unleash your imagination to bring your ideas to life!
Before you start creating your Roblox GFX, there are a few tools that you will need:
Read Also: Understanding the Role of Creator Code in Clash of Clans
Make sure you have all the necessary tools before you begin your Roblox GFX creation journey. Having the right software, references, and assets will greatly contribute to the quality of your final artwork.
To create a 3D model for your Roblox GFX, you will need a 3D modeling software. One of the most popular options is Blender, which is a free and open-source software.
Here are the steps to create a 3D model:
After you have exported the 3D model, you can import it into Roblox Studio and use it in your GFX creations.
Note: Creating a 3D model requires practice and skill. It may take some time to achieve the desired result, so don’t get discouraged if your first attempts don’t turn out exactly as you envisioned. Keep learning and experimenting, and you will improve over time.
Texturing and rendering the GFX is an important step in creating a realistic and visually appealing Roblox GFX. Here are some tips and tools to help you achieve the desired look:
Texturing involves applying textures to the 3D models in your GFX. This helps to give them a more realistic appearance. There are several ways you can texture your models:
Lighting plays a crucial role in the overall look and feel of your GFX. Here are some lighting techniques you can use:
Rendering is the process of creating the final image or animation of your GFX. It involves combining the textures, lighting, and other effects to produce the desired result. Here are some tips for rendering your GFX:
By following these tips and using the right tools, you can create stunning and professional-looking Roblox GFX that will impress others and enhance your Roblox experience.
Roblox GFX stands for Graphics Effects and it refers to the process of creating visually appealing and high-quality images using the Roblox platform. GFGs are often used in various Roblox games, advertisements, and user profiles.
Yes, it is possible to make money from creating Roblox GFX. Many players and developers in the Roblox community are willing to pay for high-quality GFX images to use in their games, advertisements, and personal profiles. You can offer your services as a GFX artist on platforms like Fiverr or directly reach out to individuals and businesses in the Roblox community who may be interested in your work.
Who Is The Creator Of Brawl Stars? When it comes to mobile gaming, Brawl Stars has captivated millions of players worldwide. The addictive gameplay, …
Read Article
How To Play Natalia Mobile Legends 2022? Are you a Mobile Legends player looking to dominate the game as Natalia? Natalia is a versatile assassin who …
Read Article
How To Get The Mario Items In Animal Crossing? Animal Crossing: New Horizons has teamed up with the iconic Super Mario franchise to bring players a …
Read Article
How To Get Prop Hunt On Call Of Duty Mobile? Call of Duty Mobile has become one of the most popular mobile games since its release, and players are …
Read Article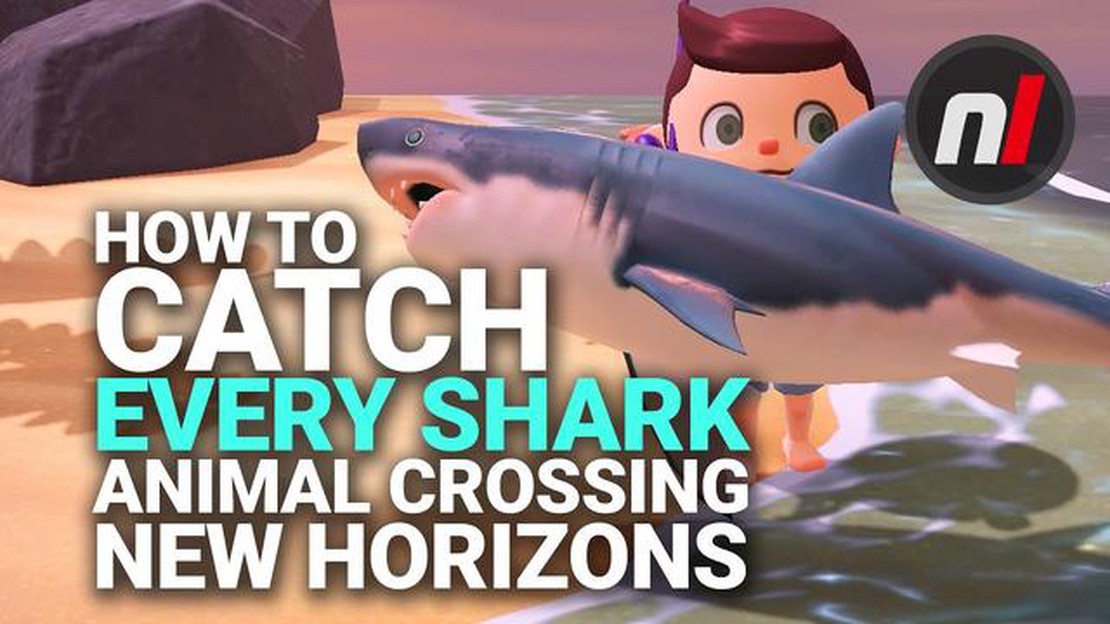
When To Catch Sharks Animal Crossing? Animal Crossing is a popular video game franchise that allows players to create and manage their own virtual …
Read Article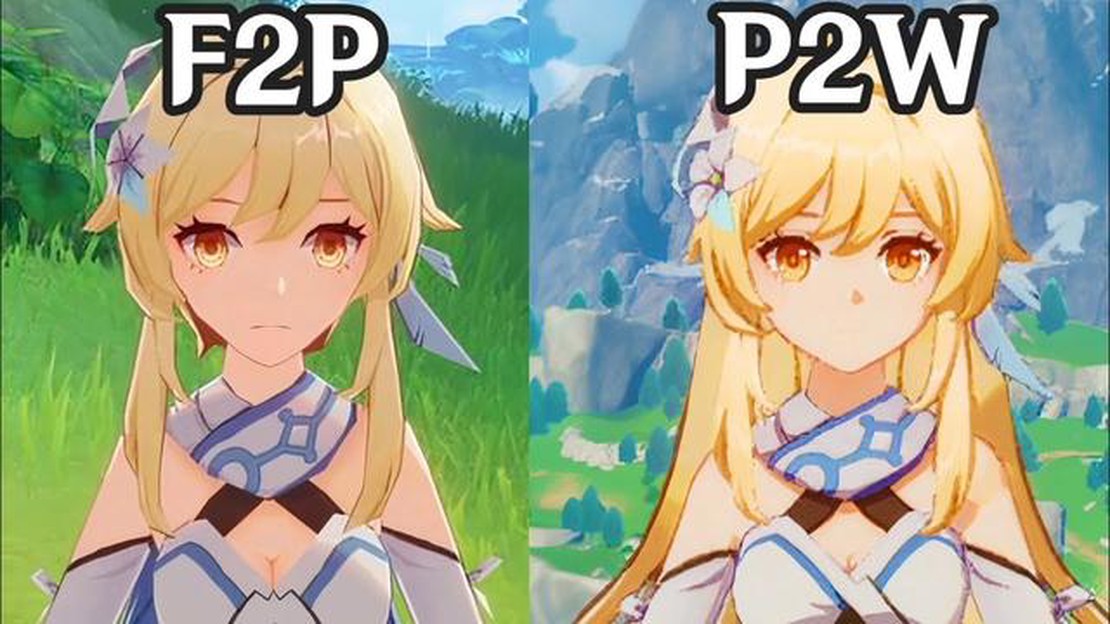
What Is F2p In Genshin Impact? Genshin Impact is a popular free-to-play open-world action role-playing game developed and published by miHoYo. In the …
Read Article


