


Discover What Do Sheep Eat in Minecraft and How to Feed Them
What Do Sheep Eat In Minecraft? One of the most iconic and recognizable creatures in Minecraft is the sheep. These fluffy animals are not just …
Read Article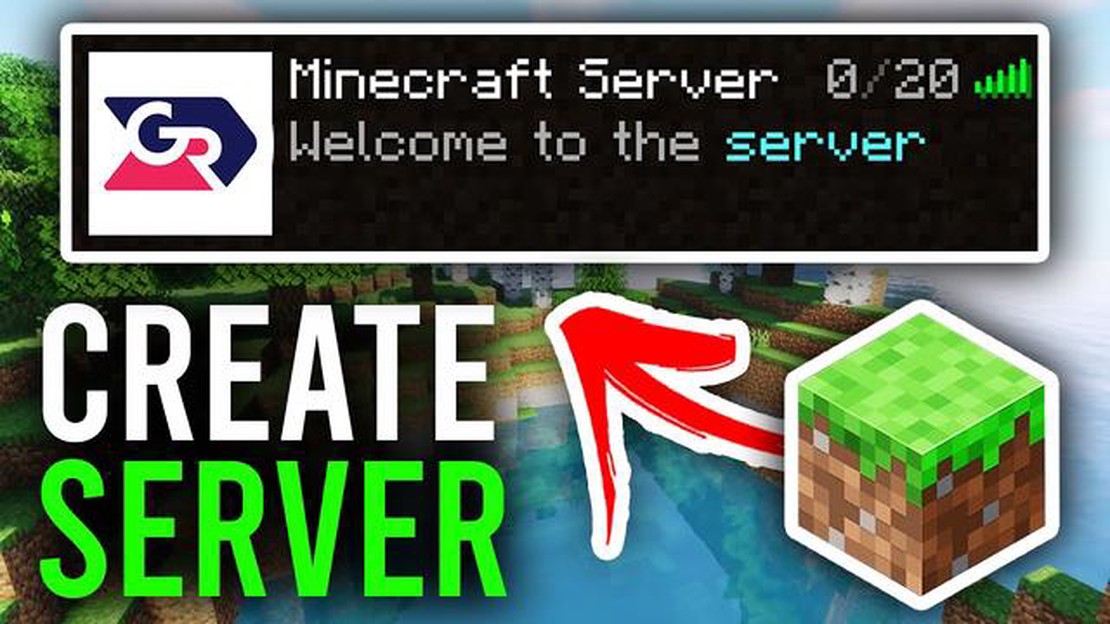
If you’re a fan of Minecraft and want to play with your friends or create your own multiplayer world, making your own server is a great option. By creating a server, you can have complete control over the rules, settings, and mods on your Minecraft experience. In this step-by-step guide, we’ll walk you through the process of setting up a Minecraft server so you can start playing with friends, or even create a community for other players to join.
Step 1: Install Java
Before setting up a Minecraft server, you’ll need to make sure you have Java installed on your computer. Minecraft is built on Java, so having the latest version is essential. Visit the official Java website and download the latest version of the Java Development Kit (JDK) for your operating system. Once downloaded, run the installer and follow the on-screen instructions to complete the installation.
Note: It’s important to have the most up-to-date version of Java to ensure compatibility with Minecraft.
Step 2: Download Minecraft Server
After installing Java, the next step is to download the Minecraft server software. Visit the official Minecraft website and navigate to the “Downloads” section. Here, you’ll find the latest version of the server software available for download. Make sure to choose the version that matches your computer’s operating system. Once downloaded, save the file to a location on your computer where you can easily access it.
Pro Tip: Create a dedicated folder on your computer to store the Minecraft server files.
Step 3: Set Up Server Properties
Before launching your Minecraft server, you’ll need to configure some server properties. Open the server file you downloaded and look for a file named “server.properties”. Open this file in a text editor and customize the settings to your preference. You can set the server name, set player limits, enable or disable certain features, and much more. Once you’ve made your changes, save the file and exit the text editor. Your server is now configured and ready to launch!
Now that you have your server set up, you can invite your friends to join or even open it up to the public. With complete control over settings, mods, and rules, you can create a unique Minecraft experience for you and your friends to enjoy. Happy crafting!
In order to create your own Minecraft server, you will need to install the Minecraft server software. This software will allow you to host your own server and allow other players to join and play on it.
Here are the steps to install the Minecraft server software:
Read Also: Step-by-Step Guide on How to Create a Gamepass on Roblox
Congratulations, you have successfully installed the Minecraft server software! Next, you can customize additional settings and permissions, and invite friends to join your server.
In order to run a Minecraft server, you will need to have Java installed on your computer. Java is a programming language and software platform that is used to run many applications, including Minecraft.
Here are the steps to download and install Java:
That’s it! You have now downloaded and installed Java on your computer. With Java installed, you will be able to run a Minecraft server.
In order to make a server in Minecraft, you will need to download and install the Minecraft server software. This software will allow you to host your own server and play with friends or other players.
Here are the steps to download and install Minecraft server software:
Read Also: Learn How To Create Gigantic Maps in Minecraft
After completing these steps, you will have successfully downloaded and installed the Minecraft server software on your computer. You can now proceed to configure and start your Minecraft server.
After successfully downloading and running the Minecraft server software, it’s time to configure the server settings to customize your gameplay experience.
Here are the steps to configure your Minecraft server settings:
By customizing the server settings, you can create a unique Minecraft server tailored to your preferences. Experiment with different settings to find the gameplay experience that suits you and your friends best!
Minecraft is a sandbox video game where players can create and build their own virtual worlds.
Creating a server in Minecraft allows players to play with friends or other players online, and offers a more customized and controlled gaming experience.
The system requirements for running a Minecraft server can vary depending on the number of players and the mods/plugins being used. Generally, a server would require a fairly powerful CPU, enough RAM to accommodate the players, and a fast internet connection.
Yes, there are. Some players prefer to use Minecraft hosting companies that offer pre-configured server setups and easy-to-use interfaces for managing the server. These hosting companies take care of the technical aspects of running a server, allowing players to focus more on the gameplay.
What Do Sheep Eat In Minecraft? One of the most iconic and recognizable creatures in Minecraft is the sheep. These fluffy animals are not just …
Read Article
What Does Being Carried Mean In Mobile Legends? In the world of Mobile Legends, one of the key concepts that players need to understand is carrying. …
Read Article
Why Is My Among Us Screen Black? If you are an avid player of the popular online game Among Us, you may have encountered the frustrating issue of your …
Read Article
How To Play Alpha Mobile Legends? Mobile Legends is a popular multiplayer online battle arena (MOBA) game that has gained a huge following. One of the …
Read Article
Warzone 2: Where to find the cartel and contraband packages Call Of Duty: Warzone 2 is back with an exciting new update that introduces the Cartel and …
Read Article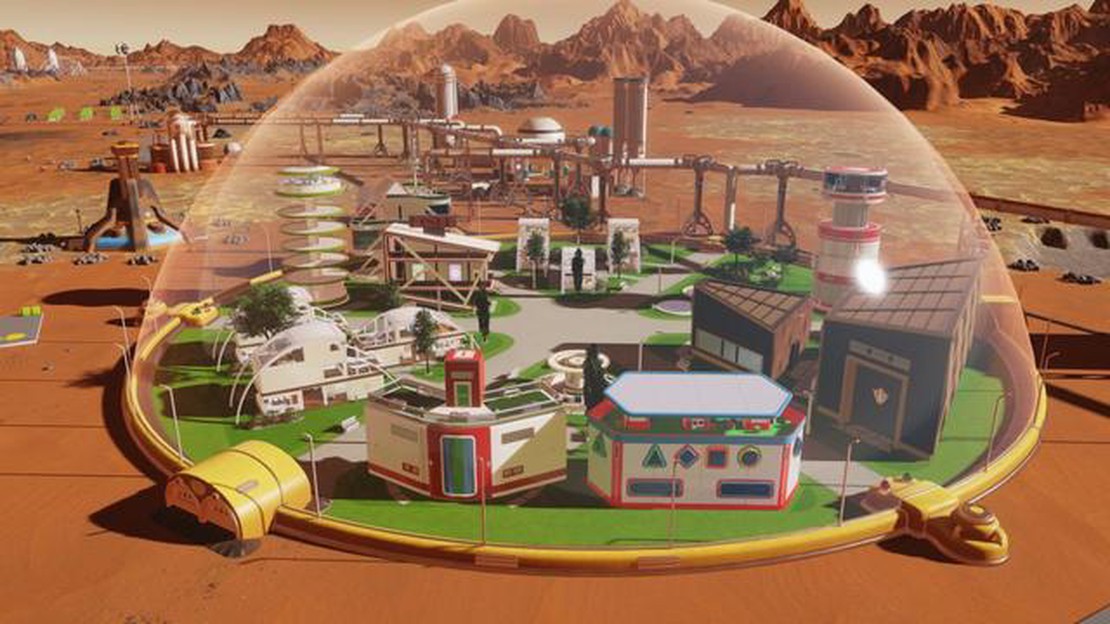
Surviving Mars review Surviving Mars is a captivating and challenging strategy game that takes players on a thrilling adventure to colonize and …
Read Article


