


Step-by-Step Guide on Using a Roblox Gift Card on iPhone
How To Use A Roblox Gift Card On Iphone? Roblox is a popular online gaming platform that allows users to create and play games created by other users. …
Read Article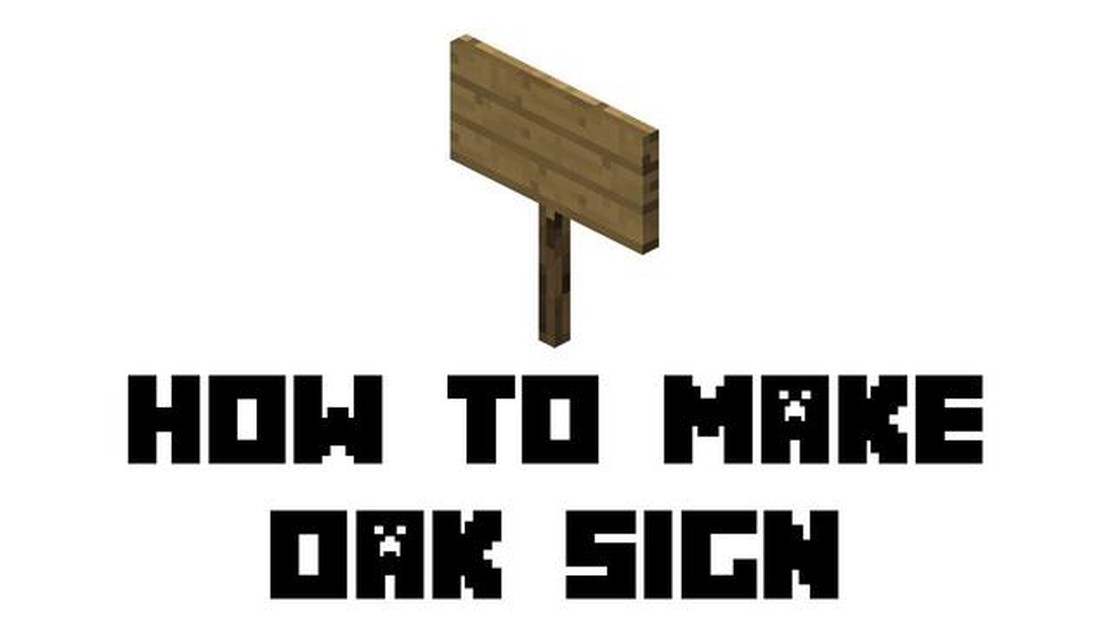
Creating signs in Minecraft is an essential skill that can be useful in many situations. Whether you want to label your chests, create instructions for players, or simply add decorative elements to your builds, signs are a versatile tool that every Minecraft player should know how to use. In this step-by-step guide, we will walk you through the process of making a sign in Minecraft.
Step 1: Gather the necessary materials. To make a sign, you will need six wooden planks of any type. These can be obtained by crafting them from logs using a crafting table. Alternatively, you can find wooden planks in chests, villages, or by trading with villagers.
Step 2: Open your crafting table. Right-click on the table to open the crafting interface. This will display a 3x3 grid where you can place your materials to craft different items.
Step 3: Place the wooden planks in the crafting grid. In the top row of the grid, place three wooden planks horizontally. Then, in the second row, place three wooden planks vertically. This will create a set of six wooden signs.
Step 4: Collect the signs. Once you have placed the wooden planks in the correct pattern, click on the output box in the bottom right corner of the crafting grid to collect your signs. You can now use them in your Minecraft world!
Step 5: Placing and editing signs. To place a sign, simply right-click on the block where you want it to be placed. A blank sign will appear, and you can edit the text by right-clicking on the sign again. A text box will appear, allowing you to type your desired message. You can use the arrow keys to navigate through the text box and the spacebar to go to the next line.
Step 6: Decorating your sign. To add decorative elements to your sign, you can use formatting codes. For example, typing “Hello” will make the word “Hello” appear in bold on the sign. You can also use codes to change the color of the text or add special characters. Experiment with different codes to create unique signs!
Read Also: Wild Hearts Review: Unleash Your Adventurous Spirit
With this step-by-step guide, you are now equipped with the knowledge to create and customize signs in Minecraft. Whether you want to create helpful signs for your players or add a personal touch to your builds, signs are a powerful tool that can enhance your Minecraft experience. So grab some wooden planks, open your crafting table, and start creating your own signs today!
In Minecraft, a sign is a useful tool that allows players to add text to their creations. Whether you want to provide directions to other players, leave a message, or label items, signs are a great way to communicate in the game. Here is a step-by-step guide on how to make a sign in Minecraft.
Now you know how to make a sign in Minecraft! Get creative and start using signs to enhance your gameplay experience.
In Minecraft, you can create and customize signs to label and decorate your world. Signs can be used to provide information, give directions, or simply add a personal touch to your structures. Follow these steps to learn how to make a sign in Minecraft.
You can use signs to create informative signs for your buildings, label chests and storage areas, or even create custom signs for decorative purposes. Get creative with your signs to add a personal touch to your Minecraft world!
A sign is a useful tool in Minecraft that allows players to add text to their worlds. Signs can be used to label locations, provide instructions, or display messages to other players. Here is a step-by-step guide on how to create a sign in Minecraft.
Read Also: What Is Call Of Duty? Exploring the Popular Video Game Franchise
And that’s it! You have successfully created and placed a sign in Minecraft. Enjoy using signs to communicate and enhance your Minecraft experience!
To make a sign in Minecraft, you will need six wooden planks and one stick. Wooden planks can be crafted by placing wooden logs in a crafting table, and sticks can be crafted by placing two wooden planks vertically in a crafting table.
To craft a sign in Minecraft, you need to open your crafting table and place six wooden planks in the top two rows of the grid. Leave the bottom row empty. Then, place a stick in the middle box of the middle row. Once you have placed all the required items in the correct pattern, the sign will appear in the result box on the right side of the crafting table.
Signs in Minecraft can be used for various purposes. They can be used to label chests, provide directions, or display messages for other players. Signs are also commonly used in creative mode to create decorative structures or to add details to buildings.
To place a sign in Minecraft, hold the sign in your hand and right-click on the block where you want to place it. Once the sign is placed, you can edit the text by right-clicking on the sign again. A text editor will appear, allowing you to type up to four lines of text. To save your changes, press the done button on the right side of the text editor.
No, currently in Minecraft, you cannot change the color of the text on a sign. The text will always be white. However, you can use different types of wood for the sign itself, which will change the color and texture of the sign’s background.
How To Use A Roblox Gift Card On Iphone? Roblox is a popular online gaming platform that allows users to create and play games created by other users. …
Read Article
How To Get Good Cards On Clash Royale? Are you tired of losing battles on Clash Royale because your opponents have better cards? Do you want to know …
Read Article
How To Get On Clash Royale Tv? Becoming a famous Clash Royale player is the dream of many enthusiasts. The game has gained massive popularity since …
Read Article
Here’s how to claim your $30 Nvidia GeForce GTX 970 settlement If you owned an Nvidia GeForce GTX 970 graphics card between September 2014 and August …
Read Article
How to Open Replay Files Fortnite Fortnite is a popular battle royale game that allows players to record and save their gameplay as replay files. …
Read Article
Best CPU coolers in 2023 Keeping your processor cool is essential for optimal performance and longevity. As technology advances, CPUs are becoming …
Read Article


