

Step-by-Step Guide on Altering Armor in Elden Ring
How to alter armor in Elden Ring Elden Ring is an upcoming action role-playing game developed by FromSoftware and published by Bandai Namco …
Read Article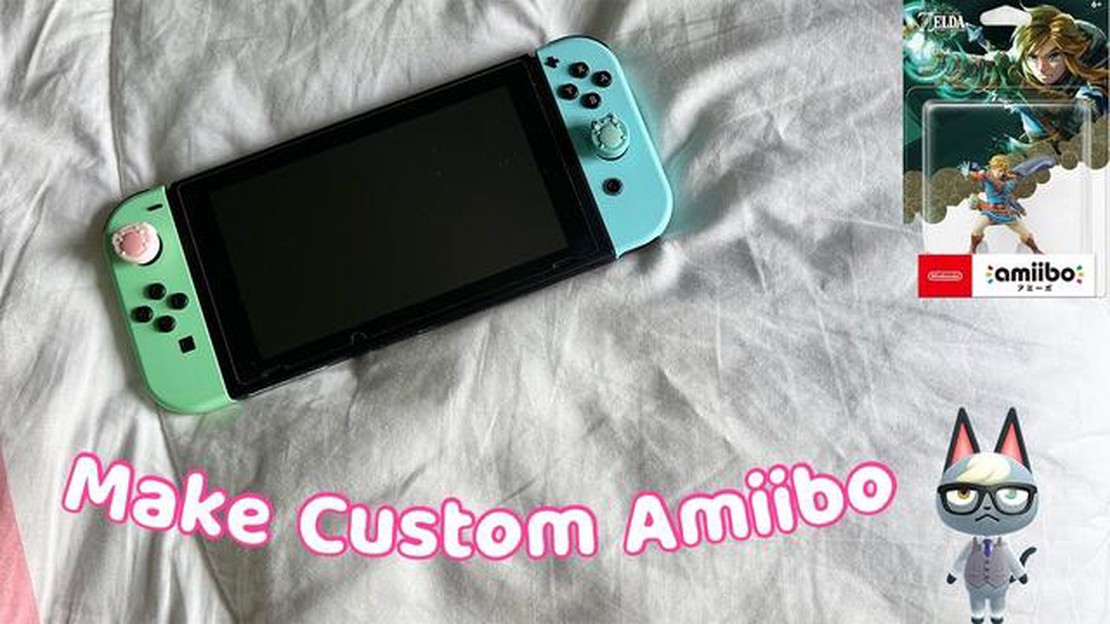
Animal Crossing New Horizons has taken the gaming world by storm with its charming gameplay and adorable characters. One of the key features of the game is the ability to invite special villagers to your island using amiibo cards. While there are official amiibo cards available for purchase, many players want to have their own custom designs. In this step-by-step guide, we will show you how to create your very own custom amiibo cards for Animal Crossing New Horizons.
First, gather the necessary materials. You will need NFC stickers or cards, which can be purchased online. These stickers contain a special chip that mimics the technology used in official amiibo cards. You will also need a computer with internet access, as well as a printer and some blank cards or cardstock.
Next, download and install the necessary software. There are various programs available that allow you to write data to the NFC stickers. One popular option is the TagMo app, which is available for Android devices. Another option is the N2 Elite app, which is available for iOS devices. However, it is important to note that both of these apps may require rooting or jailbreaking your device, so proceed with caution.
Once you have the software installed, you will need to find the images you want to use for your custom amiibo cards. There are plenty of websites and forums where you can find fan-made designs, or you can create your own using image editing software. Make sure the images are the correct size and format for the stickers or cards you are using.
After you have the images ready, open the TagMo or N2 Elite app and follow the on-screen instructions to write the data to the NFC stickers. This will include the character’s data, such as their name, personality, and special items. You can also customize the card’s design by adding borders or backgrounds. Once the data has been written, test the sticker or card to make sure it works with your game.
With your custom amiibo cards complete, you can now invite all your favorite characters to your island in Animal Crossing New Horizons. Show off your creativity and enjoy all the possibilities that custom amiibo cards bring to the game!
Remember to always respect other players’ games and follow any rules set by the Animal Crossing community. Custom amiibo cards are a fun way to personalize your gaming experience, but be sure to use them responsibly and ethically.
If you’re a fan of Animal Crossing New Horizons, you may be familiar with Amiibo cards. These cards allow you to invite villagers to your island, give you special items, and unlock more features in the game. While there are official Amiibo cards available for purchase, you can also create your own custom cards. Here’s a step-by-step guide on how to do it:
Read Also: How to Make Friends on Coin Master: A Step-by-Step Guide
Creating custom Amiibo cards for Animal Crossing New Horizons can be a fun and creative way to enhance your gaming experience. With this step-by-step guide, you’ll be able to create your own unique cards and bring your favorite villagers to your island. Have fun!
Before you can start creating your custom Amiibo cards for Animal Crossing: New Horizons, you will need to gather the following materials:
1. NFC Tag: This is the most important component of your custom Amiibo card. It is a small electronic device that stores the data necessary to emulate an Amiibo. You can purchase NFC tags online or in electronics stores.
2. Cardstock paper: You will need a sturdy paper to print the design of your custom Amiibo card on. Cardstock paper is a good option as it is thick and durable.
Read Also: How Many Active Players Does Brawl Stars Have in 2022?
3. Printer: A printer is required to print the design of your custom Amiibo card onto the cardstock paper. Make sure you have a working printer and enough ink before you start.
4. Scissors or craft knife: You will need scissors or a craft knife to cut out the printed design of your custom Amiibo card.
5. Glue or double-sided tape: You will need glue or double-sided tape to attach the NFC tag to the back of your custom Amiibo card.
6. Optional: Laminator and laminating pouches: If you want your custom Amiibo cards to be more durable, you can use a laminator and laminating pouches to seal and protect them.
Make sure you have all the necessary materials before you proceed to the next step.
Before you can start creating your custom Amiibo cards for Animal Crossing New Horizons, you need to prepare your design. Here are the steps to follow:
Once you have prepared your design, you’re ready to move on to the next step of the process: encoding the NFC card with the Amiibo data.
Once you have downloaded and prepared your custom Amiibo card designs, it’s time to print and assemble them. Here is a step-by-step guide on how to do it:
By following these steps, you will successfully print and assemble your custom Amiibo cards for Animal Crossing: New Horizons. Remember to take care when handling the cards to avoid damaging the designs or the NFC functionality.
Amiibo cards are collectible trading cards that are used to unlock special characters, items, or features in certain Nintendo games. They contain a small NFC (near-field communication) chip that can be scanned by the game console or controller to activate the corresponding content.
Yes, you can create your own Amiibo cards using a few simple steps. There are various methods available, but one popular method involves using an NFC writer to transfer the data from an existing Amiibo figure onto a blank NFC card. This allows you to essentially “clone” the Amiibo and create a custom card with the same functionality.
To create custom Amiibo cards, you will need: blank NFC cards, an NFC writer, an Android phone or tablet with NFC capability, and the TagMo app or a similar app for writing Amiibo data onto the cards.
Yes, you can create custom Amiibo cards for Animal Crossing New Horizons. By cloning the data from an existing Animal Crossing Amiibo figure onto a blank NFC card, you can create a custom card that will work with the game and unlock special characters or items.
To clone an existing Amiibo figure onto a blank NFC card, you will need to install the TagMo app on your Android device. Then, you can open the app, select the “Load Tag” option, and scan the Amiibo figure using your device’s NFC reader. Once the data has been loaded, you can write it onto a blank NFC card using the “Write Tag” option in the app.
There are a few risks involved in creating custom Amiibo cards. Firstly, it is important to note that creating and using custom Amiibo cards is not officially supported by Nintendo, and it may be considered a violation of their terms of service. Additionally, there is a risk of damaging or bricking your NFC writer or Amiibo figures if you are not careful during the cloning process.
Selling or trading custom Amiibo cards is a tricky legal gray area. While it may be technically possible to sell or trade custom cards, it is important to note that it is not officially supported by Nintendo and may be considered a violation of their terms of service. Additionally, there is a risk of counterfeit or illegal cards being sold on the market, so it is recommended to exercise caution if you choose to buy or sell custom Amiibo cards.
How to alter armor in Elden Ring Elden Ring is an upcoming action role-playing game developed by FromSoftware and published by Bandai Namco …
Read Article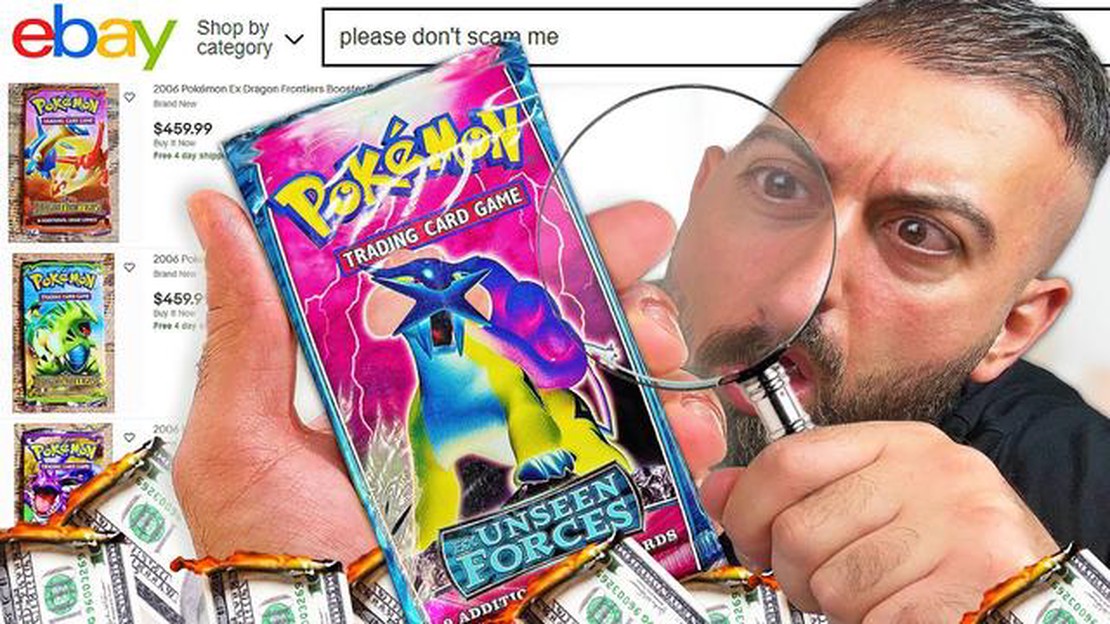
Why Are People Buying Pokemon Cards? There has been a resurgence in popularity surrounding Pokemon cards in recent years, and collectors and …
Read Article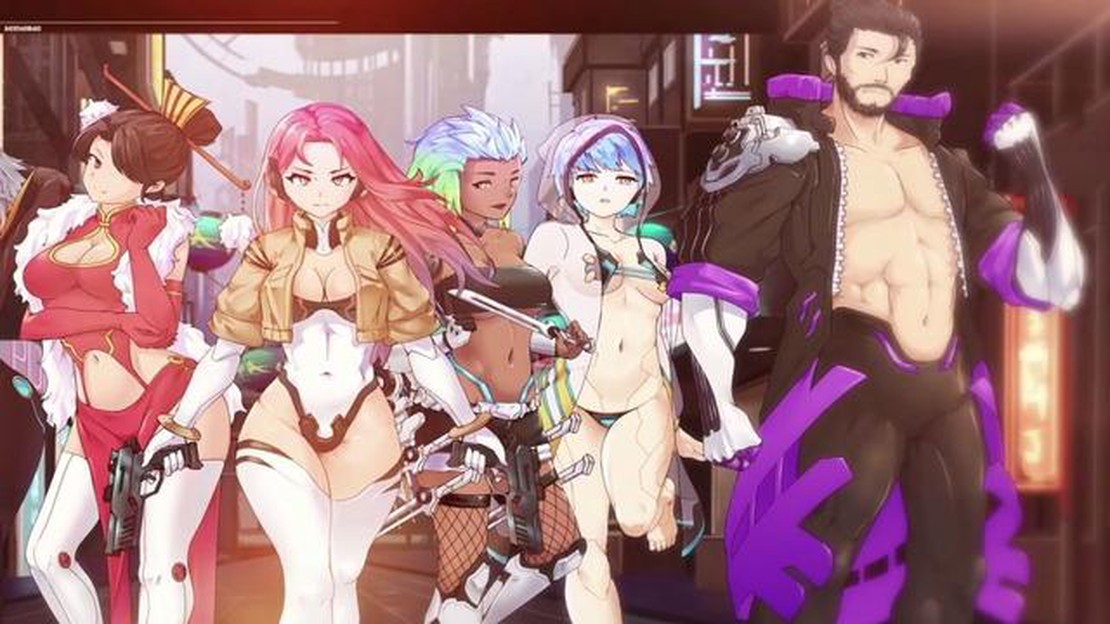
I’m glad I looked past the name because Memoirs of a Battle Brothel is exactly what I want in an RPG Immerse yourself in a world full of peril and …
Read Article
How To Add Friends On Animal Crossing New Horizons? Animal Crossing: New Horizons has taken the gaming community by storm, offering players the chance …
Read Article
What Is A Nudge In Clash Royale? Clash Royale is an immensely popular mobile game that has taken the gaming world by storm. With its unique blend of …
Read Article
How To Get Your Hacked Roblox Account Back Without Email? Roblox is a popular online gaming platform that allows users to create and play games …
Read Article


