

Get the Best Tips on How to Buy an Auto Shop in GTA Online
How to buy an Auto Shop in GTA Online Looking to expand your criminal empire in GTA Online? One lucrative option is to buy an auto shop, where you can …
Read Article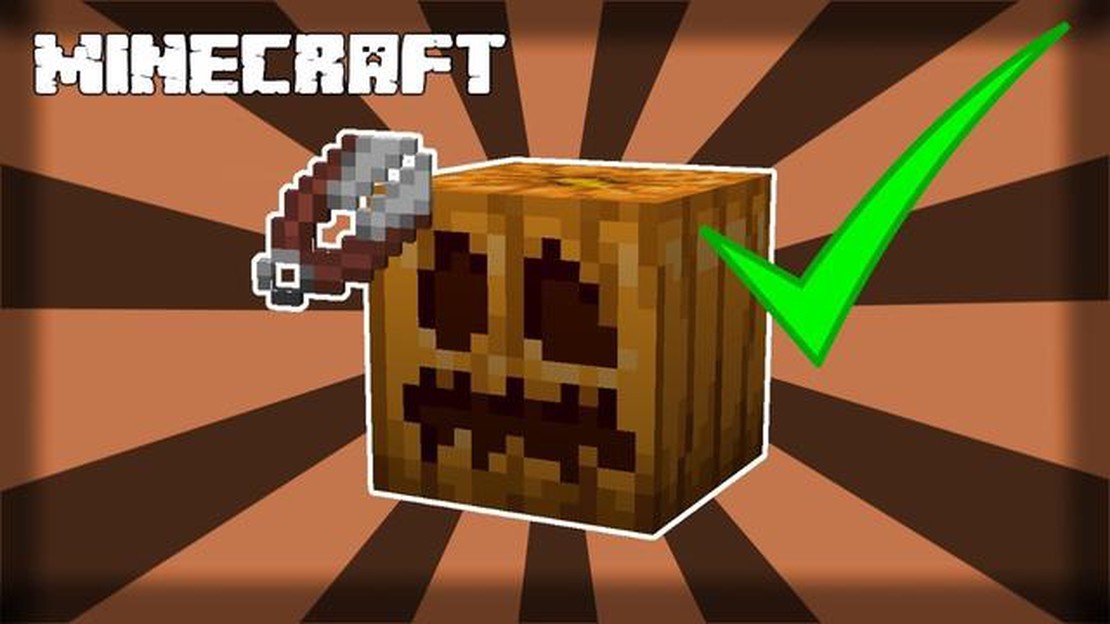
Are you a fan of Minecraft? Do you want to add a touch of the game to your Halloween decorations? Then why not create your very own carved pumpkin Minecraft? This step-by-step guide will show you how to transform an ordinary pumpkin into a pixelated masterpiece that will impress your friends and neighbors.
Step 1: Gather Your Materials
Before you begin, make sure you have all the necessary materials. You will need a medium-sized pumpkin, a sharp knife, a spoon or scoop, a pencil, and a printout of a Minecraft face template. You can find various templates online or create your own custom design.
Step 2: Prepare the Pumpkin
Start by cleaning the pumpkin thoroughly. Remove any dirt, debris, or blemishes from the surface. Then, carefully cut off the top of the pumpkin with a knife. This will serve as the lid, so be sure to angle the cut to create a secure fit.
Step 3: Scoop Out the Inside
Next, use a spoon or scoop to remove all the seeds and pulp from the inside of the pumpkin. Make sure you thoroughly clean out the cavity, as any remaining seeds or pulp can cause the pumpkin to rot faster. Save the seeds if you’d like to roast them later!
Step 4: Transfer the Design
Take your pencil and lightly trace the Minecraft face template onto the pumpkin. If you’re using a printed template, you may need to cut it out and tape it onto the pumpkin to ensure an accurate transfer. Once you have the design traced, remove the paper template.
Step 5: Carve the Design
Using the traced lines as a guide, carefully carve out the Minecraft face with a sharp knife. Take your time and work slowly, making sure to follow the lines as closely as possible. Remember to carve away from yourself to avoid any accidents.
Step 6: Display Your Carved Pumpkin
Once you have finished carving, place a candle or a battery-powered light inside the pumpkin to bring your creation to life. Secure the lid back on top of the pumpkin, making sure it fits snugly. Now, find the perfect spot to display your carved pumpkin Minecraft, and enjoy the reactions of your friends and trick-or-treaters!
Remember, precision and patience are key when carving a Minecraft-inspired pumpkin. Take your time and carve carefully to achieve the best results. And most importantly, have fun with the process!
Read Also: Where Is Camp Cod In Fortnite? | Location Guide
To make a carved pumpkin in Minecraft, you will need the following materials:
Once you have gathered the necessary materials, follow these steps:
And that’s it! You now know how to make a carved pumpkin in Minecraft. Have fun decorating your world!
Before you can start making a carved pumpkin in Minecraft, you’ll need to gather the necessary materials. Here’s what you’ll need:
Read Also: Fortnite's New Jonesy Skin Channels Sad Thor's Fashion in Latest Update
Once you have gathered all of these materials, you’re ready to start carving your pumpkin in Minecraft!
Before you can start carving your Minecraft themed pumpkin, you’ll need to clean and prepare it properly. Follow these steps to ensure your pumpkin is ready for carving:
Once you have completed these steps, you are ready to start carving your Minecraft themed pumpkin!
Carving the pumpkin is a fun and creative part of making a Carved Pumpkin Minecraft. Follow these steps to carve your pumpkin:
Now that you have successfully carved your pumpkin, you can proudly display it as a Carved Pumpkin Minecraft or use it as a festive decoration for Halloween!
To make a carved pumpkin Minecraft, you will need a pumpkin, a knife or pumpkin carving tools, a spoon, a template or design, and a tea light or LED candle.
It is best to use a medium-sized pumpkin with a flat bottom for stability. Make sure the pumpkin is ripe and firm.
First, cut off the top of the pumpkin and scoop out the insides with a spoon. Then, transfer your template or design onto the pumpkin. Use a knife or pumpkin carving tools to carefully cut along the lines of the design. Finally, place a tea light or LED candle inside the pumpkin and put the top back on.
You can find templates and designs online, specifically for Minecraft-themed pumpkins. There are many websites and resources that provide free printable templates.
Carved pumpkins tend to last around 5-10 days, depending on the conditions. To help prolong its life, keep it in a cool and dry place, away from direct sunlight.
You can save the pumpkin seeds to roast them for a tasty snack. The pumpkin flesh can be used to make pumpkin puree for pies, soups, or other recipes.
Yes, you can use an artificial pumpkin made of foam or plastic if you prefer. These pumpkins are often reusable and can be easier to carve than real ones. Just make sure to use the appropriate tools for the material.
How to buy an Auto Shop in GTA Online Looking to expand your criminal empire in GTA Online? One lucrative option is to buy an auto shop, where you can …
Read Article
How To Play Toca Boca Online? Toca Boca is a popular children’s app that offers a variety of interactive games and activities for kids. While the app …
Read Article
How to find copper in Valheim Valheim, the popular open-world survival game, introduces players to a vast and treacherous landscape filled with …
Read Article
How To Make A Glass Bottle In Minecraft? Are you a Minecraft enthusiast looking to expand your crafting skills? One essential item you’ll need is a …
Read Article
How To Get Chest Clash Royale? If you’re a fan of Clash Royale and you want to level up and collect stronger cards, then you’ll need to get your hands …
Read Article
How To Get Togepi In Pokemon Sword? If you’re playing Pokemon Sword and looking for the adorable Fairy-type Pokemon Togepi, you’ve come to the right …
Read Article


