

Step into the Dark and Darker Early Access: A Surprising PvP Dungeon Crawler Experience
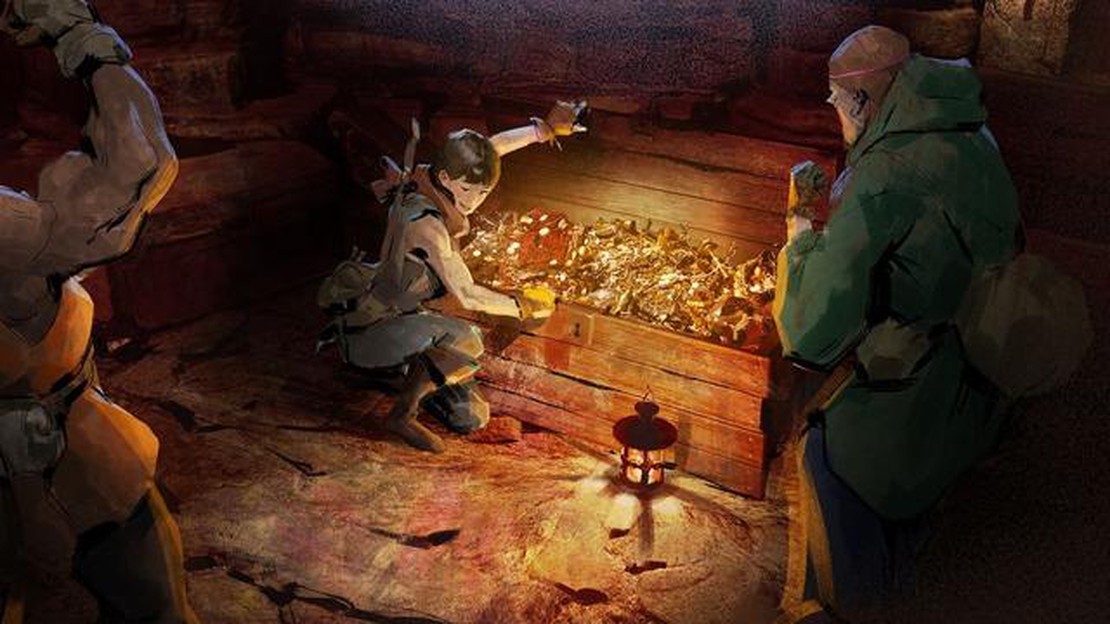
Surprise! PvP dungeon crawler Dark and Darker is out in early access now Are you prepared to delve into the shadows and face the unknown? Dark and …
Read Article
Are you tired of the plain, generic banners in Minecraft? Do you want to add a personal touch to your builds and show off your creativity? Look no further! In this step-by-step guide, we will show you how to create custom banners in Minecraft.
Banners are a great way to customize your Minecraft world and add some flair to your structures. Whether you want to create a unique flag for your kingdom, decorate your house with your favorite patterns, or proudly display your guild emblem, custom banners are the perfect solution.
Creating custom banners is a fun and easy process. All you need is a crafting table, a few simple materials, and a bit of imagination. We will walk you through each step, from gathering the necessary materials to designing and crafting your very own custom banner.
So, if you’re ready to take your Minecraft builds to the next level and showcase your personal style, let’s dive into this step-by-step guide on how to make custom banners in Minecraft!
When it comes to creating custom banners in Minecraft, one of the most important steps is choosing the design. The design you choose will determine how your banner looks and what patterns or images it includes. Here are a few tips to help you choose the perfect design for your banner:
Read Also: How To Restart A Pokemon Game: Step-by-Step Guide
Choosing the design for your custom banner is an important step in the process. Take your time, consider your options, and have fun creating a design that reflects your creativity and style.
To create a custom banner in Minecraft, you will need to gather the required materials and follow these step-by-step instructions:
Note: It’s important to remember that the design or pattern on the banner will depend on the combination of patterns and colors you choose. Be creative and try different combinations to achieve the desired result!
Now that you know how to create a custom banner in Minecraft, go ahead and unleash your creativity by designing unique banners to decorate your world!
Read Also: Exploring the Excitement of Multiplayer Battle in Clash of Clans
Banners in Minecraft are decorative blocks that can be placed on walls, floors, or fences. They are often used to customize and enhance the aesthetics of a player’s base or building.
To make a custom banner in Minecraft, you will need a banner, dyes, and a crafting table. First, place the banner in the center slot of the crafting table. Then, add the desired dye(s) to the remaining slots to create the custom design. Once you have placed the dyes, the custom banner will appear in the result slot.
No, you cannot directly use images or pictures on custom banners in Minecraft. Banners in Minecraft are limited to a grid of 6 by 11 pixels, so it is not possible to recreate detailed images. However, you can use different dyes and patterns to create unique designs and patterns.
Yes, custom banners in Minecraft are primarily used for decorative purposes. While they do not have any functional abilities, they can add personality and style to a player’s base or building. Custom banners are also commonly used to represent different groups or teams in multiplayer servers.
Surprise! PvP dungeon crawler Dark and Darker is out in early access now Are you prepared to delve into the shadows and face the unknown? Dark and …
Read Article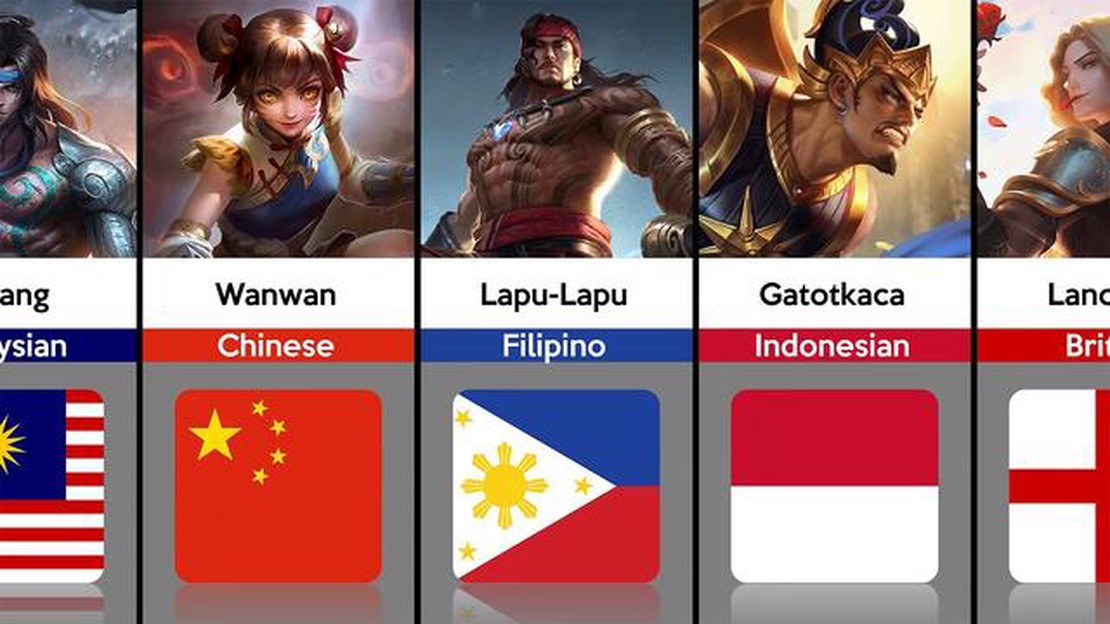
How Many Heroes Are In Mobile Legends? In the world of mobile gaming, Mobile Legends has become one of the most popular choices for gamers. With its …
Read Article
How Do U Get More Attacks In Coin Master? Are you tired of losing in Coin Master? Do you want to dominate your opponents and become the ultimate coin …
Read Article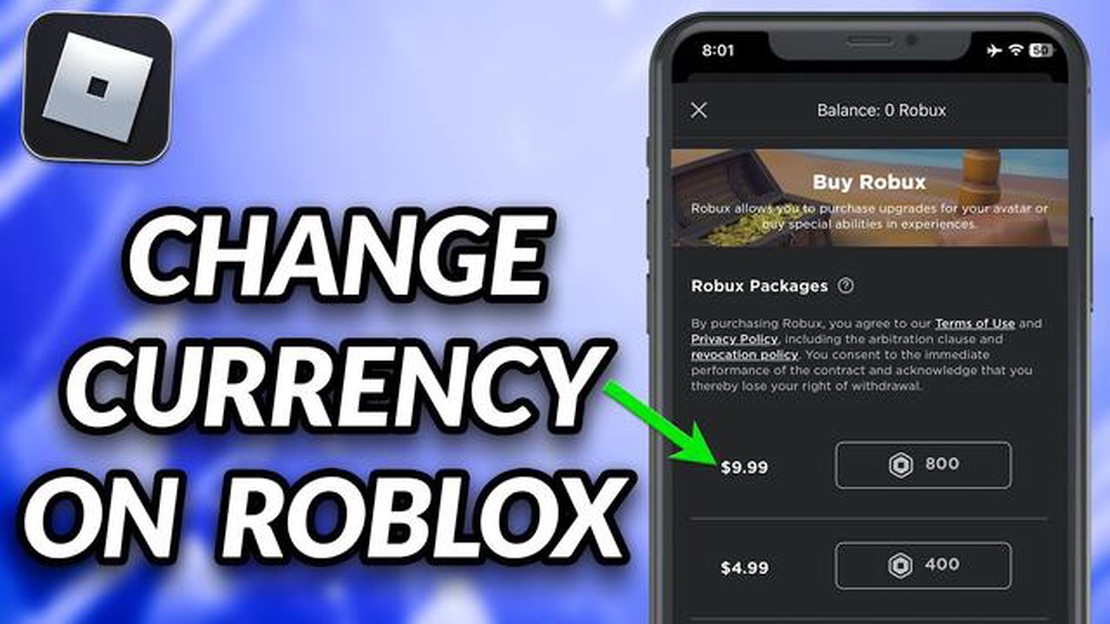
What Is The Virtual Currency In Roblox? Roblox has taken the gaming world by storm, offering players a unique and immersive experience in a virtual …
Read Article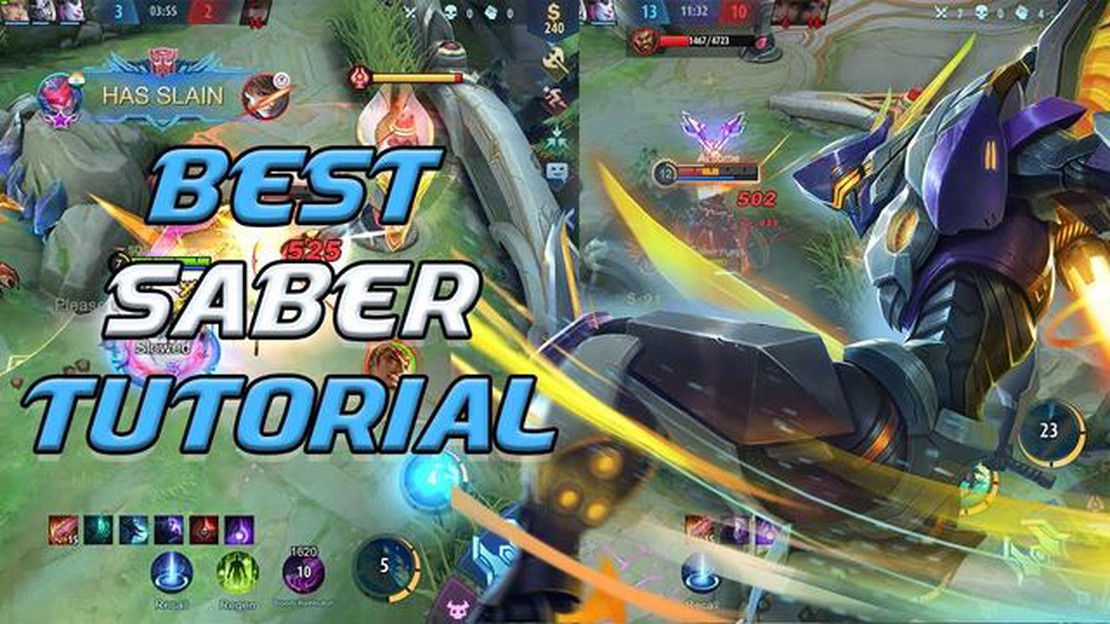
How To Play Saber Mobile Legends? If you’re a fan of Mobile Legends and want to dominate the battlefield with the swift and deadly Saber, we’ve got …
Read Article
PC graphics options explained When it comes to PC graphics options, there is a wide range of choices available for gamers and computer enthusiasts. …
Read Article


