


How To Get Candies In Pokemon Go? | Tips and Tricks
How To Get Candies In Pokemon Go? One of the key mechanics in Pokémon Go is collecting candies. Candies are essential for evolving and powering up …
Read Article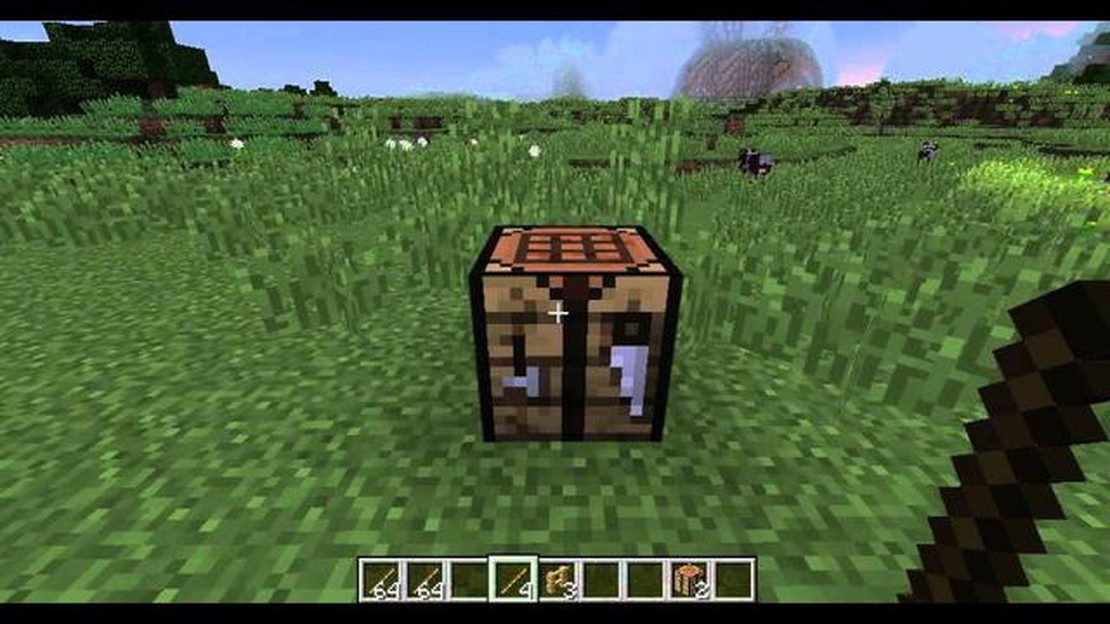
If you’ve been playing Minecraft for some time, you know how important it is to protect your territories and keep out unwanted visitors. One of the best ways to achieve this is by building a fence. Not only does it provide security, but it also adds a touch of style to your Minecraft world. In this step-by-step guide, we will walk you through the process of building a fence in Minecraft.
Step 1: Gather the necessary materials
To build a fence, you will need the following materials:
Step 2: Craft the wooden planks
In order to build a fence, you first need to craft the wooden planks. To do this, follow these steps:
Step 3: Craft the fence
Now that you have the wooden planks, it’s time to craft the fence. Follow these steps:
Step 4: Place the fence
With the fence in your inventory, you can now place it in your Minecraft world. To do this, follow these steps:
That’s it! You have successfully built a fence in Minecraft. Now you can enjoy the added security and decorative touch it brings to your world. Experiment with different types of wooden planks to create unique fence designs that suit your style. Happy building!
In Minecraft, fences are an essential part of constructing buildings and securing areas. They can be used to keep animals and mobs out, create boundaries, and add decorative elements to your structures. Building a fence in Minecraft is a relatively straightforward process, and this step-by-step guide will show you how to do it.
Requirements:
Step 1: Gather Materials
Before you can build a fence, you need to gather the necessary materials. You will need either wooden planks or logs and sticks. Wooden planks are a common choice for building fences due to their availability and versatility.
Step 2: Craft Fence
To craft a fence, open your crafting table and arrange the materials as follows:
| Stick | Wooden plank | Stick |
| Stick | Wooden plank | Stick |
| Stick |
You will receive three fence blocks for each crafting attempt.
Step 3: Place the Fence
Once you have crafted the fence blocks, you can place them in the game world. To do so, select the fence blocks from your inventory and right-click on the desired location. Fences can be placed in a straight line, curved, or as a closed shape to form enclosures.
Read Also: Pokemon Go How To Get Sinnoh Stone? Tips and Tricks
Step 4: Connect Fences
If you want to connect multiple fence blocks, simply place them side by side. They will automatically connect and form a continuous fence. You can create corners and turns by placing the fence blocks at the appropriate angles.
Step 5: Customize with Gates
If you want to create an entrance or exit in your fence, you can add a gate. To craft a gate, open your crafting table and arrange the materials as follows:
| Stick | Stick | Stick |
| Wooden plank | Wooden plank | |
| Wooden plank | Wooden plank |
You will receive one gate block for each crafting attempt. Place the gate block in your fence to create an entrance or exit.
Read Also: How to Achieve Glorious Legend Rank in Mobile Legends - A Comprehensive Guide
Step 6: Enjoy Your Fence!
Once you have built your fence, you can enjoy the benefits it provides. Fences can help protect your builds, keep mobs out, and add a decorative touch to your Minecraft world.
Building fences in Minecraft is a fun and useful skill to have. With a little creativity, you can create unique and functional structures to enhance your gameplay experience. So grab your materials and start building!
Before you can start building a fence in Minecraft, you will need to gather the necessary materials. Here is a list of items you will need:
Once you have gathered all of these materials, you are ready to move on to the next step and start building your fence.
Once you have gathered all the necessary materials, the next step is to choose a suitable location for your fence in Minecraft. Consider the following factors:
Once you have selected a location that meets all these criteria, you can move on to the next step in building your fence in Minecraft.
Once you have planned out the layout of your fence, it’s time to start laying the foundation. This step is crucial as it will provide the base for your fence and ensure its stability.
Here are the steps to follow:
Once you have completed the foundation, you are ready to move on to the next step of building your fence in Minecraft.
Once you have crafted your fence, it’s time to place it in your Minecraft world. Follow these steps to place the fence:
It’s important to note that fences can only be placed on solid blocks, so make sure you have a suitable surface to place them on. Additionally, you cannot place a fence directly next to another fence or wall.
Now that you know how to place the fence, you can start building various structures and enclosures in your Minecraft world. Fences are not only useful for keeping animals in or out, but they can also be used for decorative purposes or as a barrier for your farms or gardens.
To build a fence in Minecraft, you will need six wooden planks and two wooden sticks. You can use any type of wooden planks, such as oak, spruce, birch, jungle, acacia, or dark oak.
No, you do not need any tools to build a fence in Minecraft. Simply collect the necessary materials and craft the fence using the crafting table or your inventory crafting grid.
No, currently in Minecraft, wood is the only material that can be used to build a fence. However, you can dye the fence to change its color, if desired.
To place a fence in Minecraft, select it in your hotbar and right-click on the block where you want to place it. Make sure there is enough space for the fence to be placed properly.
Yes, you can connect fences together to create a longer fence. Simply place the fences next to each other, and they will automatically connect. This allows you to build fences of any length.
How To Get Candies In Pokemon Go? One of the key mechanics in Pokémon Go is collecting candies. Candies are essential for evolving and powering up …
Read Article
How To Update Among Us Bluestacks? Among Us has quickly become one of the most popular multiplayer games, challenging players to work together and …
Read Article
Cyberpunk 2077 respec: What you need to know Released in 2020, Cyberpunk 2077 quickly became one of the most highly anticipated and talked-about video …
Read Article
How To Hack Someone In Roblox? Roblox is a massively popular online gaming platform where players can create, share, and play games created by other …
Read Article
How To Show Hitboxes In Minecraft? Minecraft is a popular sandbox game that allows players to build, explore, and survive in a blocky, …
Read Article
How To Get The Spider Man Mythic In Fortnite? Fortnite has introduced a collaboration with Marvel, bringing the iconic character Spider-Man into the …
Read Article


