

Sword of Laziness: Unleash the Power in Genshin Impact
Sword of Laziness Genshin Impact Are you tired of tirelessly battling enemies in the world of Genshin Impact? Do you wish for a weapon that can …
Read Article
If you’re a fan of the popular video game Minecraft, you may have wondered how to create your own server to play with friends or other players around the world. Having your own Minecraft server allows you to customize your gaming experience, control who joins your world, and even create and share your own mods or plugins. In this step-by-step guide, we will walk you through the process of setting up your very own Minecraft server.
Before we begin, it’s important to note that setting up a Minecraft server requires some technical know-how and a basic understanding of networking concepts. However, don’t be discouraged if you’re not a tech expert – with the right instructions and a bit of patience, anyone can create their own server.
The first step in creating a Minecraft server is to choose a hosting platform. There are several hosting providers available, each with their own features and pricing plans. It’s important to find a hosting provider that meets your specific needs, such as the number of players you expect to have on your server or the amount of resources you require. Once you’ve chosen a hosting provider, you can proceed to sign up for an account and choose a plan that suits your needs.
After selecting a hosting provider, you will usually be given access to a control panel or dashboard where you can manage your server. This control panel will allow you to configure various settings for your server, such as the version of Minecraft you want to run, the maximum number of players, and any additional mods or plugins you want to install. Take some time to explore the control panel and familiarize yourself with its features.
Once you’ve set up your server and configured the necessary settings, you can start inviting your friends or other players to join. Make sure to provide them with the IP address and port number of your server so they can connect. You can also customize your server by adding mods or plugins to enhance gameplay or add new features. There are countless resources available online with instructions and tutorials on how to install and configure mods and plugins.
In conclusion, creating your own Minecraft server is a fun and rewarding experience that allows you to take control of your gaming environment. Whether you want to play with friends or create a community of players, following this step-by-step guide will help you successfully set up your very own Minecraft server.
Welcome to the step-by-step guide on how to make your own Minecraft server! Whether you want to play with your friends or create a multiplayer community, setting up your own server is a great way to enjoy the game with others.
Before you begin:
Step 1: Download the Minecraft Server Software
Step 2: Configure the Server
Step 3: Customize the Server Settings
Step 4: Port Forwarding (optional)
If you want to allow players from outside your local network to connect to your server, you’ll need to set up port forwarding on your router. This step depends on your router model and will require you to access your router’s configuration settings.
Step 5: Start the Server
Step 6: Invite Players to Join
Share the IP address of your server with the players you want to invite. They can enter this IP address in the Minecraft multiplayer menu to join your server.
Step 7: Manage and Administer the Server
As the server owner, you have the ability to manage and administer your server. You can set rules, kick or ban players, and install plugins or mods to enhance gameplay.
Congratulations! You have successfully set up your own Minecraft server. Have fun playing and creating with friends!
Read Also: Best Ways to Download Clash of Clans Hack without Survey
Setting up your own Minecraft server is a fun and rewarding project that allows you to play with your friends or create a community of players. Follow this step-by-step guide to get your Minecraft server up and running.
Before setting up your Minecraft server, make sure your computer meets the minimum system requirements. These requirements include a decent processor, enough RAM, and a stable internet connection.
Head to the official Minecraft website and download the server software. Make sure to select the correct version that matches your game client.
Create a new folder on your computer where you want to store all the files related to your Minecraft server. Give it a descriptive name like “Minecraft Server” for easy identification.
Minecraft server software requires Java to run. If you don’t already have Java installed on your computer, download and install the latest version from the official Java website.
Open the downloaded Minecraft server software file and it will generate some initial server files. Open the server.properties file using a text editor and customize the settings to your liking. You can change the server name, game mode, difficulty, and more.
Read Also: 10 Tips to Improve Your Brawl Stars Skills in 2022 - Ultimate Guide
Open the command prompt or terminal on your computer and navigate to the folder where you saved the Minecraft server files. Use the command “java -Xmx1024M -Xms1024M -jar {server-file-name}.jar nogui” to start the server.
If you want others to connect to your Minecraft server over the internet, you’ll need to set up port forwarding on your router. Refer to your router’s manual or contact your internet service provider for instructions on how to do this.
Once your Minecraft server is up and running, share the server address and port with your friends or community members so they can join your server. You can find the server address in the server.properties file.
After setting up your Minecraft server, you can customize it further by installing plugins or mods to enhance gameplay. You can also manage your server using commands and admin tools to ensure a smooth and enjoyable experience for all players.
Congratulations! You have now successfully set up your own Minecraft server. Enjoy playing and creating with your friends!
Once you have successfully set up your Minecraft server, it is time to configure it to your liking. Here are the steps to configure your server:
By following these steps, you can configure your Minecraft server to create a customized and enjoyable gaming experience for you and your players.
After setting up your Minecraft server, you may want to connect and start playing with your friends. Follow these steps to connect to your Minecraft server:
It’s important to note that you’ll need the correct version of Minecraft installed to connect to your server. If your server is running a different version, you may need to update your game before connecting.
Additionally, if you’re behind a router or firewall, you may need to configure port forwarding to allow connections to your Minecraft server. Refer to your router’s documentation or contact your internet service provider for instructions on how to set up port forwarding.
By following these steps, you’ll be able to connect to your Minecraft server and enjoy the game with your friends.
In order to run a Minecraft server, you will need a computer with a decent amount of processing power and RAM. The recommended system requirements are at least a dual-core CPU with 2.0 GHz or better, and at least 4GB of RAM. However, the exact requirements may vary depending on the number of players and plugins you plan to use.
To download the Minecraft server software, you will need to visit the official Minecraft website and go to the “Downloads” page. From there, you can download the server software for your preferred operating system (Windows, macOS, or Linux).
The Java Runtime Environment (JRE) is a software package that includes everything necessary to run Java applications, including Minecraft servers. Minecraft is written in the Java programming language, so in order to run a server, you will need to have the JRE installed on your computer.
To set up port forwarding, you will need to access your router’s settings page. The exact process may vary depending on your router, but generally, you will need to find the “Port Forwarding” or “Virtual Server” section and create a new rule to forward incoming connections on the Minecraft server port (default is 25565) to the local IP address of your server computer.
Yes, you can run a Minecraft server on a VPS. A VPS is a virtual machine that is hosted on a physical server, and it can be used to run any software that is compatible with the underlying operating system. Just make sure that the VPS meets the recommended system requirements for running a Minecraft server.
To manage your Minecraft server and configure settings, you will need to access the server console or use a control panel. The server console allows you to enter commands and view server logs, while a control panel provides a graphical interface for managing the server and its settings. Some hosting providers offer their own control panels, while others allow you to install popular control panels like Multicraft or McMyAdmin.
Yes, it is possible to install mods or plugins on your Minecraft server. Mods are modifications to the game that add new features or change existing ones, while plugins are server-side modifications that add functionality, such as chat filtering or anti-griefing measures. To install mods or plugins, you will need to download the necessary files and place them in the appropriate folders on your server.
Sword of Laziness Genshin Impact Are you tired of tirelessly battling enemies in the world of Genshin Impact? Do you wish for a weapon that can …
Read Article
Clash Royale How To Get Ice Wizard? Clash Royale is a popular mobile game that involves strategic battles between players. One of the most coveted …
Read Article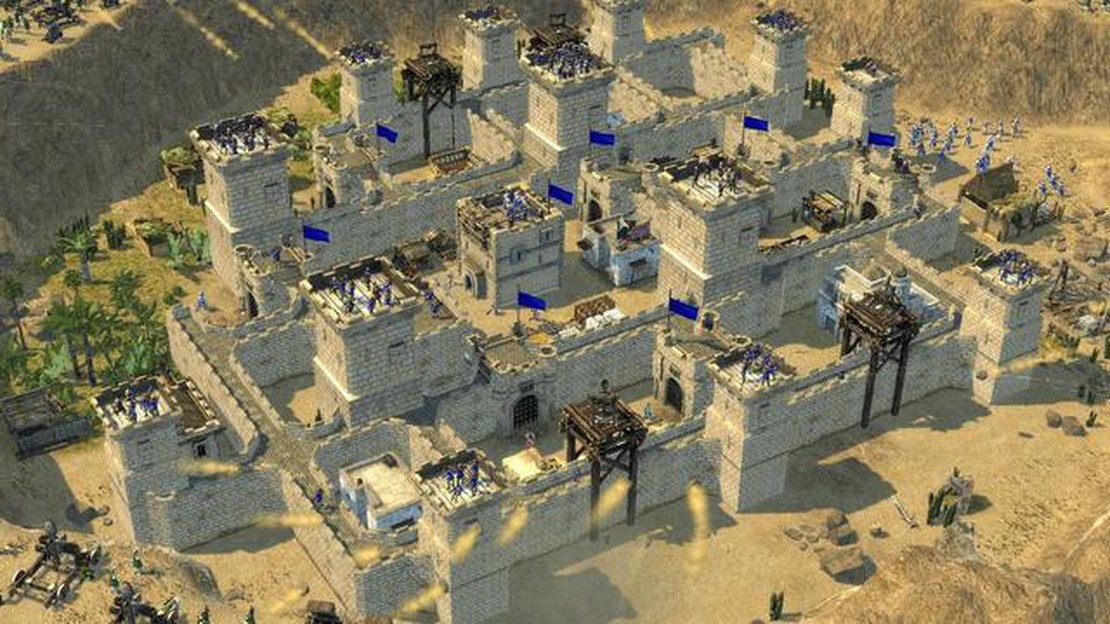
Stronghold Crusader 2 review In the world of strategy games, few titles have garnered as much love and admiration as Stronghold Crusader 2. This …
Read Article
How To Play Call Of Duty Offline? Call of Duty is a popular video game series that allows players to engage in intense multiplayer battles online. …
Read Article
How To Make Games In Roblox? Roblox, the popular online gaming platform, offers its users an incredible opportunity to not only play games but also …
Read Article
What Happened To Call Of Duty Elite? Call of Duty Elite was a groundbreaking service that aimed to revolutionize the online gaming experience for Call …
Read Article


