

Where to Redeem Mobile Legends Codes? Step-by-Step Guide
Mobile Legends Where To Redeem Codes? If you’re a fan of the popular mobile game Mobile Legends, you may have come across codes that can be redeemed …
Read Article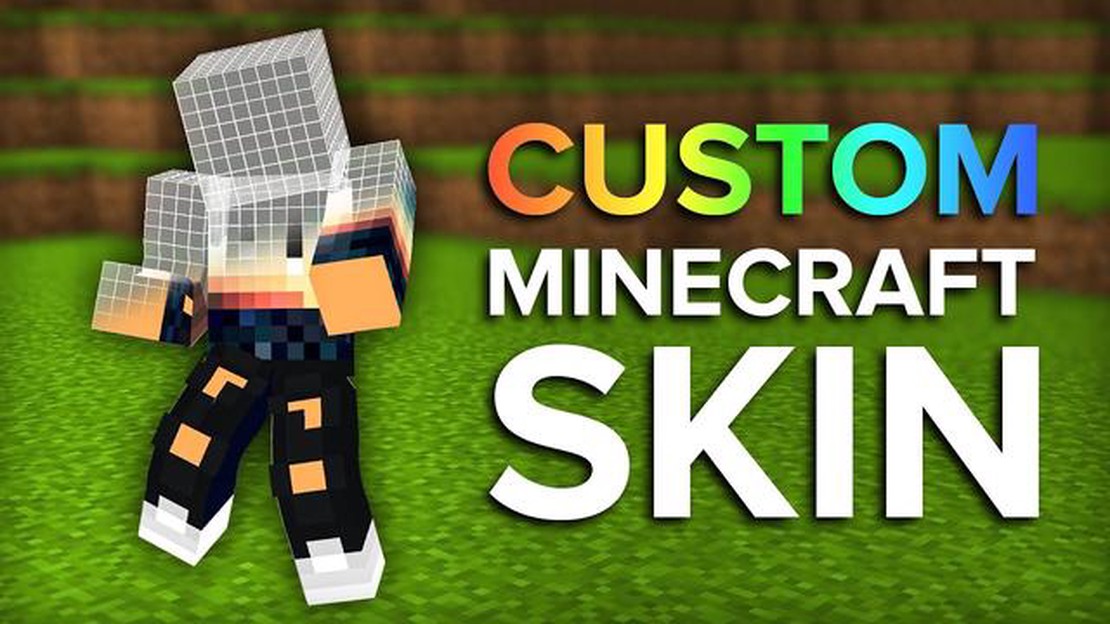
Are you tired of playing Minecraft with the same character skin? Do you want to stand out among other players with a unique and customized look? Fortunately, creating your own Minecraft skin is a fun and creative process that allows you to personalize your gaming experience.
In this step-by-step guide, we will walk you through the process of making your very own Minecraft skin. Whether you want to design a skin from scratch or modify an existing one, you’ll learn all the essential techniques and tools to bring your imagination to life.
To begin, you’ll need a skin editor software or a website that provides skin editing features. There are several options available, both free and paid, so choose one that suits your needs and preferences. Some popular skin editors include Skinseed, NovaSkin, and Skindex.
Once you have chosen a skin editor, it’s time to let your creativity flow. Start by envisioning your ideal Minecraft character. Think about the style, colors, and unique features you want to incorporate. You can draw inspiration from your favorite games, movies, or even real-life objects.
After deciding on the design, open the skin editor and familiarize yourself with its features. You’ll typically see two or more layers representing different parts of the character, such as the head, body, arms, and legs. Take your time to understand how to paint on each layer and how they contribute to the overall appearance of the skin.
As you begin creating the skin, don’t be afraid to experiment and try different ideas. You can use tools like brushes, paint buckets, and erasers to refine your design. Remember to save your progress regularly to avoid losing any changes.
Once you’re satisfied with your finished Minecraft skin, it’s time to apply it to your game. Save the skin file to your computer or device, then navigate to Minecraft’s settings. Find the “Skins” or “Change Skin” option and upload your newly created skin.
Now, load up Minecraft and enjoy playing as your customized character! Whether you’re exploring the vast landscapes, building epic structures, or battling against other players, your unique skin will make you stand out and showcase your individuality.
In conclusion, making Minecraft skins is a fantastic way to express your creativity and personalize your gaming experience. With this step-by-step guide, you now have the knowledge and tools to bring your imagination to life. So, go ahead and create your own Minecraft skin – the possibilities are endless!
Minecraft skins are a fun way to personalize your character in the game. Whether you want to create a custom design or recreate your favorite character, making Minecraft skins is a creative and enjoyable process. Follow these steps to make your very own Minecraft skin.
Before you start creating your Minecraft skin, decide on the design you want to make. This could be a simple design or a more complex one with detailed patterns and colors. You can also choose to make a skin based on a popular character or theme.
If you’re creating a skin based on an existing character or design, gather reference images to help guide you. These images will give you a better idea of the colors, details, and overall look you want to achieve in your skin.
There are several online Minecraft skin editors available that make it easy to create custom skins. Choose one that suits your preferences and upload your reference images if needed. These editors allow you to paint directly onto a 3D model of the Minecraft character.
Once you have your skin editor open, start painting the different parts of the character. Use the tools and color palette provided to add colors, patterns, and details to your skin. Remember to pay attention to different body parts such as the head, arms, and legs.
After painting each part of the skin, preview how it looks on the 3D model. Make any necessary adjustments to the colors or details until you’re satisfied with the overall appearance. Take your time and don’t rush through this step.
Read Also: Ultimate Guide on How to Find Diamonds in Minecraft
Once you’re happy with your Minecraft skin, save your work in the skin editor. Most skin editors allow you to download the skin directly or provide a link to download it. Save the file to your computer or device.
To use your custom Minecraft skin in the game, follow these steps:
Read Also: How to Make Money Playing Call of Duty Mobile: A Comprehensive Guide
Now that you’ve successfully created and installed your custom Minecraft skin, enjoy showing off your unique character in the game. Customize your skins as often as you like and have fun exploring different designs.
In order to make Minecraft skins, you will need a few tools and resources. Here is what you’ll need:
Note: Make sure to check the system requirements for the tools you choose to ensure compatibility with your computer.
With these tools and resources gathered, you will be ready to start creating your own Minecraft skins!
Designing a Minecraft skin is a creative process that allows you to customize the appearance of your character in the game. Here are some steps to help you create your own unique Minecraft skin:
Remember, designing a Minecraft skin is a creative process, so feel free to experiment and have fun with it. Don’t be afraid to try different styles and techniques to create a skin that reflects your personality and imagination.
Once you have created your custom Minecraft skin, it’s time to apply it to the game. Follow these step-by-step instructions to apply your newly created skin:
Congratulations, you have successfully applied your custom skin to Minecraft! Now, whenever you join a Minecraft server or play in single-player mode, your character will be wearing your new skin.
Note: Other players will only be able to see your custom skin if you are playing on a server that allows custom skins or if they have the same skin file installed on their computer. Your skin will not be visible in offline mode or on servers that do not support custom skins.
A Minecraft skin is a custom graphical appearance or texture that is applied to a player’s in-game character.
You can create your own Minecraft skin by using an image editing software like Photoshop or Gimp, and then importing it into the game.
Yes, there are numerous websites and tools available that can help you create Minecraft skins, such as Skindex, NovaSkin, and MCSkinEdit.
Yes, you can customize almost every aspect of a Minecraft skin, including the character’s body, face, and even accessories like hats and capes.
Mobile Legends Where To Redeem Codes? If you’re a fan of the popular mobile game Mobile Legends, you may have come across codes that can be redeemed …
Read Article
Everything we know about Ark 2 Ark 2 is an upcoming open-world survival game developed by Studio Wildcard. Building upon the success of its …
Read Article
Why Cant I Download Clash Of Clans? Clash of Clans is a popular mobile game developed by Supercell, but sometimes users may encounter issues while …
Read Article
When Is The Brawl Stars Update 2022? The highly anticipated Brawl Stars update for 2022 is finally here! Brawl Stars, the popular mobile multiplayer …
Read Article
What Is Lucky Pokemon? Have you ever heard of a Lucky Pokemon? If you’re a fan of the popular game franchise Pokemon, you might have come across this …
Read Article
How Much Does Clash Royale Make A Day? Discover the Game’s Daily Revenue Table Of Contents The Revenue of Clash Royale Factors Influencing Daily …
Read Article


