
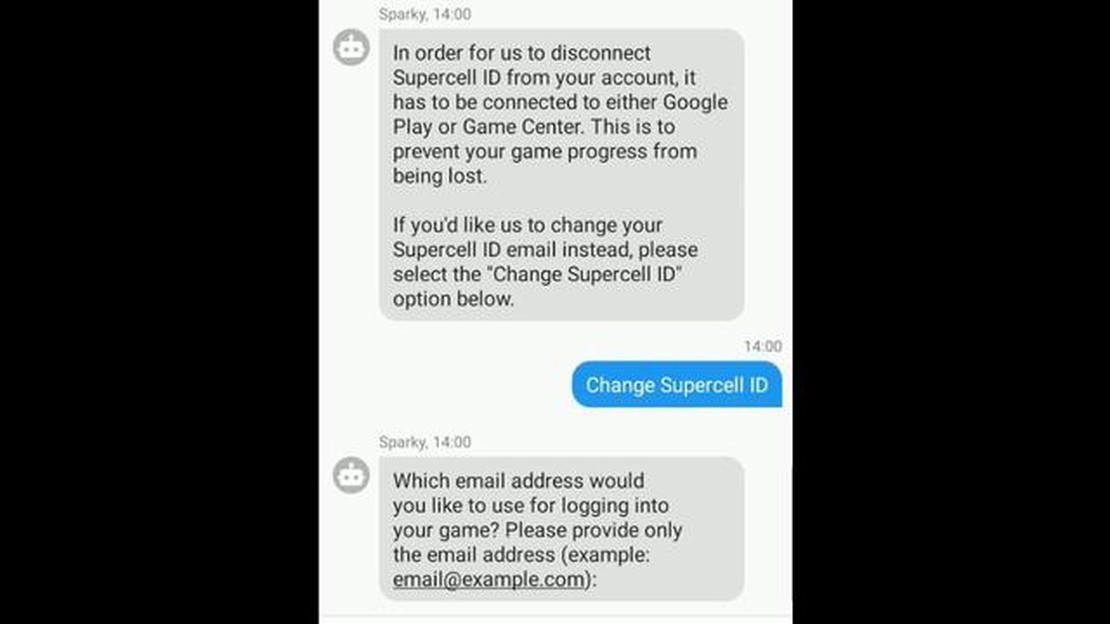

Step-by-step Guide: How to Change Your Clash Royale Email in a Few Simple Steps
How To Change Clash Royale Email? If you’re an avid Clash Royale player, you may find it necessary to change the email associated with your account. …
Read Article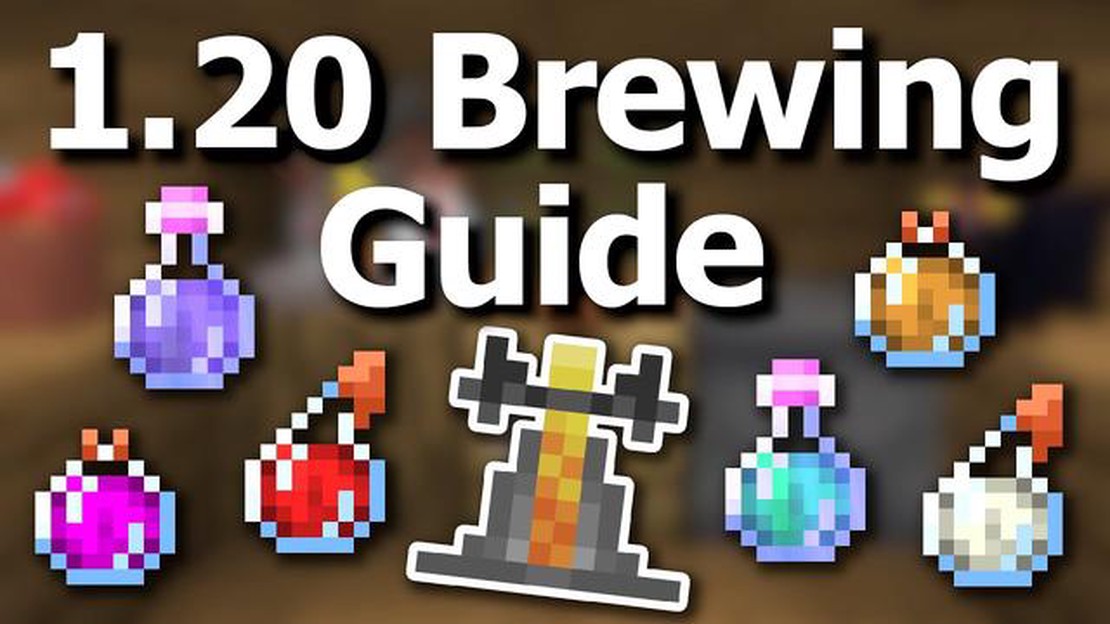
Welcome, Minecraft enthusiasts! In the vast world of Minecraft, there are countless materials and items that you can craft to enhance your gameplay experience. One of the most exciting aspects of the game is the ability to create potions, which can give you various buffs and abilities. Whether you’re a beginner or a seasoned player, this step-by-step guide will teach you everything you need to know about making potions in Minecraft.
Before we delve into the potion-making process, let’s first understand the basics. Potions are drinks that provide temporary effects when consumed. These effects can help you in various ways, such as increasing your strength, granting night vision, or even allowing you to breathe underwater. However, potions require a few key ingredients to be brewed successfully, and you’ll need the right equipment.
The first thing you’ll need is a brewing stand, which can be crafted using three cobblestones and a blaze rod. This stand will be the centerpiece of your brewing setup and is essential for creating potions. Additionally, you’ll need glass bottles, which can be obtained by crafting glass blocks. These bottles will hold the liquid ingredients of your potions.
Once you have your brewing stand and glass bottles, it’s time to gather the necessary ingredients for your potions. The main ingredient for any potion is a base ingredient, such as a Nether wart. This can be found in Nether fortresses or traded with villagers. Base ingredients determine the type of potion you’ll create, whether it’s a potion of healing, strength, or others. To enhance the effects of your potions, you can also add secondary ingredients like spider eyes or ghast tears.
Pro tip: Brewing stands can hold up to three glass bottles at a time, allowing you to brew multiple potions simultaneously. This can save you time and resources as you experiment with different concoctions.
Now that you have all the necessary materials, place your brewing stand on a flat surface and fill it with water bottles. Add the base ingredient, such as Nether wart, to the top slot of the brewing stand. This will create an Awkward Potion, which serves as the base for all other potions. Next, you can add secondary ingredients to further enhance your potion’s effects. Once you’ve added all the ingredients, activate the brewing stand by adding blaze powder to the fuel slot, and the brewing process will begin.
After a short while, your potions will be ready to be collected. Simply right-click on the brewing stand and collect the finished potions. Remember to store them in a safe place, as potions can be easily tipped over and their effects wasted if mishandled. You can now take these potions on your adventures, share them with friends, or utilize them strategically to overcome tough challenges in the game.
Congratulations, you’re now a potion-making expert in Minecraft! With this step-by-step guide, you’ve learned the essential techniques to create potions that can boost your abilities and enhance your gameplay. As you continue to explore the vast world of Minecraft, don’t forget to experiment with different ingredients and combinations to discover new and powerful potions. Happy brewing!
Are you ready to delve into the magical world of potion making in Minecraft? With just a few simple ingredients and the right know-how, you can brew powerful potions to aid you in your adventures.
But first, you’ll need to gather the necessary supplies. To start potion making, you’ll need:
The Brewing Stand is the key tool for potion making, allowing you to combine ingredients and create your desired effects. Glass Bottles are used to store the potions, while Blaze Powder acts as fuel for the Brewing Stand. Nether Wart is the base ingredient for all potions.
Once you’ve gathered your supplies, it’s time to start experimenting. Here’s a step-by-step guide to get you started:
With your potions in hand, you’re ready to take on the challenges of Minecraft with newfound power and abilities. Whether you want to enhance your strength, heal yourself, or even become invisible, the possibilities are endless.
So go forth, brave adventurer, and discover the art of potion making in Minecraft. May your potions be potent and your adventures fruitful!
Read Also: Learn How to Play Layla in Mobile Legends | Complete Guide
When it comes to creating potions in Minecraft, mastering the basics of brewing is essential. With the right ingredients and equipment, you can brew a variety of useful potions to give you an edge in your adventures. Here is a step-by-step guide to help you get started:
Remember, brewing potions in Minecraft requires patience and experimentation. Understanding the different ingredients and their effects will help you create powerful potions to aid you in your adventures. So gather your supplies and start brewing!
In Minecraft, there are a variety of potions that players can create. Each potion has its own unique recipe and effects. Here are some of the most common potions and their recipes:
Each potion can also be enhanced by adding ingredients such as redstone dust, glowstone dust, or gunpowder. Redstone dust increases the duration of the potion, glowstone dust increases the potency of the potion, and gunpowder turns the potion into a splash potion that can be thrown.
Some potions also have negative effects when consumed, such as the Potion of Poison or the Potion of Weakness. These potions can be useful in combat situations or for creating traps.
Players can also combine different potions together in a brewing stand to create more powerful potions. For example, combining a Potion of Healing with a Potion of Swiftness creates a Potion of Speed, which provides both healing and swiftness effects.
Read Also: What Are Roblox Slenders? - Unleash Your Imagination and Adventure in the Roblox Slender World
| Potion Name | Main Ingredients | Added Enhancement |
|---|---|---|
| Potion of Healing | Water bottle + glistering melon slice | None |
| Potion of Strength | Water bottle + blaze powder | None |
| Potion of Swiftness | Water bottle + sugar | None |
| Potion of Invisibility | Water bottle + fermented spider eye | None |
| Potion of Night Vision | Water bottle + golden carrot | None |
These are just a few examples of the many potions that can be created in Minecraft. Potion brewing can be a fun and rewarding aspect of the game, allowing players to customize their abilities and strategy in various situations.
Are you ready to take your Minecraft gameplay to the next level? Become an expert in potion brewing and unlock a world of possibilities! In this step-by-step guide, we will teach you how to make potions in Minecraft, allowing you to enhance your abilities, cure ailments, and even create powerful weapons.
Before you can start brewing potions, you’ll need to gather the necessary ingredients. Here are the basics:
Now that you have all the ingredients, it’s time to set up your brewing stand. Here’s how:
With the brewing stand set up, let’s start brewing potions:
Once you’ve mastered the basics, you can try advanced brewing techniques:
Brewing potions is a fun and creative aspect of Minecraft. Don’t be afraid to experiment and discover new potion combinations. With practice, you’ll become a potion brewing expert and have a powerful arsenal at your disposal for your Minecraft adventures!
Potions in Minecraft are a type of item that players can create to grant themselves certain temporary effects. These effects can be beneficial, such as increased strength or speed, or they can have negative effects, such as poison or weakness.
To make potions in Minecraft, you will first need to create a brewing stand. This is done by combining 3 cobblestones and a blaze rod. Once you have a brewing stand, you will need to obtain water bottles and the ingredients for the specific potion you want to make. Place the water bottles in the brewing stand and add the ingredients to the ingredient slot. Wait for the potions to brew and then collect them from the brewing stand.
The ingredients you need to make potions in Minecraft depend on the type of potion you want to create. For example, to create a potion of strength, you will need to use a blaze rod as the main ingredient. To create a potion of healing, you will need a glistering melon. Each potion has its own unique set of ingredients.
Yes, in Minecraft, you can combine different potions together using a brewing stand and additional ingredients. By adding a fermented spider eye, you can create a potion of weakness, which can then be combined with a potion of healing to create a potion of regeneration. Experimenting with different combinations can lead to the creation of powerful potions with unique effects.
When making potions in Minecraft, it’s important to remember a few tips. First, always make sure you have enough water bottles and ingredients before starting the brewing process. Second, try to gather as many different ingredients as possible, as this will allow you to create a wider variety of potions. Lastly, make sure to experiment and try different combinations to discover new potion effects. It’s all about finding what works best for your play style.
How To Change Clash Royale Email? If you’re an avid Clash Royale player, you may find it necessary to change the email associated with your account. …
Read Article
Who Becomes Master Of Coin After Petyr Baelish? After the controversial and somewhat mysterious departure of Petyr Baelish, also known as …
Read Article
How To Get Mobile Legends Account Back? Mobile Legends is a popular mobile game that allows players to battle it out with others from around the …
Read Article
How Popular Is Roblox? Roblox has quickly gained immense popularity and become a cultural phenomenon in recent years. Whether you are a gamer or not, …
Read Article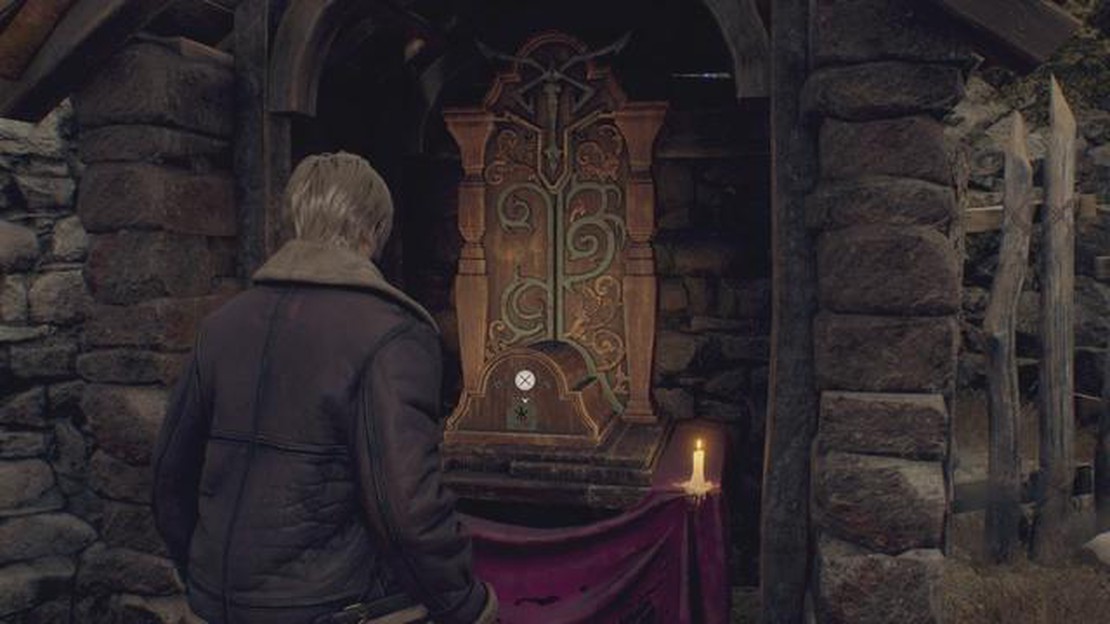
Where to find the Wayshrine key in Resident Evil 4 Remake The highly anticipated Resident Evil 4 Remake is set to release soon, and fans of the iconic …
Read Article
What Is The Fortnite Item Shop? Fortnite, the immensely popular battle royale game developed by Epic Games, features a unique in-game feature called …
Read Article


