

Step-by-Step Guide: How to Play Mobile Legends on Windows Phone
How To Play Mobile Legends On Windows Phone? Mobile Legends is one of the most popular mobile MOBA games, and it has captured the hearts of millions …
Read Article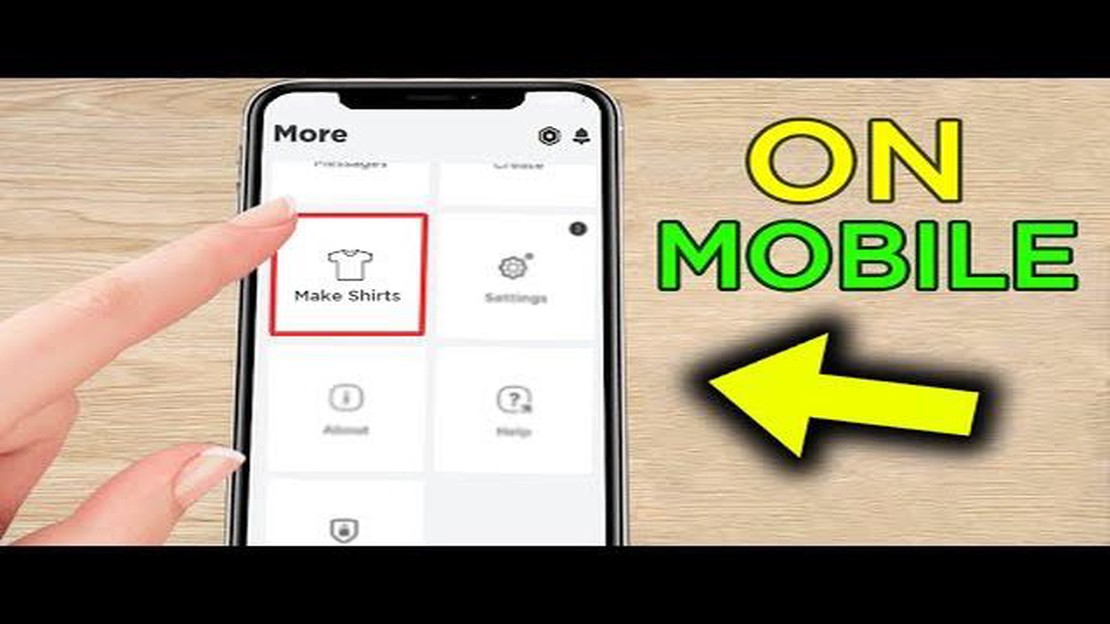
Roblox is a popular online gaming platform that allows users to create and share their own games and experiences. One of the key features of Roblox is the ability for users to create and customize their own avatars, including clothing. While creating clothing for your Roblox avatar may seem like a daunting task, it is actually quite simple to do, even on your mobile device.
In this step-by-step guide, we will walk you through the process of making Roblox clothes on your mobile device. Whether you want to create a stylish shirt, a trendy pair of pants, or a unique hat, we have got you covered. By the end of this guide, you will be able to design and upload your own custom clothing items to Roblox, and show off your creativity to the Roblox community.
To get started, you will need to download the Roblox Studio Mobile app from the App Store or Google Play Store. This app is specifically designed for mobile devices and allows you to create and edit Roblox games and assets on the go. Once you have downloaded and installed the app, open it up and sign in to your Roblox account. If you don’t have an account yet, you can easily create one for free.
Once you are logged in, you will be greeted with the Roblox Studio Mobile home screen. From here, you can access all of the tools and features you need to create your own Roblox clothes. To start, tap on the “Create” button at the bottom of the screen. This will take you to the creation menu, where you can choose what type of clothing item you want to make. Whether you want to make a shirt, pants, or a hat, the process is similar for each.
Remember, when creating Roblox clothes, it is important to follow the Roblox Community Guidelines. This means that your clothing designs should be appropriate and not violate any copyright or trademark laws. Additionally, you should also consider making your designs original and unique to stand out in the Roblox marketplace.
Roblox is a popular online platform that allows users to create and play games with their friends. One of the key features of Roblox is the ability to customize your avatar’s clothing. In this guide, we will walk you through the process of making your own Roblox clothes on your mobile device.
Before you can start creating your own clothes, you will need to download and install Roblox Studio. This is the software used to design and build Roblox games and assets. You can find it on the Roblox website or in your device’s app store.
Once you have installed Roblox Studio, open the application on your mobile device. You will be greeted with a login screen.
Enter your Roblox account credentials to log in to your account. If you don’t have an account, you will need to create one before proceeding.
In Roblox Studio, click on the “Create” tab at the bottom of the screen. Then, select “Shirt” or “Pants,” depending on the type of clothing you want to make. This will open a new template for the selected clothing item.
Use the design tools in Roblox Studio to customize your clothing. You can add colors, patterns, and even upload your own images to use as textures. Be creative and make your clothing unique.
Once you are satisfied with the design of your clothing, click on the “File” tab and select “Save to Roblox.” This will save your clothing template to your Roblox account. You can then test your clothing by wearing it on your avatar in Roblox.
If you are happy with how your clothing looks and functions, you can publish it for other Roblox users to see and purchase. To do this, go to the “Develop” tab in Roblox Studio and select “Manage My Creations.” From there, you can publish your clothing item and set a price for it.
Read Also: Step-by-Step Guide to Playing Split Screen on PS4 Call of Duty
Finally, once your clothing is published, share it with your friends and promote it on social media. This will help get the word out about your creation and attract more users to check out and potentially purchase your clothing.
That’s it! You have now successfully created your own Roblox clothes on mobile. Enjoy customizing your avatar and showcasing your unique style to the Roblox community!
Read Also: Mastering the Art of Building a Hybrid Culture in Crusader Kings 3: Royal Court
In order to make Roblox clothes on mobile, you will need to download and install the following software:
Once you have downloaded and installed the Roblox mobile app and Roblox Studio, you are ready to start creating your own Roblox clothes on mobile.
Before you begin making your Roblox clothes on mobile, it’s important to have a clear design in mind. This will guide you through the process and make it easier to bring your vision to life.
Here are the steps to create your clothing design:
Once you have a clear design in mind, you’re ready to move on to the next step: creating the clothing template.
Once you have finished creating your clothes in the Roblox Studio app, you can upload and test them in the game. Here is a step-by-step guide on how to do it:
Following these steps will allow you to upload and test the clothes you have created on mobile. Make sure to test the clothes thoroughly before making them available to other players in the Roblox marketplace.
Yes, you can create Roblox clothes on your mobile device using the Roblox mobile app. The app has a feature called “Avatar Editor” which allows you to customize your character’s appearance, including clothing.
To make Roblox clothes on mobile, you will need the Roblox mobile app installed on your device. Additionally, you will need an internet connection to access the Roblox platform and upload your clothes.
Yes, there are certain restrictions and guidelines for creating Roblox clothes on mobile. The clothing templates provided by Roblox have specific dimensions and file formats that need to be followed. Additionally, there are content policies that prohibit the use of inappropriate or copyrighted materials.
To upload your Roblox clothes after creating them on mobile, you need to go to the Roblox website and log in to your account. Then, navigate to the “Create” section and select “Shirts”, “Pants”, or “T-shirts” depending on the type of clothing you created. Click on the “Choose File” button to upload your clothing image, provide a name and description, and click the “Create” button to complete the upload process.
How To Play Mobile Legends On Windows Phone? Mobile Legends is one of the most popular mobile MOBA games, and it has captured the hearts of millions …
Read Article
Metro 2033 Redux review Set in a hauntingly realistic post-apocalyptic world, Metro 2033 Redux is a revamped version of the critically acclaimed …
Read Article
What Is Clash Of Clans Personal Break? Clash of Clans is a popular mobile strategy game developed by Supercell. It allows players to build and …
Read Article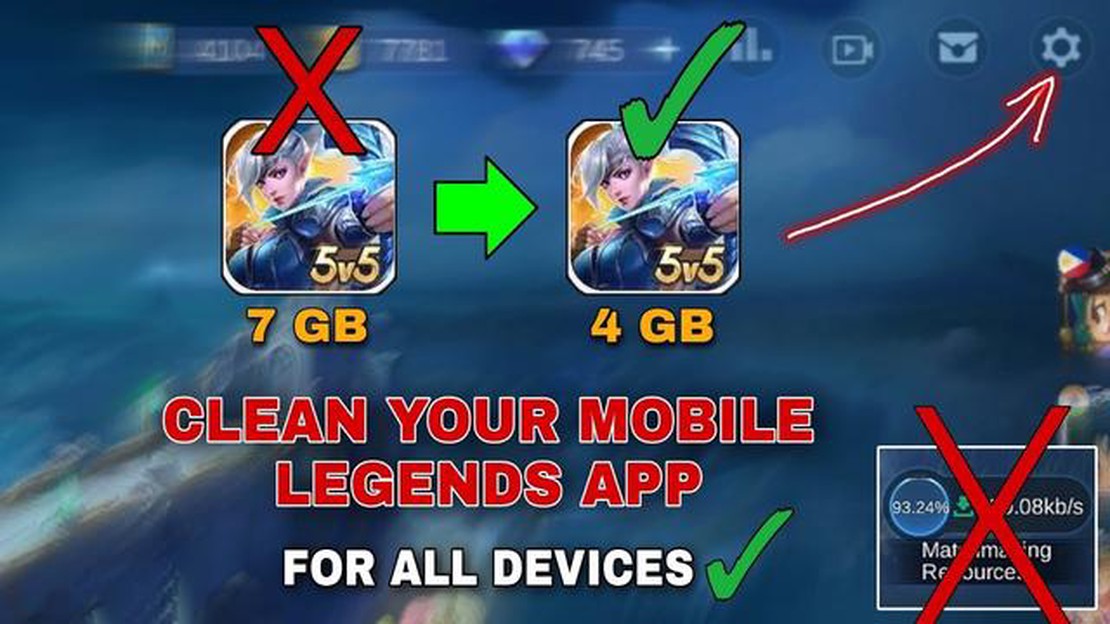
What Will Happen If You Clear Data Mobile Legends? What Will Happen If You Clear Data Mobile Legends? Find Out Here! If you are an avid Mobile Legends …
Read Article
Mobile Legends What Lane Is Karina? Karina is a powerful assassin hero in Mobile Legends, known for her ability to quickly burst down enemies and …
Read Article
How To Spoof Pokemon Go Iphone? Welcome to our comprehensive guide on how to spoof Pokemon Go on your iPhone! Whether you’re looking to catch rare …
Read Article


