


Discover the Elements in Genshin Impact: A Comprehensive Guide
What Are The Elements In Genshin Impact? Genshin Impact is an open-world action role-playing game that has taken the gaming world by storm. One of the …
Read Article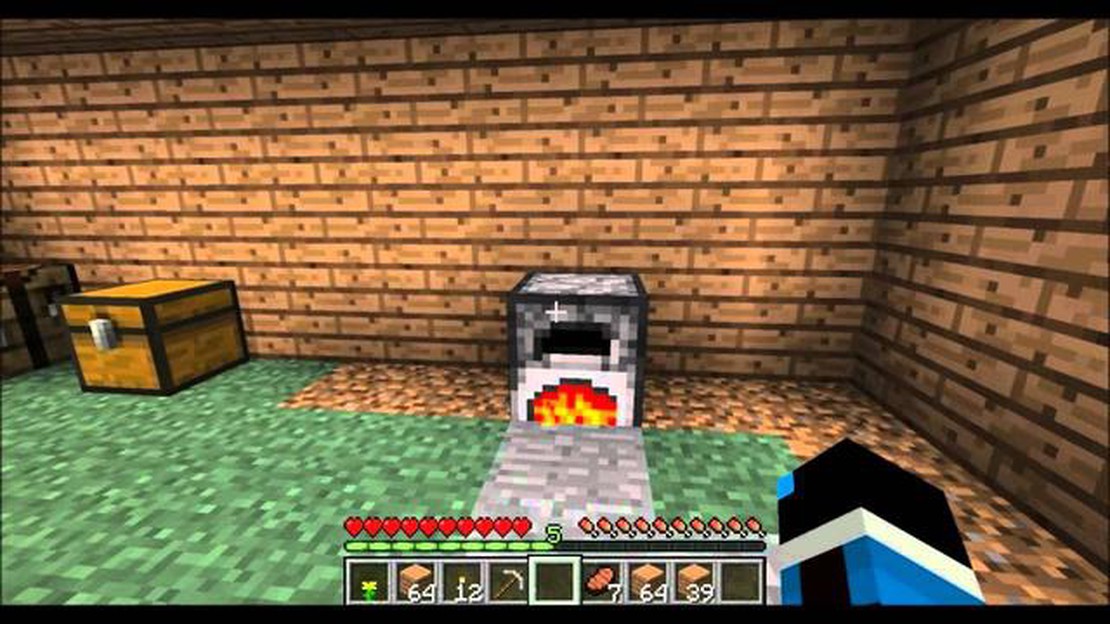
If you’re a Minecraft player who loves building and designing your own structures, you’ll want to learn how to make windows in Minecraft. Windows can add a beautiful touch to any building and allow natural light to enter your structures. In this step-by-step guide, we’ll walk you through the process of creating windows in Minecraft, so you can enhance the aesthetics and functionality of your constructions.
Step 1: Gather the necessary resources
Before you can begin making windows, you’ll need to gather the necessary resources. To create windows in Minecraft, you’ll need to collect glass blocks, which can be obtained by smelting sand in a furnace. You’ll also need a crafting table, which can be crafted by combining four wooden planks in a crafting grid. Once you have these resources, you’ll be ready to move on to the next step.
Step 2: Craft the glass panes
To create windows in Minecraft, you’ll need to craft glass panes. Open the crafting table and place the glass blocks in a 3x3 crafting grid, leaving the center and bottom row empty. This will create glass panes, which can be used to make windows in various shapes and sizes. The number of glass panes you create will depend on how many windows you want to make.
Step 3: Place the glass panes
Now that you have your glass panes, it’s time to place them to create your windows. Decide where you want your windows to be and start by placing one glass pane in the desired location. To create larger windows, simply add more glass panes next to each other. You can also use glass panes to create different shapes and patterns for more unique window designs.
Step 4: Enjoy your new windows
Once you’ve placed the glass panes, your windows are complete! Now you can enjoy the benefits of natural light entering your structures and admire the beautiful aesthetic touch that windows bring to your Minecraft creations. Experiment with different window designs and sizes to find the perfect fit for your buildings.
Learning how to make windows in Minecraft allows you to add a touch of elegance and functionality to your structures. Whether you’re building a cozy cottage or an elaborate castle, windows can take your creations to the next level. Follow this step-by-step guide, gather the necessary resources, craft your glass panes, and place them to create beautiful windows. Enjoy the natural light and admire the unique aesthetic that windows bring to your Minecraft world.
Minecraft is a popular sandbox game where players can build and explore their own virtual worlds. One of the key elements of building in Minecraft is creating windows, which not only add aesthetic value to your structures but also allow natural light to enter and provide a great view of the outside world. In this guide, we will look at how to make windows in Minecraft step-by-step.
Before you start making windows, you will need the following materials:
The first step is to collect the necessary materials for making windows. You will need glass blocks, which can be obtained by smelting sand in a furnace. You can also find glass blocks in the chests of desert temples and shipwrecks. Additionally, you will need glass panes, which can be crafted using six glass blocks in a 3x3 crafting grid.
Next, decide where you want to place the windows in your Minecraft structure. Consider the overall design and layout of the building to determine the best locations for windows that will enhance both the interior and exterior aesthetics.
Before placing the glass blocks, you will first need to break the existing blocks at the chosen window locations. Use your tool (e.g. pickaxe) to break the blocks. This will create an empty space for the windows.
Once you have cleared the window space, it’s time to place the glass blocks. Simply select the glass blocks in your inventory and right-click on the empty window space. The glass blocks will be placed, creating the window.
Read Also: Corsair HS55 Stereo review: Top-notch sound quality and comfort
If you want to add more detail to your windows, you can use glass panes. Glass panes can be placed on top of glass blocks to create a more window-like appearance. Simply select the glass panes in your inventory and right-click on the top edge of the glass blocks.
Once you have completed placing the glass blocks and glass panes (if desired), you can step back and admire your newly created windows. You can now enjoy the natural light and the view they provide in your Minecraft structure.
Congratulations! You have successfully learned how to make windows in Minecraft. Feel free to experiment with different window designs and incorporate them into your future building projects to add depth and character to your virtual worlds.
Before you can start crafting windows in Minecraft, you will need to gather the necessary resources. Here are the materials you will need:
Read Also: Gameloop Clash of Clans: Optimize Your Gameplay on PC with Gameloop
Make sure you have gathered enough of each resource before proceeding to the next step. This will ensure that you have everything you need to create your windows without interruption.
To create windows in Minecraft, you will need to craft glass blocks. Glass blocks are translucent blocks that allow light to pass through, making them perfect for windows or decorative purposes.
To craft glass blocks, you will need to collect sand and smelt it into glass. Here is a step-by-step guide on how to craft glass blocks:
Congratulations! You have successfully crafted glass blocks in Minecraft. Now you can use the glass blocks to create windows and other decorative elements in your builds.
Once you have your window frame in place, it’s time to add the glass blocks to complete the windows. Here’s how you can do it:
Remember, you can use different types of glass blocks to add variety to your windows. Experiment with different colors and textures to create unique window designs.
Once you have placed all the glass blocks, your windows are complete! You can now enjoy the view from inside your Minecraft buildings.
To make windows in Minecraft, you will need glass blocks. You can obtain glass blocks by smelting sand in a furnace.
Yes, you can create different types of windows in Minecraft. You can use different colors of stained glass or use glass panes instead of full glass blocks to create a variety of window designs.
To make a window with a specific size, you need to decide on the dimensions you want and gather enough glass blocks or glass panes to fill the space. Place the blocks in the desired pattern to create the window of your choice.
Yes, you can place windows in any location in your Minecraft world. Whether it’s in a house, a castle, or any other structure, you have the freedom to choose where you want to place your windows to add both functionality and aesthetic appeal to your builds.
What Are The Elements In Genshin Impact? Genshin Impact is an open-world action role-playing game that has taken the gaming world by storm. One of the …
Read Article
How To Get Eevee In Pokemon Go? Getting Eevee in Pokemon Go can be an exciting and rewarding experience. Known for its ability to evolve into multiple …
Read Article
How To Sprint In Minecraft? Do you want to run faster in Minecraft? Sprinting allows you to cover more ground quickly and can be a useful skill to …
Read Article
What Is Animal Crossing Pocket Camp? Animal Crossing Pocket Camp is a delightful and addictive mobile game that brings the beloved world of Animal …
Read Article
How to tame a bee in Minecraft If you’ve been playing Minecraft for a while, you might have come across these buzzing creatures known as bees. Bees …
Read Article
How to trade with other players in Path of Exile Are you new to the world of Path of Exile and looking to make your mark in the realm of trading? Look …
Read Article


