

Step-by-Step Guide: Play Clash Royale On Chromebook
How To Play Clash Royale On Chromebook? If you love playing Clash Royale but find yourself frequently away from your smartphone or tablet, you may be …
Read Article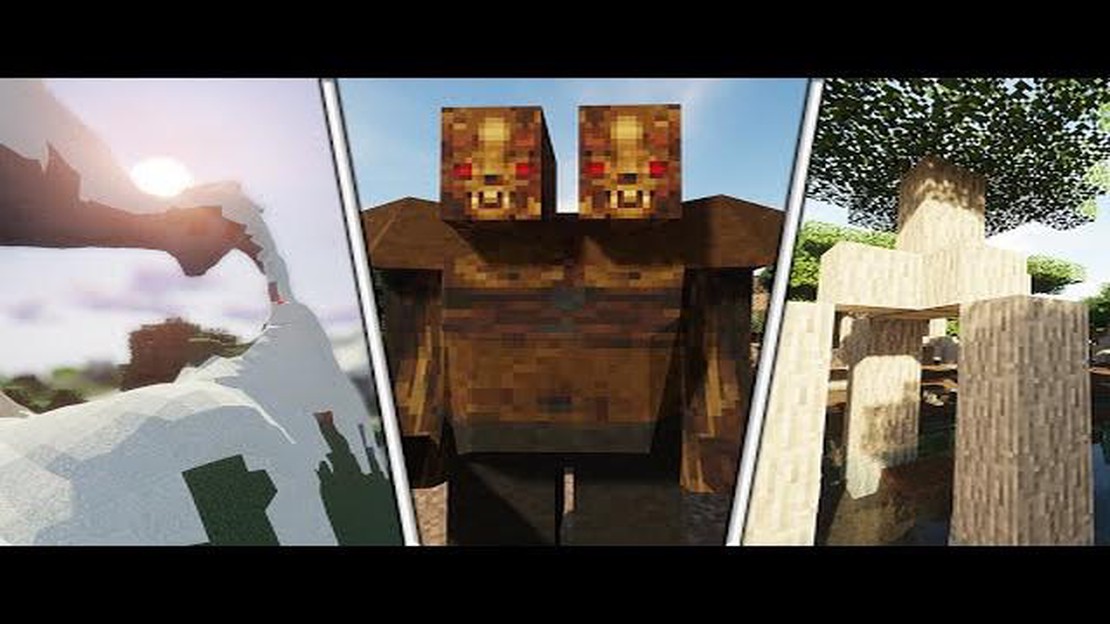
If you’ve been playing Minecraft for a while, you may have reached a point where you want to add even more excitement and customization to your world. One way to do that is by modding your game. Modding Minecraft allows you to add new features, tweak existing ones, and completely transform your gameplay experience. In this step-by-step guide, we will walk you through the process of modding Minecraft 1.14.
Step 1: Prepare your Minecraft installation.
Before you can start modding Minecraft, you’ll need to make sure you have a clean installation of Minecraft 1.14. This means removing any previous mods or modifications you may have installed. It’s important to start with a clean slate to avoid any conflicts or issues with your mods.
Step 2: Install the Java Development Kit (JDK).
In order to mod Minecraft, you’ll need to have the Java Development Kit (JDK) installed on your computer. The JDK allows you to compile and run Java programs, which is necessary for creating and installing mods. You can download the JDK from the official Oracle website and follow the installation instructions provided.
Step 3: Download and install Minecraft Forge.
Minecraft Forge is a modding platform that provides the necessary tools and framework for mod developers. To install mods, you’ll need to first install Minecraft Forge. Visit the Minecraft Forge website and download the installer for Minecraft 1.14. Run the installer and follow the on-screen instructions to install Forge.
Step 4: Find and download mods.
Once you have Minecraft Forge installed, you can start exploring the wide range of mods available for Minecraft. There are countless websites and forums where you can find and download mods. Some popular websites include CurseForge, Planet Minecraft, and Minecraft Forum. Look for mods that are compatible with Minecraft 1.14 and download them to your computer.
Step 5: Install mods.
Once you have downloaded the mods, it’s time to install them. Open the Minecraft launcher and select the “Forge” profile. Click on the “Mods” button and then click “Open Mods Folder”. This will open the mods folder on your computer. Simply drag and drop the downloaded mod files into this folder. Once you’ve added all the mods you want, close the folder and launch Minecraft. Your mods should now be installed and ready to use!
With these steps, you should now have a basic understanding of how to mod Minecraft 1.14. Modding can be a great way to enhance your Minecraft experience and breathe new life into your gameplay. So go ahead, experiment with different mods, and see what amazing creations you can make!
Read Also: How to Get Free Stuff on Fortnite: Tips and Tricks
Welcome to our step-by-step guide on how to mod Minecraft 1.14! Modding Minecraft allows you to customize and extend the game to create your own unique Minecraft experience. Follow the steps below to get started.
Modding Minecraft 1.14 can be a fun and rewarding experience. It allows you to explore new gameplay mechanics, add new items and blocks, and even create your own mods. Just remember to always use mods from trusted sources and make sure they are compatible with the version of Minecraft you are using.
Happy modding!
To begin modding Minecraft 1.14, you will need to install Minecraft Forge. Follow these steps to install Minecraft Forge on your computer:
Read Also: When Do I Unlock Clan in Mobile Legends? Find Out Here!
Congratulations! You have successfully installed Minecraft Forge for Minecraft 1.14. Now you can move on to the next step and start installing mods.
Once you have installed Forge, it’s time to download a mod to enhance your Minecraft experience. Mods are custom modifications made by the Minecraft community that add new features, blocks, items, or make changes to the game mechanics.
Here is how you can download a mod:
Some mods may require additional dependencies such as libraries or other mods. Make sure to read the mod’s description or installation instructions for any additional requirements.
It’s important to only download mods from trusted sources to ensure they are safe and compatible with your game. Avoid downloading mods from unfamiliar or suspicious websites to protect your computer and Minecraft account.
Once you have downloaded the mod file, follow these steps to install it:
Congratulations! You have successfully installed the mod in Minecraft 1.14. Enjoy playing with your new additions!
Minecraft modding is the process of modifying the game Minecraft to add new features, change existing gameplay mechanics, or enhance the overall experience. Mods, short for modifications, are user-created content that can alter various aspects of the game.
To install mods in Minecraft 1.14, you need to first download and install the Forge mod loader. Once Forge is installed, you can simply place the mod files into the “mods” folder in your Minecraft directory. Launch the game with the Forge profile, and the mods should be loaded.
Yes, there are several popular mods available for Minecraft 1.14. Some examples include Optifine, which improves the game’s performance and graphics, and Biomes O’ Plenty, which adds new biomes to explore. Other popular mods include Tinkers’ Construct, JourneyMap, and Botania.
Yes, you can create your own mods for Minecraft 1.14. There are several tools and resources available to help you get started, such as the Minecraft Forge modding platform and tutorials on mod creation. With some programming knowledge and creativity, you can create your own unique mods to enhance your Minecraft experience.
How To Play Clash Royale On Chromebook? If you love playing Clash Royale but find yourself frequently away from your smartphone or tablet, you may be …
Read Article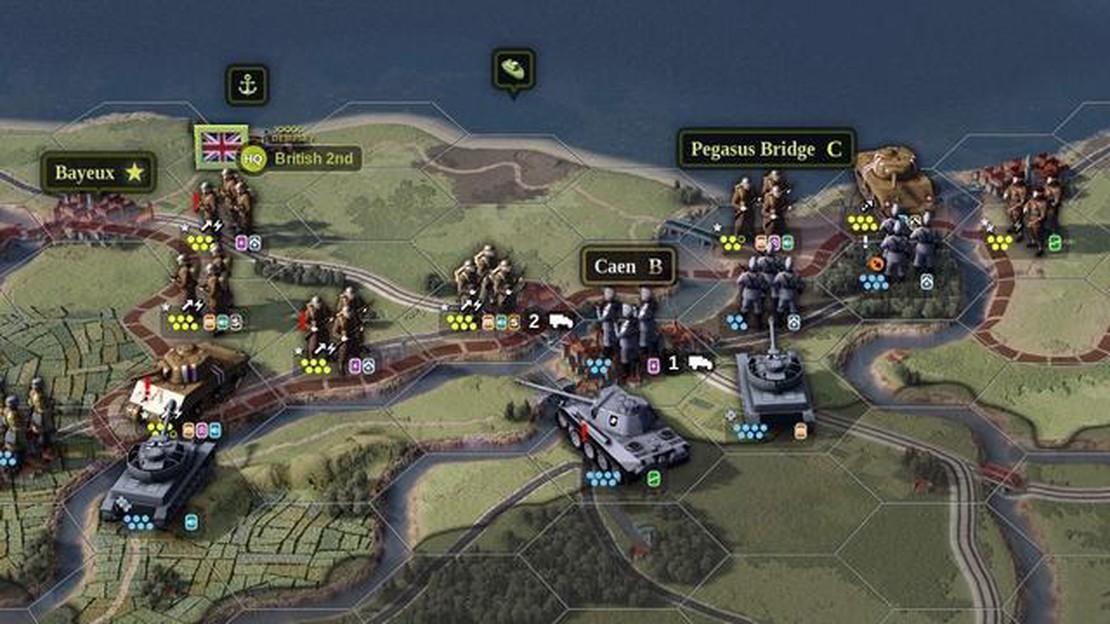
Unity of Command 2 review Unity of Command 2 is a highly anticipated strategy game that builds upon the success of its predecessor. Developed by 2x2 …
Read Article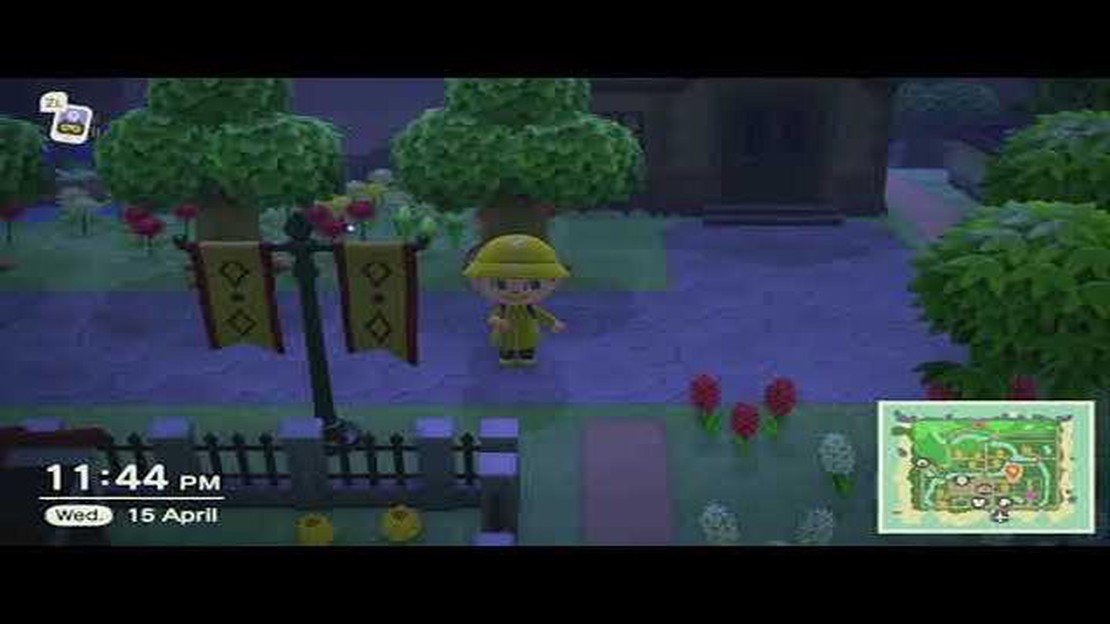
How To Get Rare Fish In Animal Crossing? In Animal Crossing, catching rare fish is not only a fun activity but also a great way to earn bells and …
Read Article
How Many Seasons Of Fortnite Are There? If you’re a fan of the wildly popular online multiplayer game Fortnite, you may be wondering just how many …
Read Article
The Crew 3 is real and an announcement is coming tomorrow Exciting news for racing game enthusiasts! Ubisoft has officially confirmed the release of …
Read Article
Logitech promo codes for August 2023 Looking for a great deal on the newest technology from Logitech? Look no further! We have rounded up the best …
Read Article


