


The top 100 PC games: Discover the ultimate gaming experiences
The top 100 PC games Are you a passionate gamer looking for the ultimate gaming experiences on your PC? Look no further! We have compiled a list of …
Read Article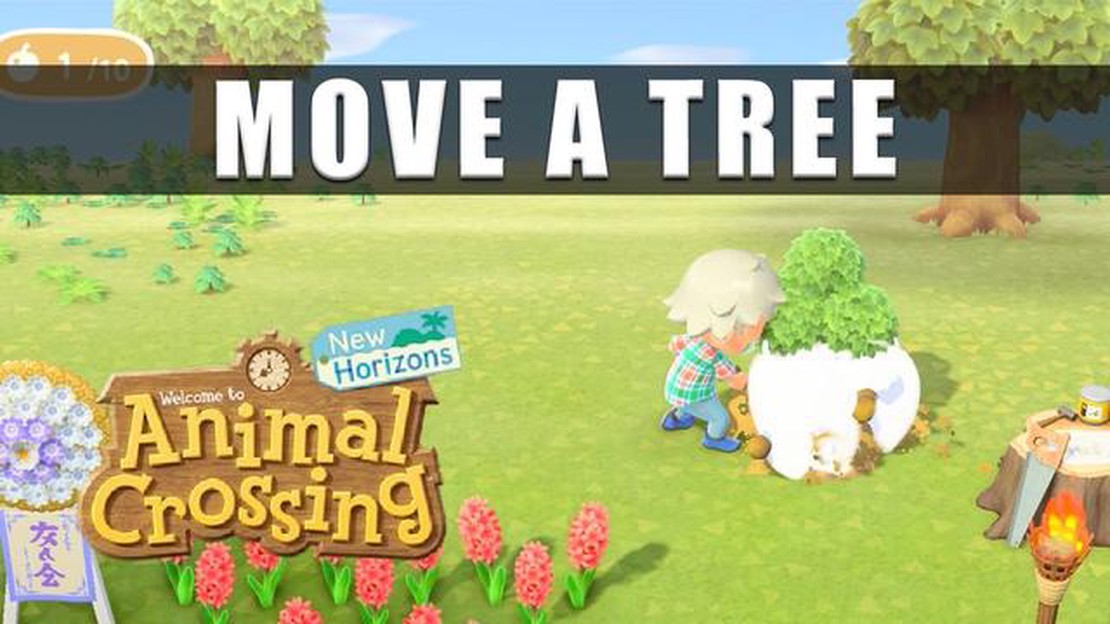
Animal Crossing is a popular simulation game where players can create their own virtual island paradise. One of the many activities in the game is landscaping, which allows players to rearrange and decorate their island to their liking. However, moving trees in Animal Crossing can be a bit tricky if you don’t know the proper steps.
Before you can move a tree in Animal Crossing, you need to have a shovel. This tool allows you to dig up trees and replant them in a different location. Once you have a shovel, you can start the process of moving a tree on your island.
The first step is to dig up the tree. Stand in front of the tree you want to move and equip your shovel. Press the A button to start digging. After a few seconds, the tree will be uprooted and placed in your inventory. Now, you can carry the tree to its new location.
To plant the tree in its new spot, find an empty space on your island where you want the tree to go. Stand in front of the empty space and select the tree from your inventory. Press the A button to plant the tree. The tree will be placed in the ground, ready to grow in its new location.
Moving trees in Animal Crossing allows you to create a more personalized and aesthetically pleasing island. Whether you want to create a new outdoor area or simply rearrange your trees, following these steps will ensure that your trees can be moved with ease.
Moving a tree in Animal Crossing can be a bit tricky, but it is definitely possible. Follow these simple steps to successfully move a tree in your game:
Remember that you can only move a fully grown tree once it has been planted. Young saplings cannot be moved, so make sure to plan ahead and choose the right location for your tree.
With these steps, you should now be able to successfully move a tree in Animal Crossing and create the perfect layout for your island!
Note: Keep in mind that you can only move fully grown trees, not fruit trees or trees planted by other villagers.
Read Also: How to Tame a Tiger in Minecraft: Step-by-Step Guide
Happy tree moving in Animal Crossing!
Moving a tree in Animal Crossing can be a useful strategy if you want to reorganize your island or create a specific design. To move a tree in Animal Crossing, follow these simple steps:
Read Also: How to Get the Toy Hammer on Animal Crossing New Leaf: A Step-by-Step Guide
Remember that you can only move trees that you have planted and not fully grown trees that are native to your island. If you want to move fully grown trees, you can try transplanting them by using the shovel and digging them up.
By following these steps, you can easily move a tree in Animal Crossing and create your ideal island layout. Happy gardening!
Yes, you can move a fully grown tree in Animal Crossing. However, you will need to use a shovel to dig it up and replant it in a new location.
To move a tree in Animal Crossing New Horizons, you first need to use a shovel to dig it up. Then, you can simply go to the new location where you want to plant the tree and use the shovel again to replant it.
Yes, you can move fruit trees in Animal Crossing. The process is the same as moving a regular tree. Just dig it up with a shovel and then replant it in the desired location.
No, the tree will not die if you move it in Animal Crossing New Horizons. As long as you plant it in the ground again after digging it up, it will continue to grow and thrive in its new location.
No, in Animal Crossing, you can only move one tree at a time. You will need to dig up each tree individually and replant them one by one in their new locations.
The top 100 PC games Are you a passionate gamer looking for the ultimate gaming experiences on your PC? Look no further! We have compiled a list of …
Read Article
How To Get Gold Nuggets In Animal Crossing? Are you a passionate Animal Crossing player who dreams of having a stunning island filled with luxury …
Read Article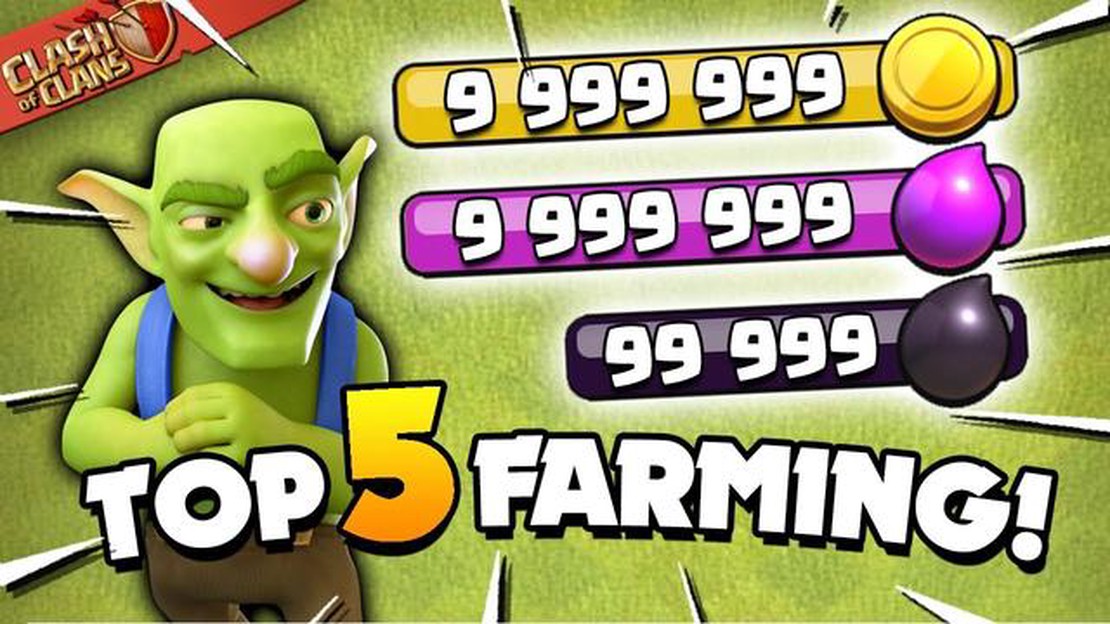
How Does Clash Of Clans Make Money? Clash of Clans, the popular mobile strategy game developed by Supercell, has captured the hearts of millions of …
Read Article
The Lollipop Chainsaw remake finally has a name, just in time to get delayed a year The highly anticipated remake of the popular video game, Lollipop …
Read Article
How To Get Among Us For Free On Steam? Among Us has become an immensely popular online multiplayer game loved by millions around the world. It’s a …
Read Article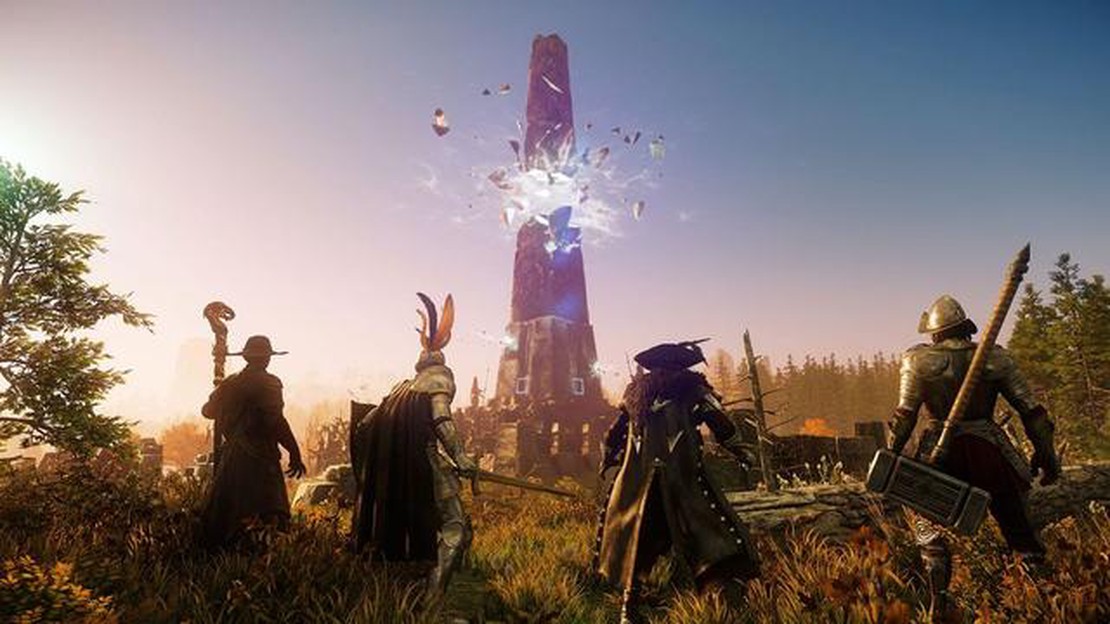
Check out these interactive New World maps to help you get ahead In the ever-expanding world of MMORPGs, staying one step ahead of the competition can …
Read Article


